Project
A project is a group of hosts using which you can discover applications.
Note:
Project was referred to as Wave in releases prior to 2.x.
Steps to Add a Project
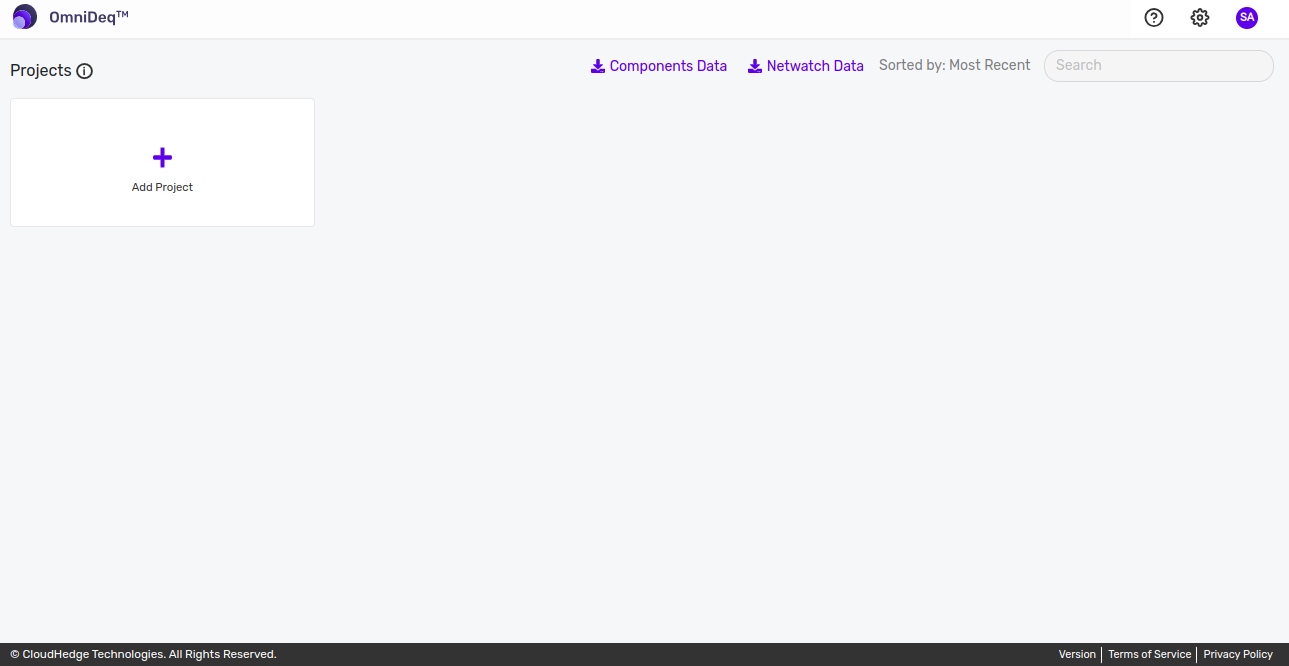
Step 1: Click Add Project
Click Add Project in the landing page.
Step 2: Enter Project Details
Once you click Add Project, the following page opens:
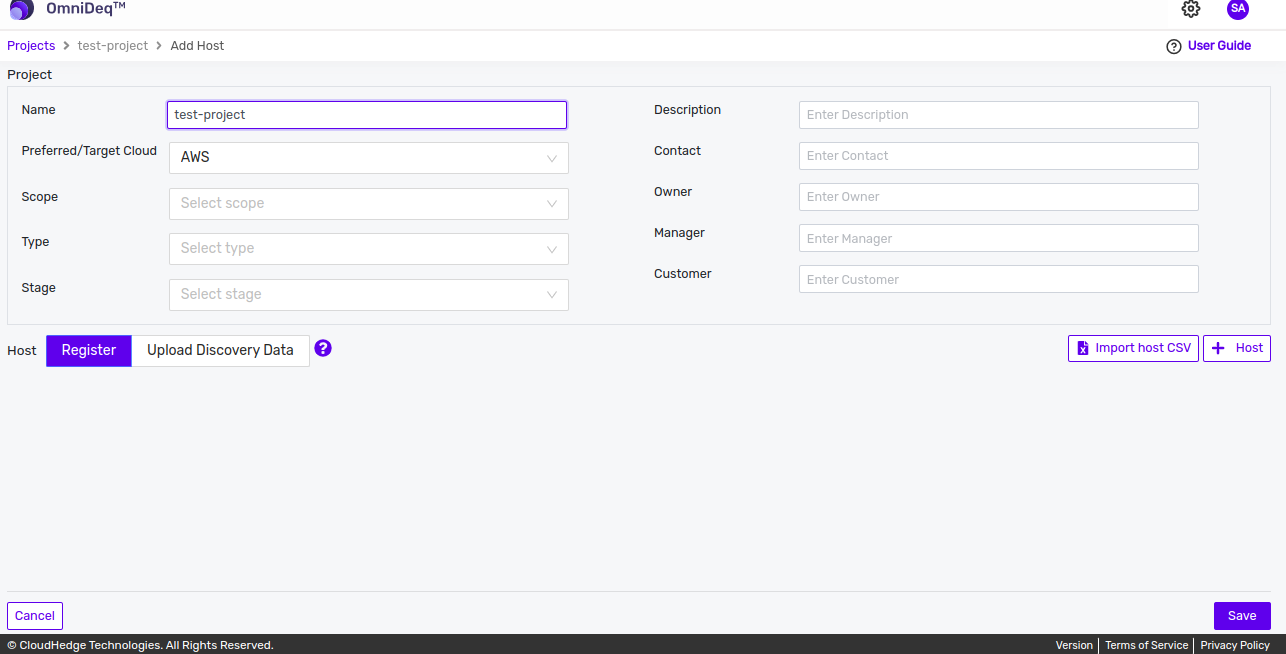
Step 3: Add Project Name
Add a project name.
The valid project name: - Contains maximum of 253 characters - Contains only alphanumeric characters (0-9, a-z, A-Z) or (-_)
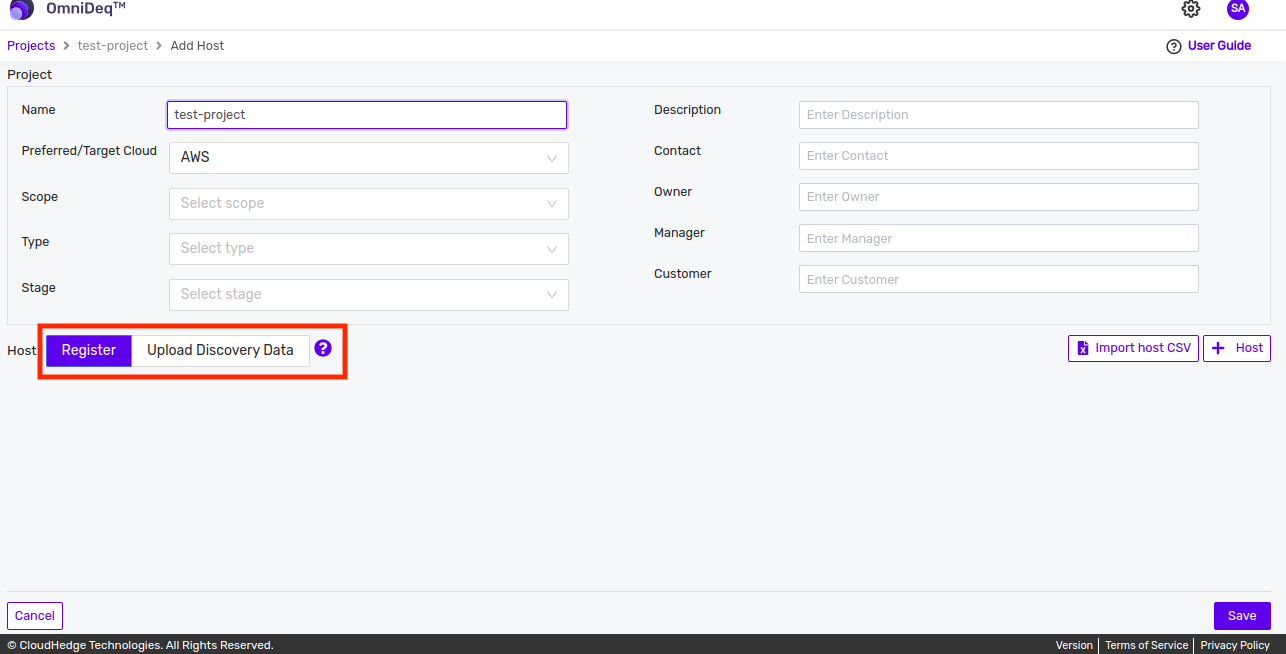
Adding a Host
There are two ways to add the host(s) as shown in the image below:
- Register: By default, register is selected. In register, you can add host details
- Upload Discovery Data: In upload discovery data, you can upload file(s) which contain both host details and discovery data
Register
Adding Linux Host
Add a host by entering the below details.
| Field | Description |
|---|---|
| Select OS | Select Linux |
| Alias | Type alias here |
| User Name | Type username here |
| Host | Type "Fully Qualified Host Name" OR "IP Address" here |
| Port | Default port "22", change as applicable |
| Connection Type | Either key based or username/password, change as applicable |
| Vault | When using first time, it shows Vault not found. Click here to add new |
Field Descriptions:
- Alias: It is the host name which will show in the project. You can give any name in Alias
- Username: It is the credentials which will be used to connect to the host
- Host Name or IP: It is the IP address of your host
- Port: It is the port number which will be used for data transmission. By default, port will be 22 for Linux
- Connection type: By default, the connection is secure (SSH). The authentication can be either key based (SSH) or username/password (Basic) based
- Credentials: It is a dropdown which will display the SSH or username/password vault names. You can only choose the credentials which are added in the CHAI™ vault
Notes: - Linux host can be identified with the Linux logo as shown in the image below
- You should add the SSH key in the CHAI™ vault first to add the Linux hosts
Important:
CHAI™ saves all credentials including SSH key in the vault.
Adding SSH Key to CHAI™ Vault
- When you are using this for the first time, when "Choose Credential" option is selected, it shows Vault not found. Click here to add new
- Next time when you run this wizard again, it shows the "Name of the Vault" listed in the vault dropdown
- The page "Add Vault" is displayed as shown in the image below
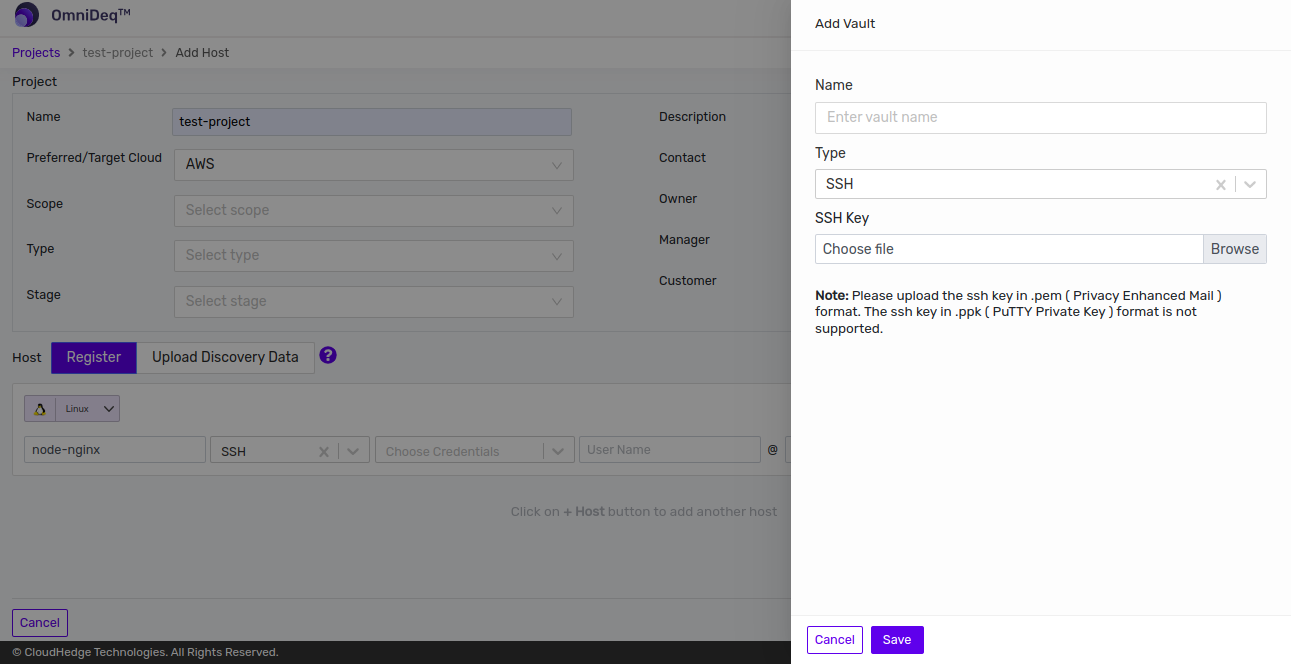
- Supply values and click the Save button
- Name: Enter vault name
- Type: SSH Key
Tip:
SSH Key: Upload the SSH key (typically a .pem file) from your machine.
Adding Windows Host
Adding Windows 2012 R2 or Above Host
Add a host by entering the below details.
| Field | Description |
|---|---|
| Select OS | Select Windows 2012 R2 or Above |
| Alias | Type alias here |
| User Name | Type username here |
| Host | Type "Fully Qualified Host Name" OR "IP Address" here |
| Port | Default port "5986", change as applicable |
| Connection Type | Accept default as "Basic", change as applicable |
| Vault | When using first time, it shows Vault not found. Click here to add new |
Field Descriptions:
- Alias: It is the host name which will show in the project. You can give any name in Alias
- Username: It is your host name
- Host Name or IP: It is the IP address of your host
- Port: It is the port number which will be used for data transmission. By default, port will be 5986 for Windows 2012 R2 or Above
- Connection type: It is the protocol to connect to host. By default, connection type will be Basic for Windows 2012 R2 or Above but you can also select Kerberos from the dropdown
- Credentials: It is a dropdown which will display the vault names. You can only choose the credentials which are added in the CHAI™ vault
Notes: - Observe that "Use WinRM Secure connection" option is available only when "Windows Server 2012/2016" OS is selected. Ansible is used for Windows Server 2012/2016, which requires WinRM protocol - Windows host can be identified with the Windows logo as shown in the image below
Adding Windows Password Credentials to CHAI™ Vault
CHAI™ saves all credentials including username and password in the vault. When "Choose Credential" option is selected, it shows Vault not found. Click here to add new. Next time when you run this wizard again, it shows the "Name of the Vault" listed in the vault dropdown.
The page "Add Vault" is displayed as shown in the image below:
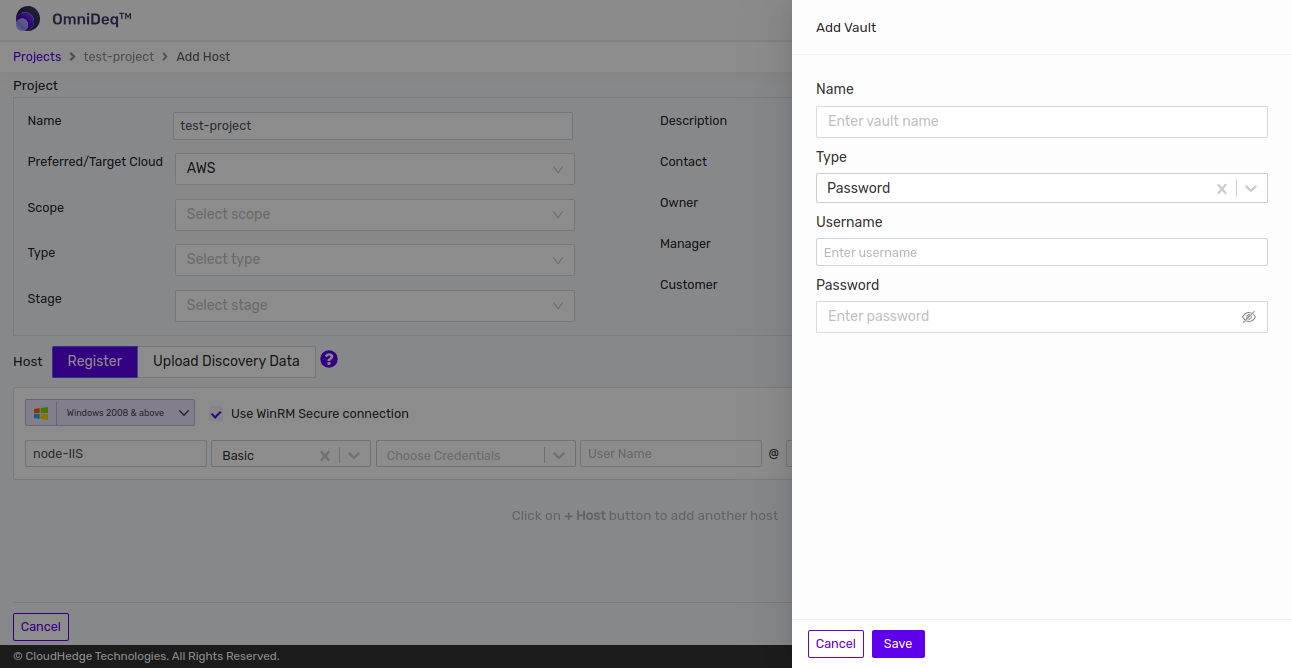
Supply values and click the Save button: - Name: Enter vault name - Type: Password - Username: Enter Windows username - Password: Enter Windows password
Important:
The single quote (') and double quote (") in password doesn't work. Please create an additional user if any for CHAI™ usage.
Note:
On Windows OS, user needs to run a PowerShell script that:
- Enables WinRM service
- Opens port 5986
You should execute this script on the Windows host that you want to run the discovery process against. The PowerShell script can be downloaded by clicking here "The PowerShell Script".
Adding Multiple Hosts
You can add multiple hosts in one project by clicking the + Host button as shown in the image below.

Click the Save button at the bottom to create and save the project.
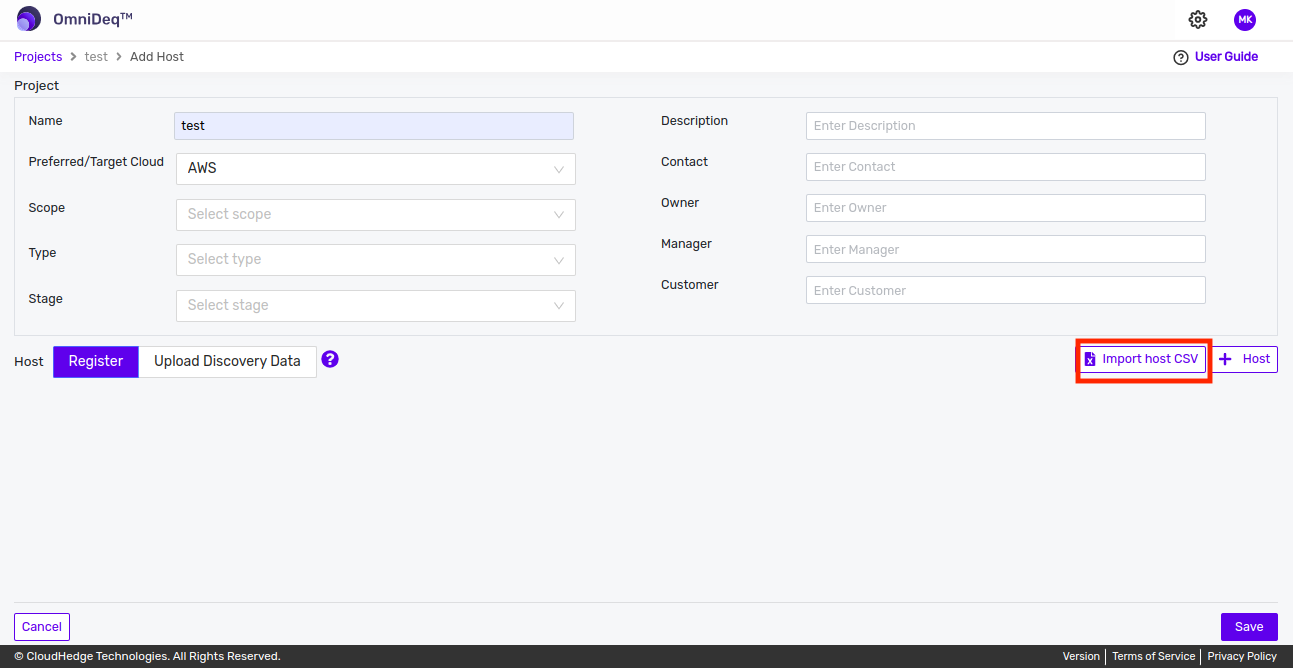
Adding Multiple Hosts Using CSV File
Add multiple hosts in the project using the Import host CSV button as shown in the image below.
Click the Import host CSV button. The drawer opens as shown in the image below.
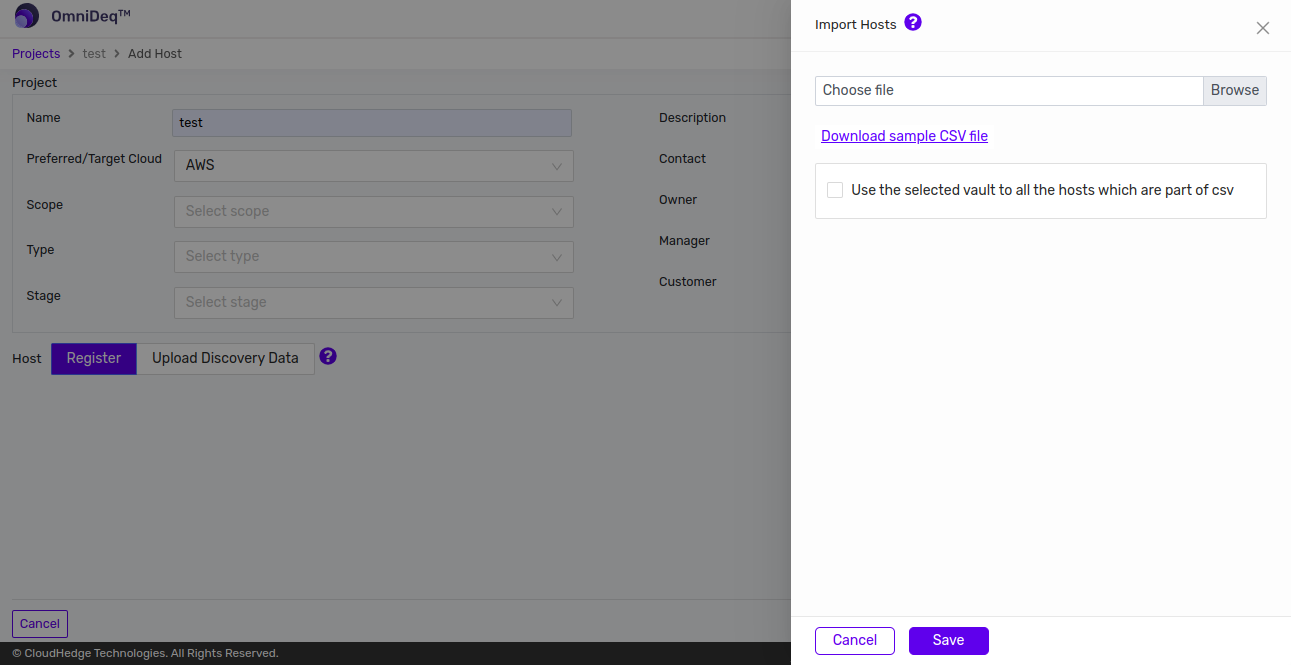
- Choose File: Browse and select the CSV file (.csv) containing host(s) information from local file system. Click the Save* button
CSV File Format for Bulk Upload Hosts
| Project Name | OS | Host name or IP | Alias | Username | Port | Connection Type | Vault Name |
|---|---|---|---|---|---|---|---|
Field Descriptions:
- Project Name: It is the name of the project. You can give any name in the project name field. The project name must be unique across the file
- OS: It is the name of the OS of the host
- Alias: It is the host name which will show in the project. You can give any name in Alias
- Username: It is the credentials which will be used to connect to the host
- Host Name or IP: It is the IP address of your host
- Port: It is the port number which will be used for data transmission. By default, port will be 22 for Linux
- Connection type: It is the protocol to connect to host. SSH connection type will be used for Linux
- Vault Name: It is the SSH vault names
Overriding Connection Type and Vault Name
To override the connection type and vault name present in the file, check the box as shown in the image below.
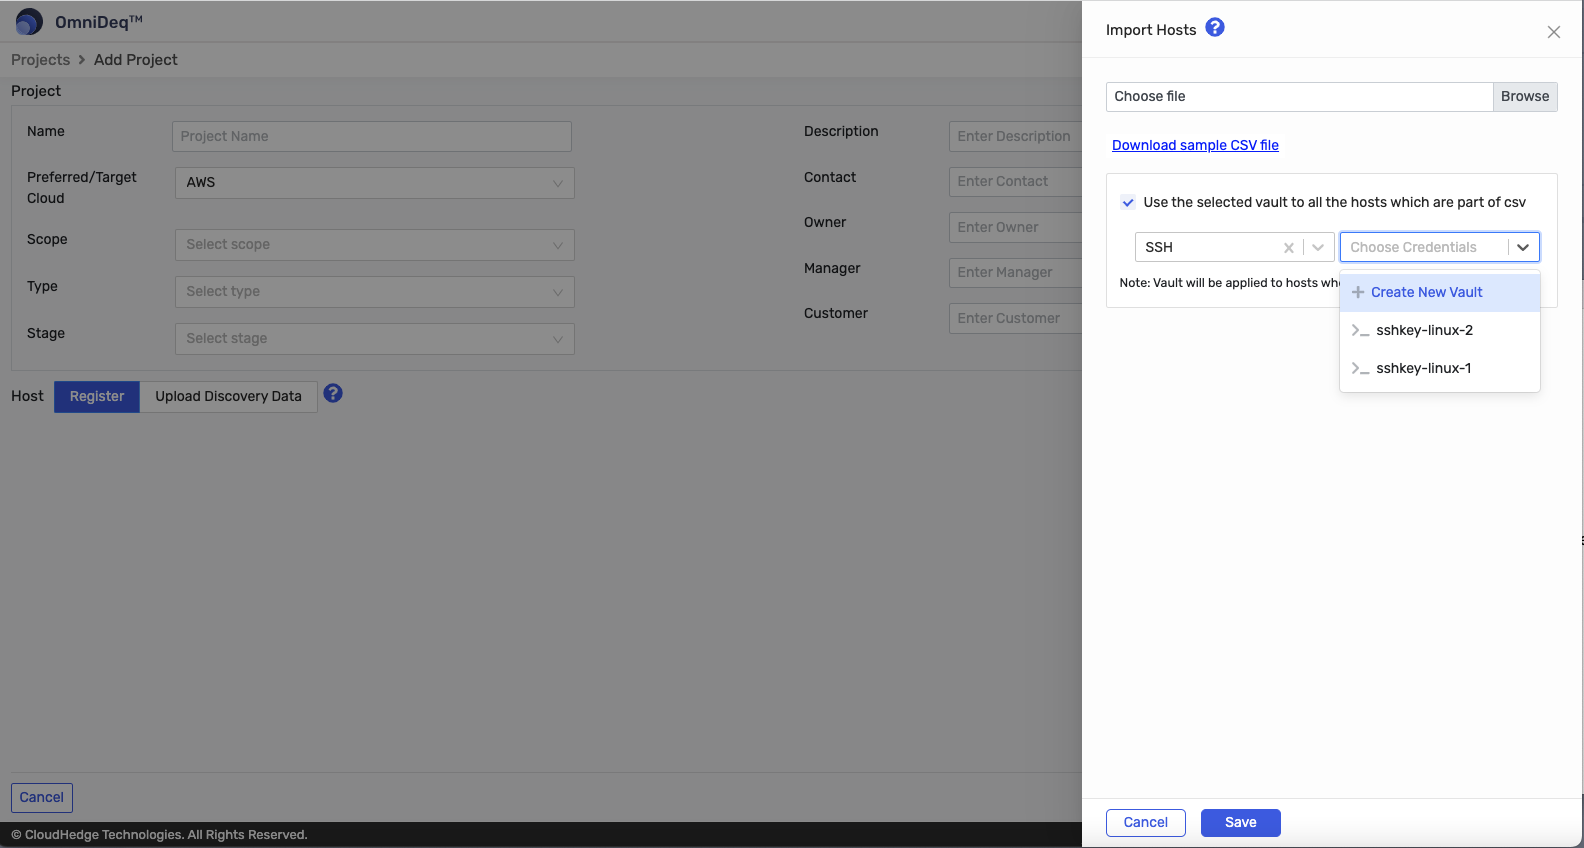
Notes: - CSV file must not contain any headers - When overriding connection type and vault name, vault will be applied to hosts who have selected connection type
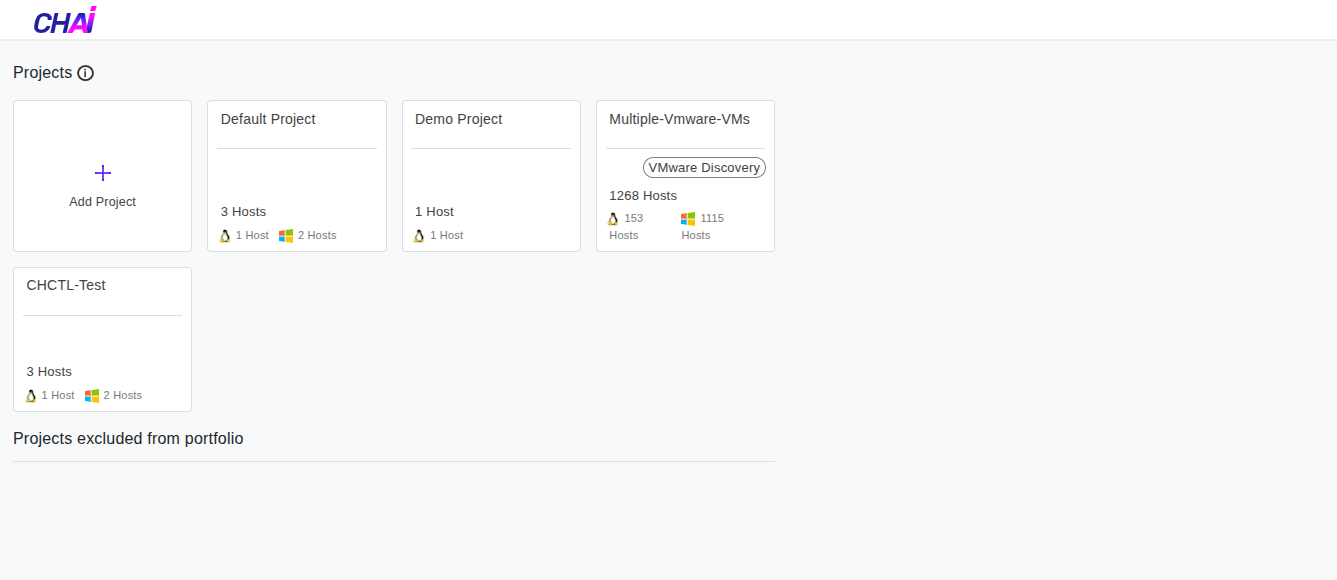
Once you add the host(s) and click the Save button, you can see the newly created project, as shown in the image below.
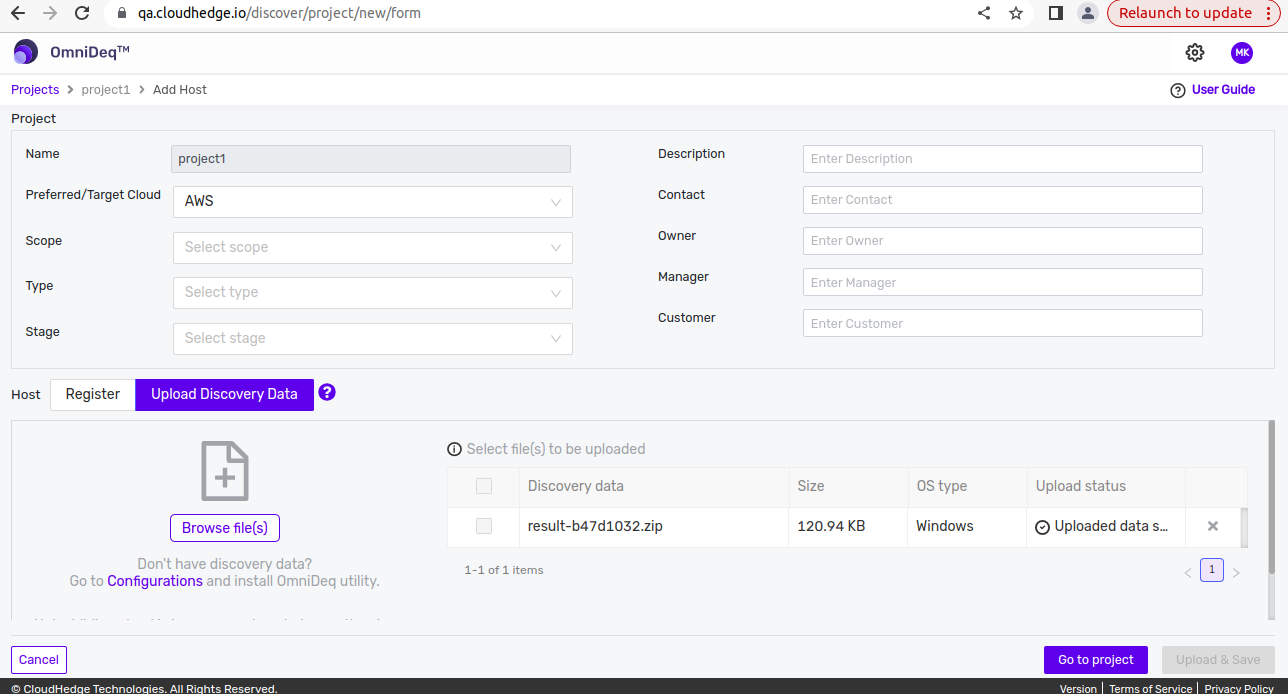
Upload Discovery Data
To upload discovery data, change the tab from Register to Upload Discovery Data as shown in the image below.
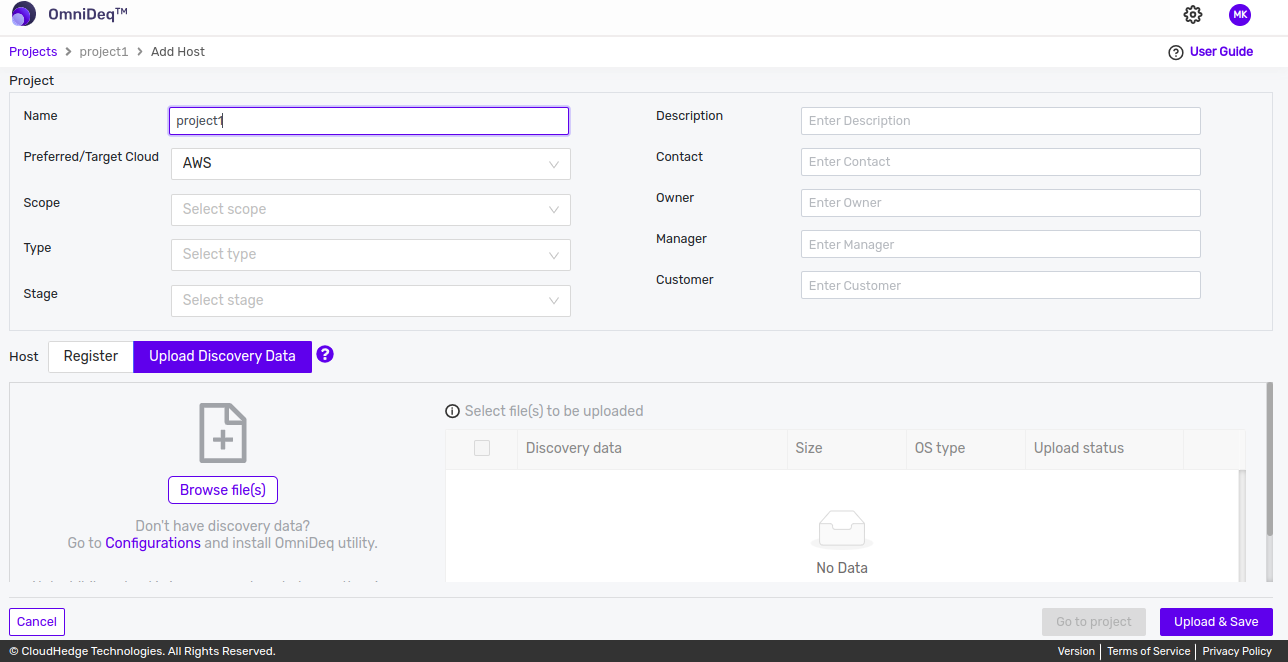
Click the Browse file(s) button to choose one or more file(s).
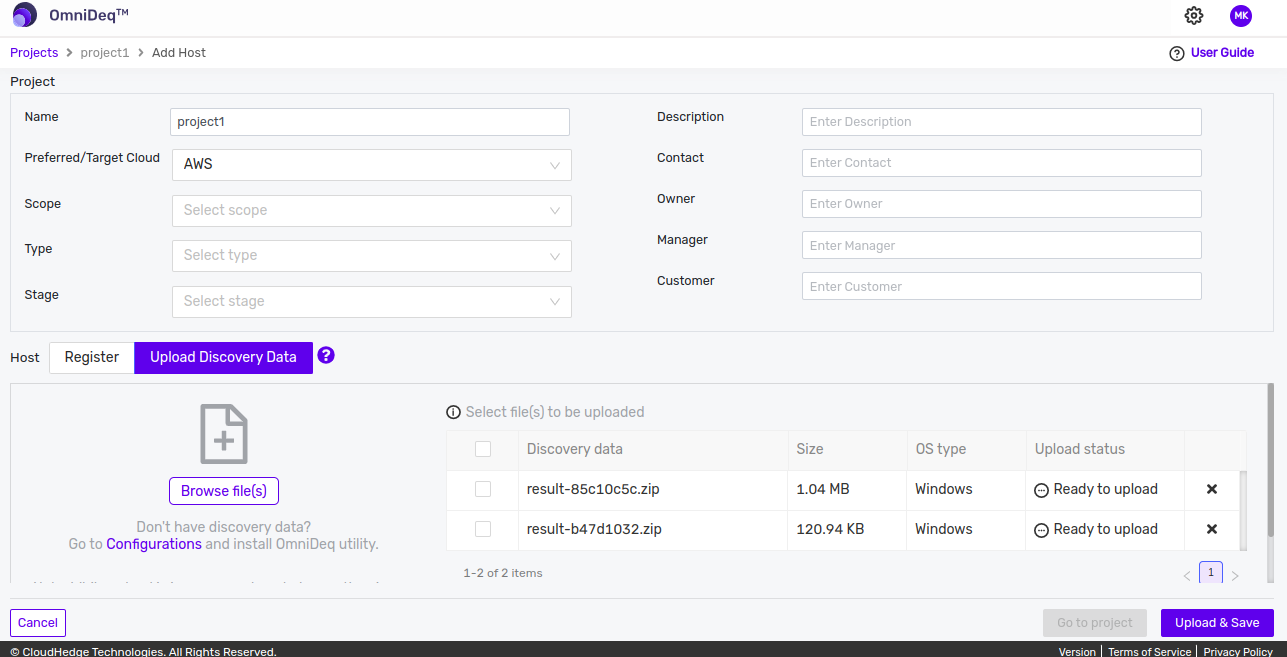
All the selected file(s) will be listed in the table as shown in the image below.
Now, select the file(s) to be uploaded from the table and click the Upload & Save button as shown in the image below.
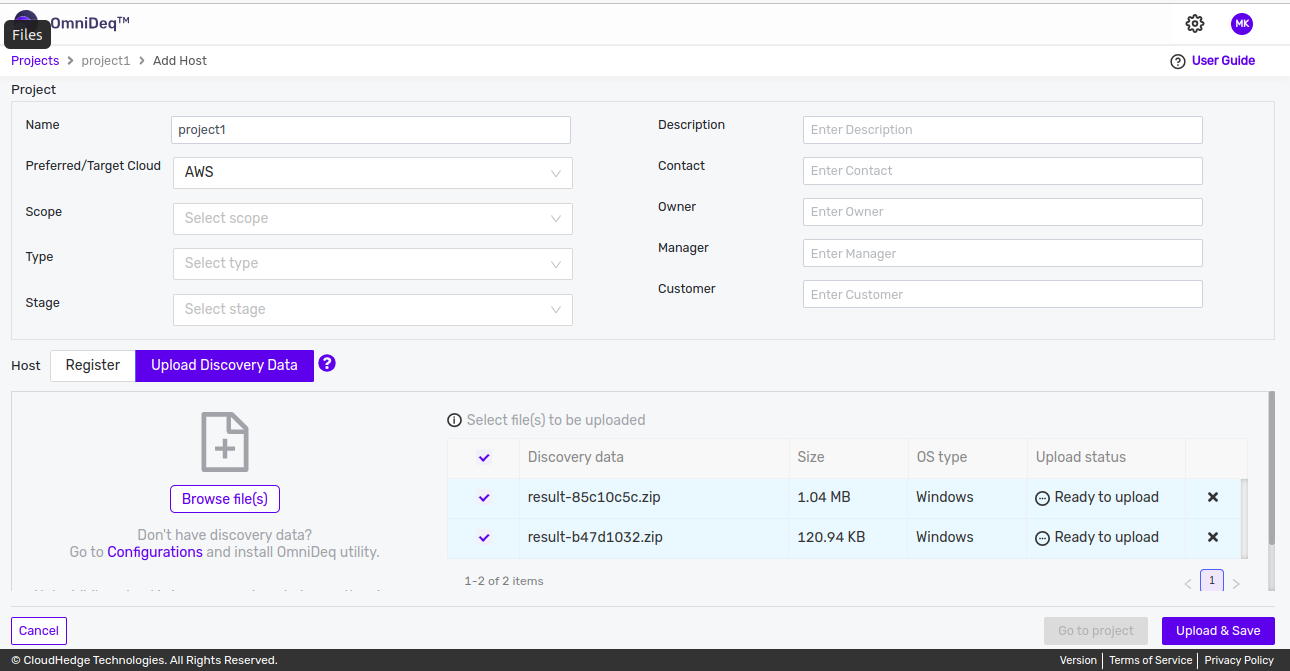
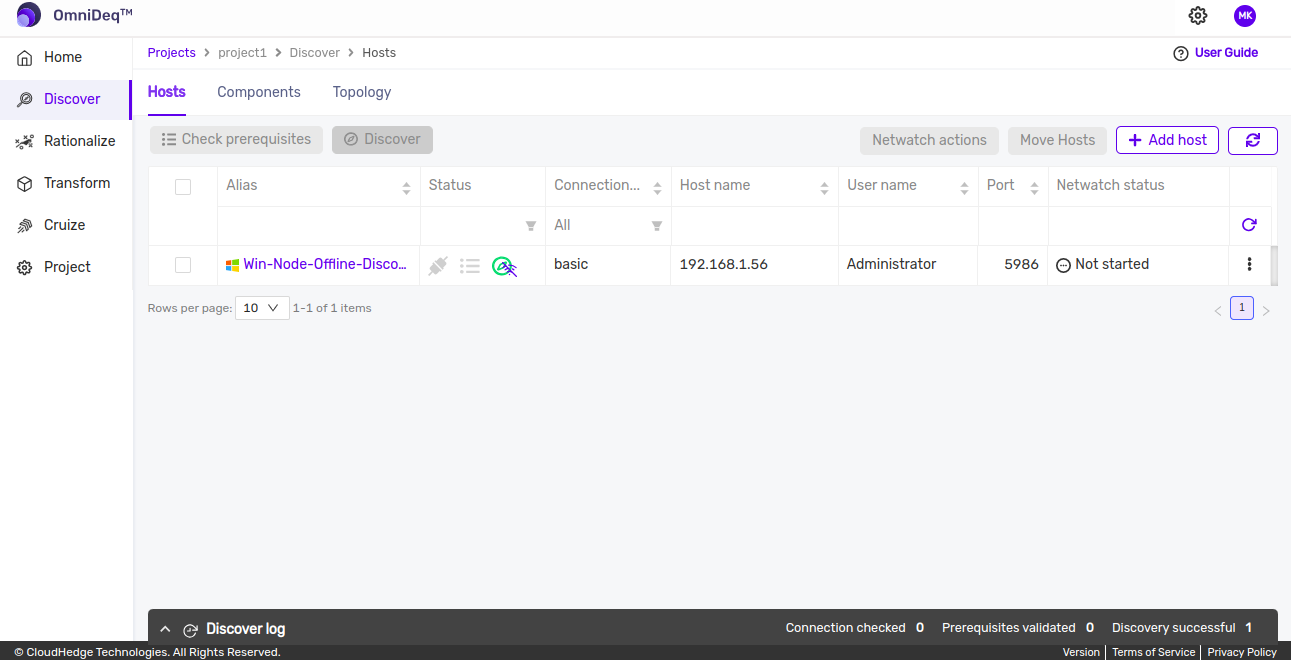
View upload status of each file in the Upload Status column of the table. Once the upload is successful, view the host(s) by clicking the Go to project button as shown in the image below.
After clicking the Go to project button, you will view the uploaded host list in the table as shown in the image below.
Notes: - If you don't have discovery data, then go to Configurations and install CHAI™ utility - While upload is in progress, do not change the view or refresh the page - Upload maximum 10 files at a time - Maximum file size allowed is 50 MB