Build Tomcat Container Image for a Web Application
CHAI™ transforms/replatforms the Tomcat Application Server, web applications into linux container images using Tomcat base container images.
Build box
It is an intermediate build system which is used to build the container image and upload them on the respective docker registry.
Steps for Transforming an already discovered Web Application to a container
-
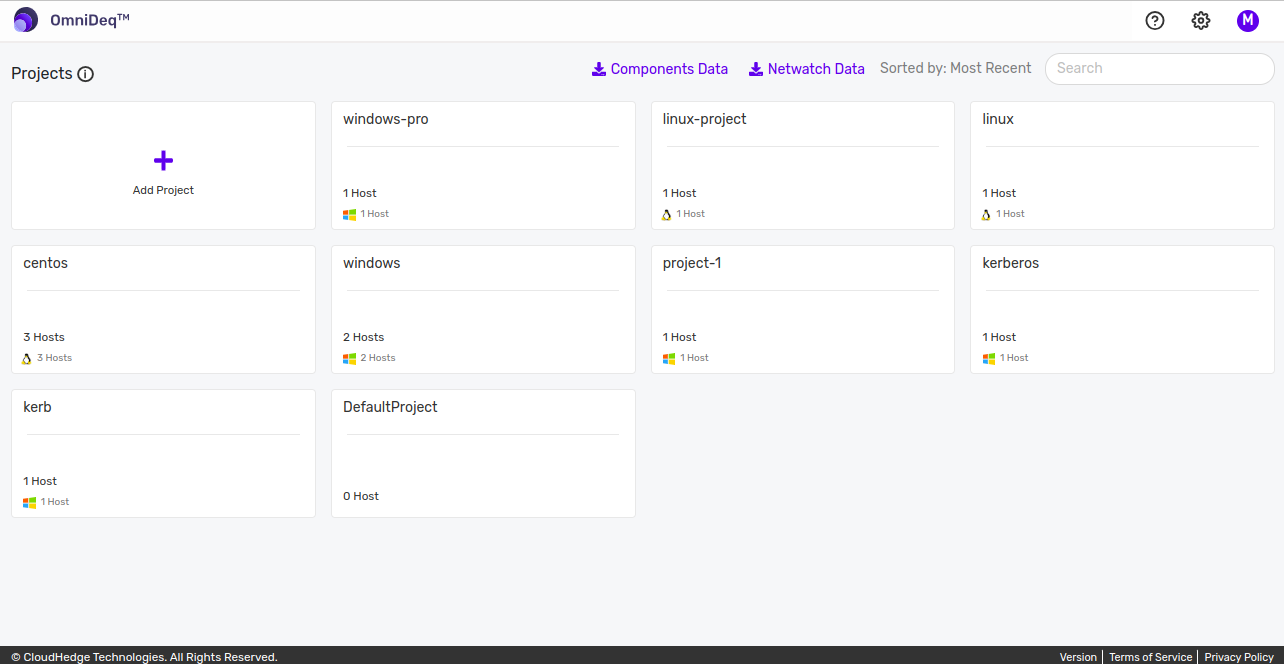
Click on the Project you want to transform process.
-
Once you click on the Project, click on
Transformin the menu on the left side, as shown in the image below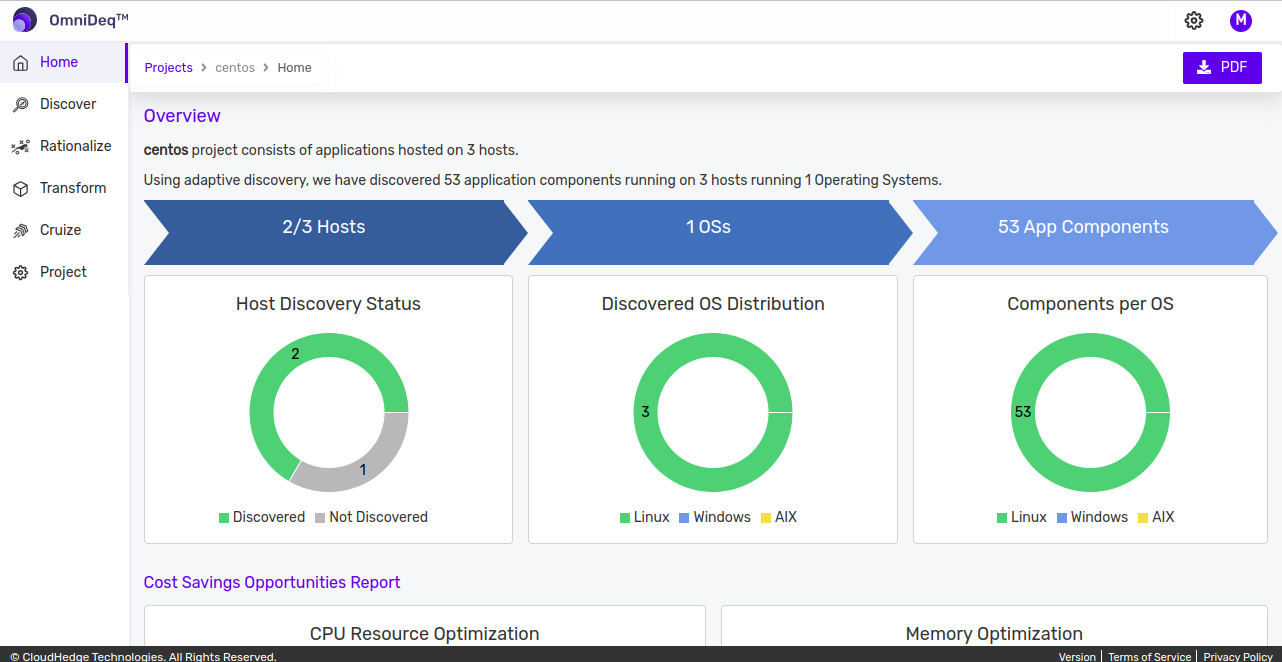
The Applications are listed in the table with the name of the Application prefixed with java-<virtualhostName>-<applicationname>.
-
Select the Tomcat web application you want to transform and click on the
Containerizeoption on the Action menu as shown in the image below.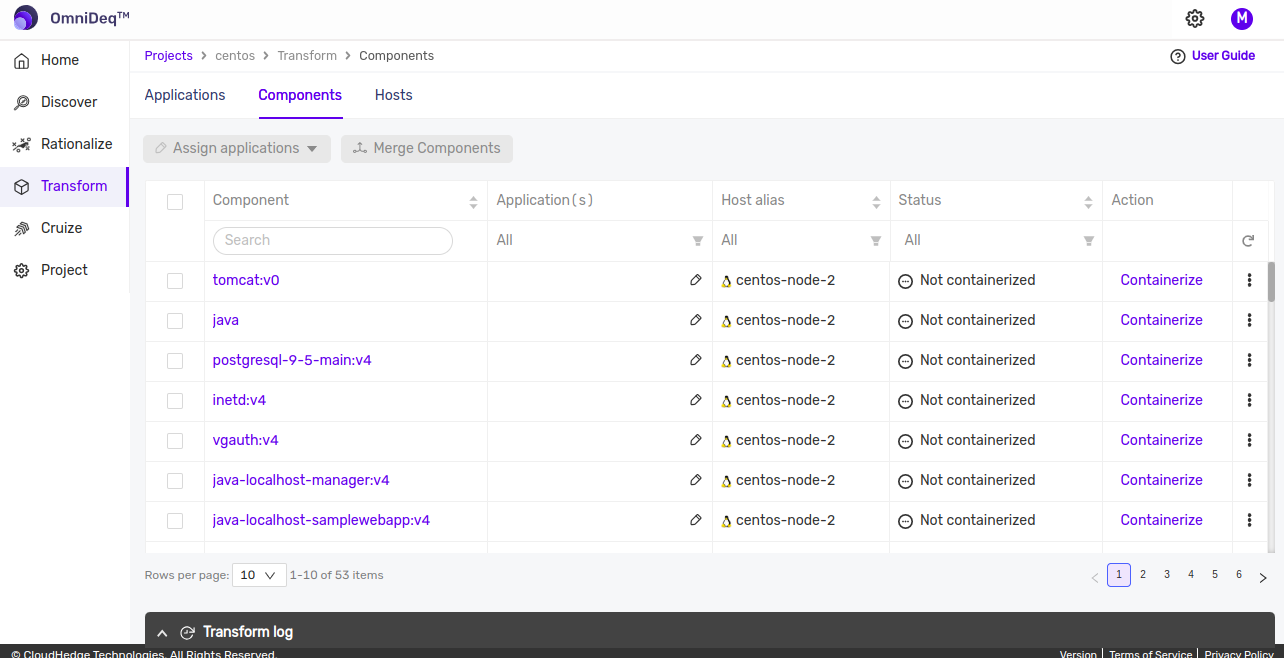
-
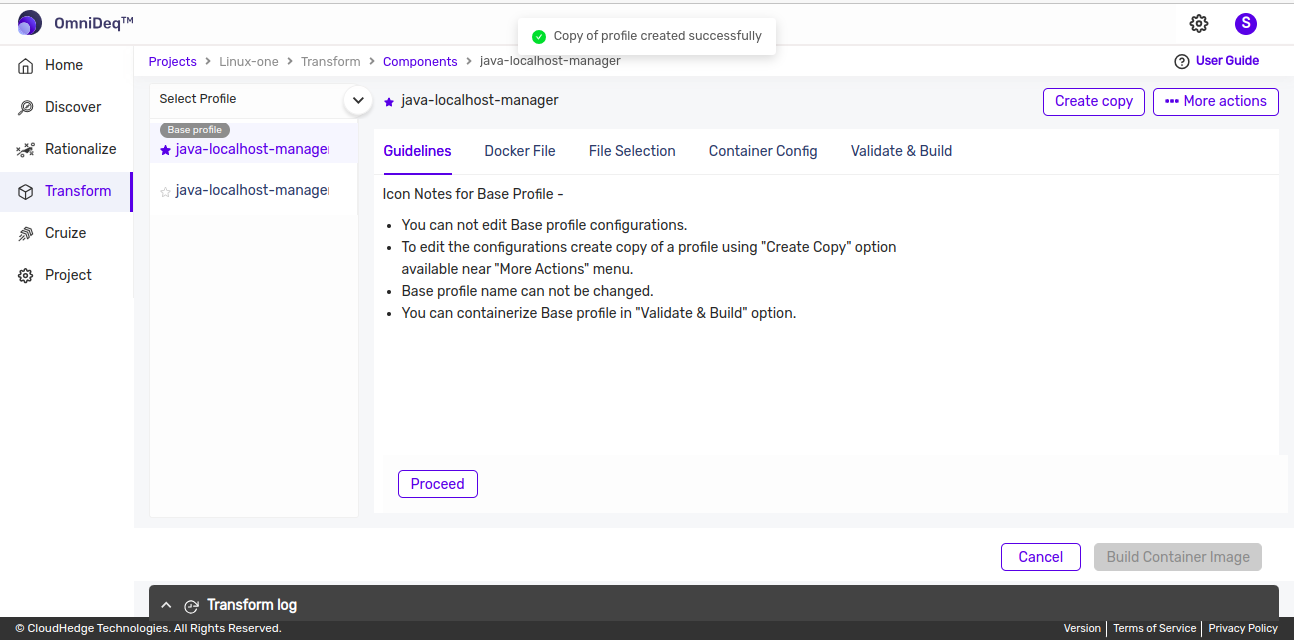
The screen shows the default Transform profile created for the Application.
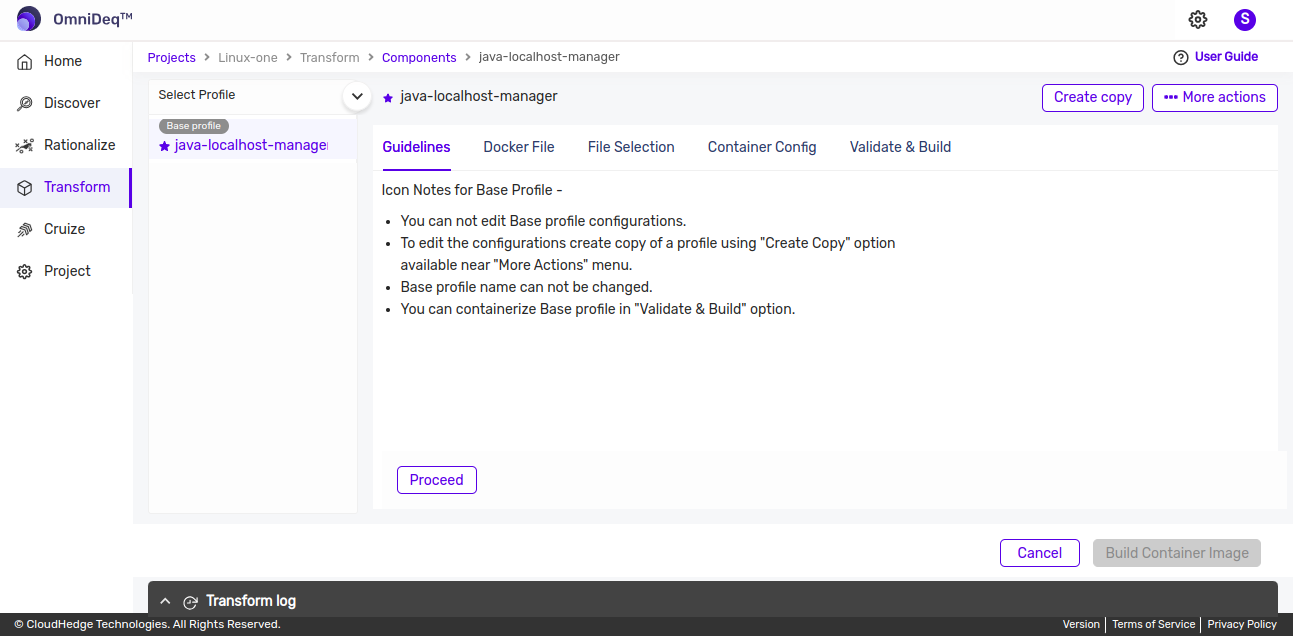
The Default profile is the template for creating the container for the Application. There are various parameters that need to be provided for transform to proceed. The Default profile cannot be modified and hence it is recommended to create a copy of the profile and proceed ahead.
-
Click "Create-Copy" Image button to create a copy from the default Profile. This will allow to configure the container parameters before building it. Once users clicks on Create-Copy Image button, it will show dialog box that ask for name of the copy profile. Provide a valid name (containing only alphanumeric characters and hyphen). It will create a profile and will show the page where profile parameters can be customized as shown in the image below.
-
On this page, one can customize the transform process by providing the appropriate values under the tabs as described below :
6.1 Edit Dockerfile
This shows the base Docker file used for the creation of the Tomcat container. The base container image is selected based on the version of Tomcat Server during discovery. Advanced users, who knows the Docker file contents, can edit this file by clicking the Edit button and Saving their modifications.

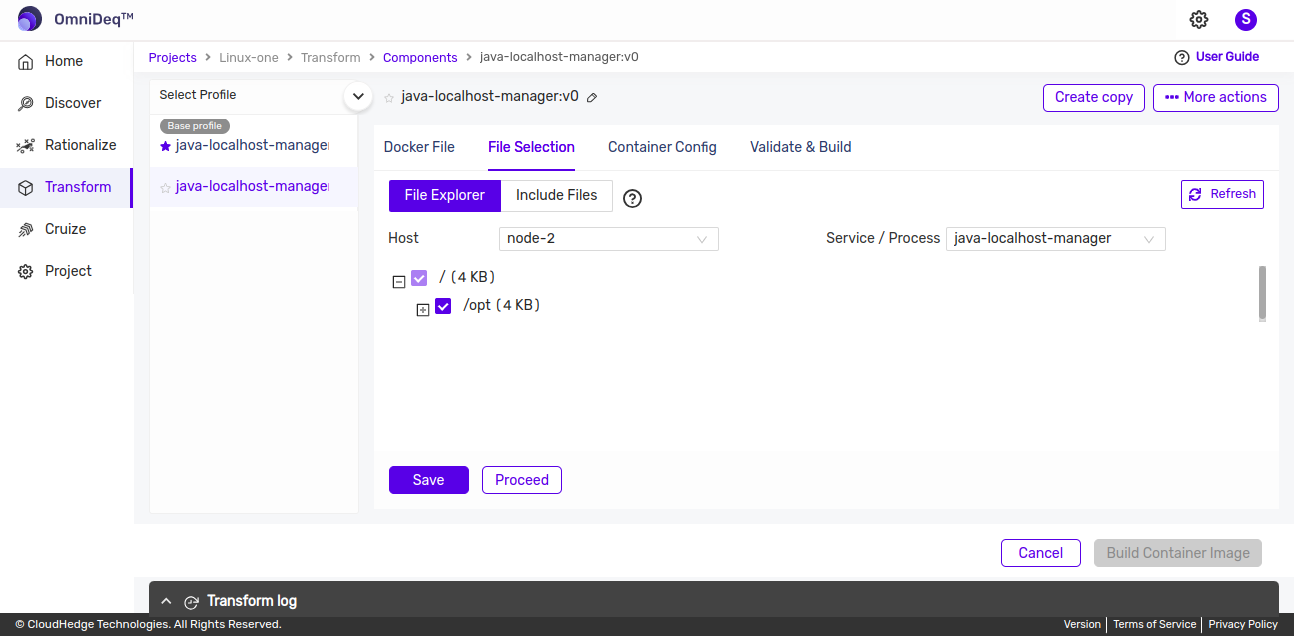
6.2 File Selection
The "File Explorer" tab shows the files that are bundled together to be included in the container as mentioned by the Dockerfile.
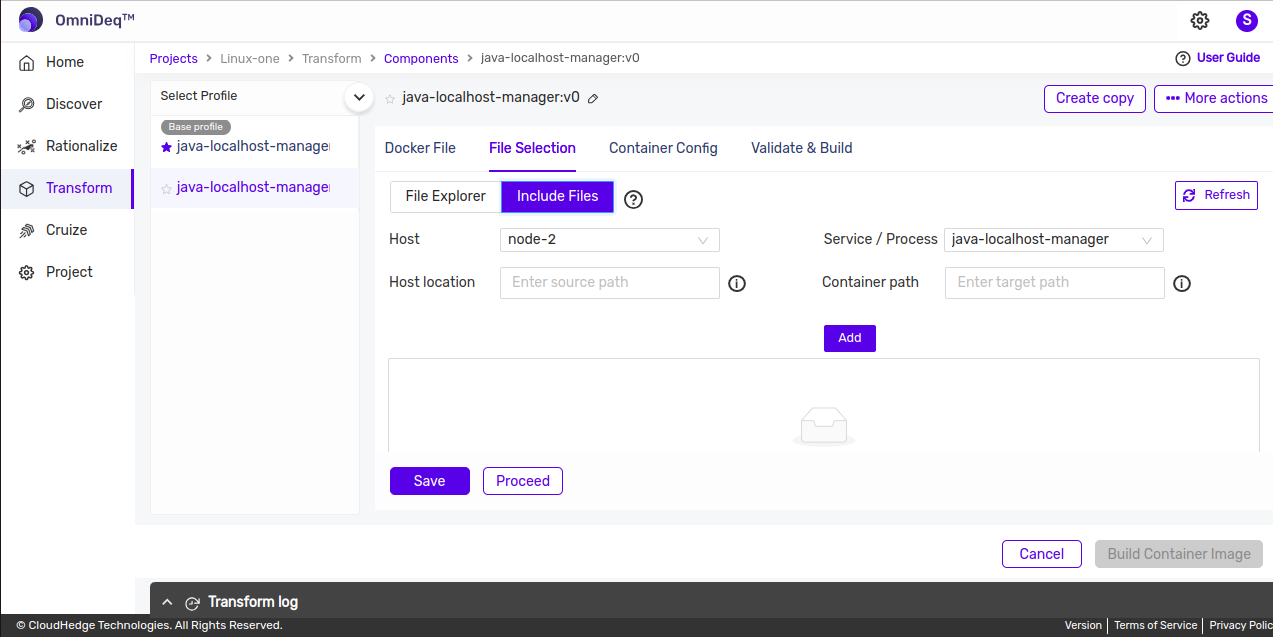
The "Include Files" tab allows users to bundle some of the additional files user may want to put in the container.
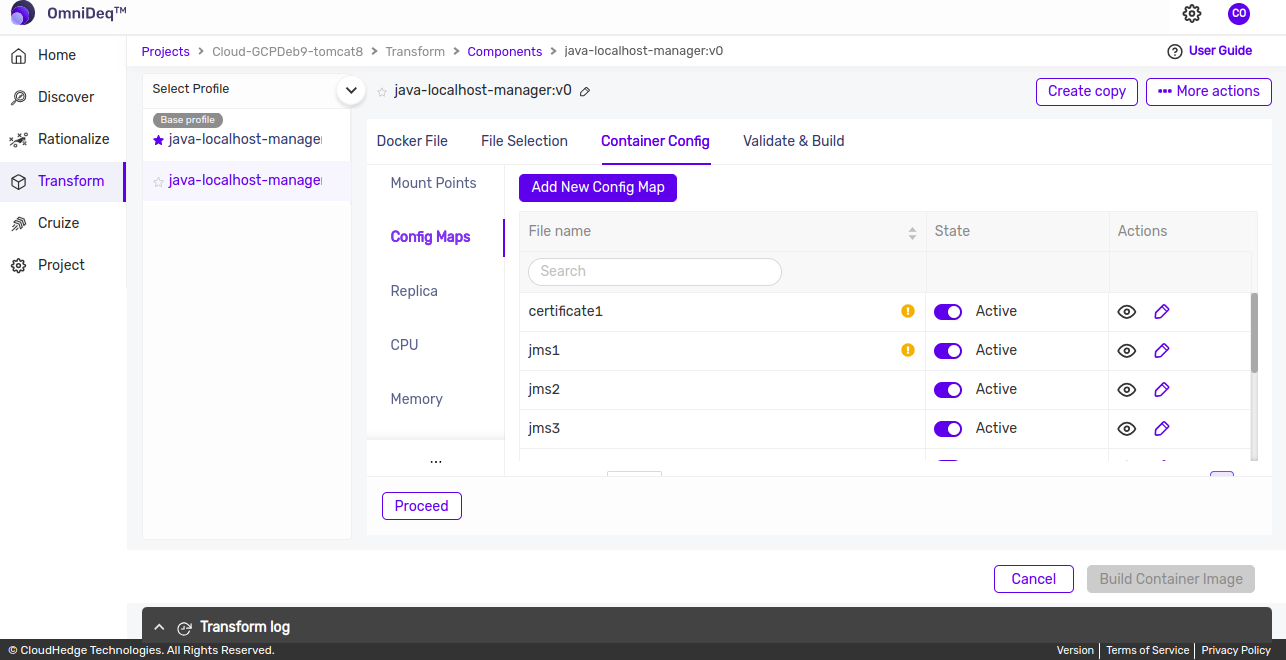
6.3 Container Config
The Container Config shows all the parameters relevant to build the container under various sections.
The Container Config -> ConfigMap section allows users to provide the parameters which are used in building the container. Expanding the Config Maps will show all the configurations and its parameters which are considered for building the container. Review the parameters in each of these configuration files. The parameters which needs mandatory user intervention is mentioned as < change-me >. Replace the < change-me > with users parameter value.
After all the parameter files are updated, users can go ahead with next steps to build the container for the application.
-
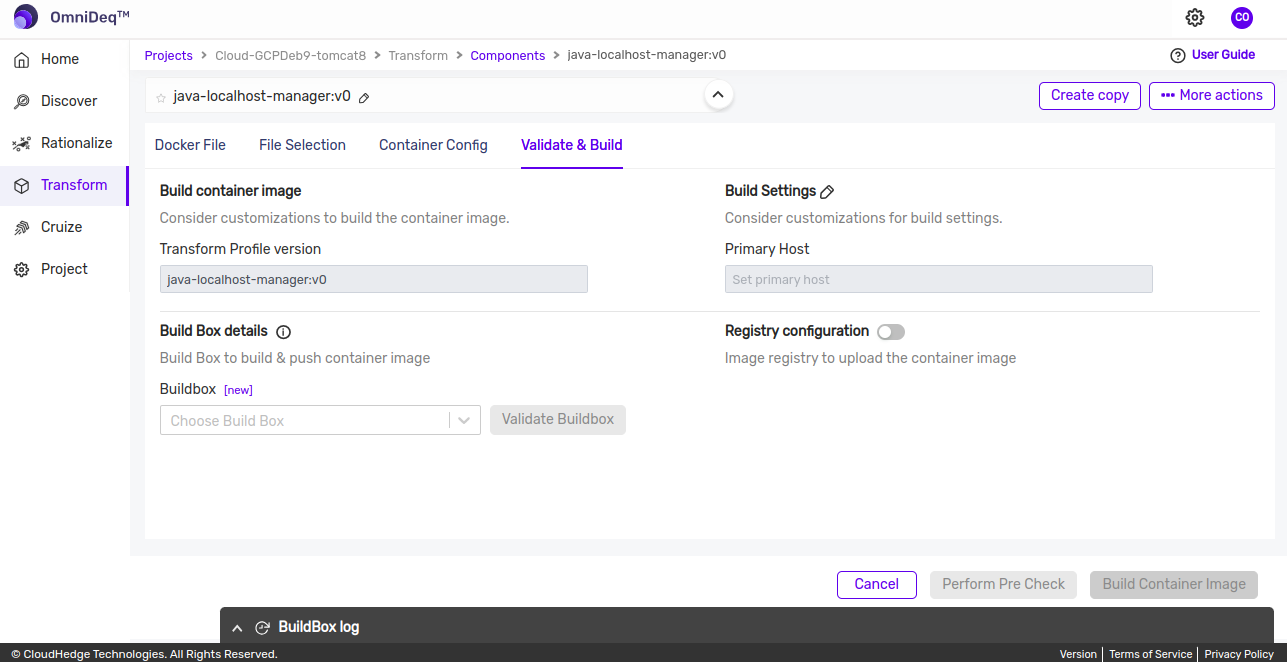
Once users clicks on Validate and Build Image button, it will open a page as shown in the image below.
Select the BuildBox to be used for building the container image and provide the Registry configuration details to upload the container image to.
-
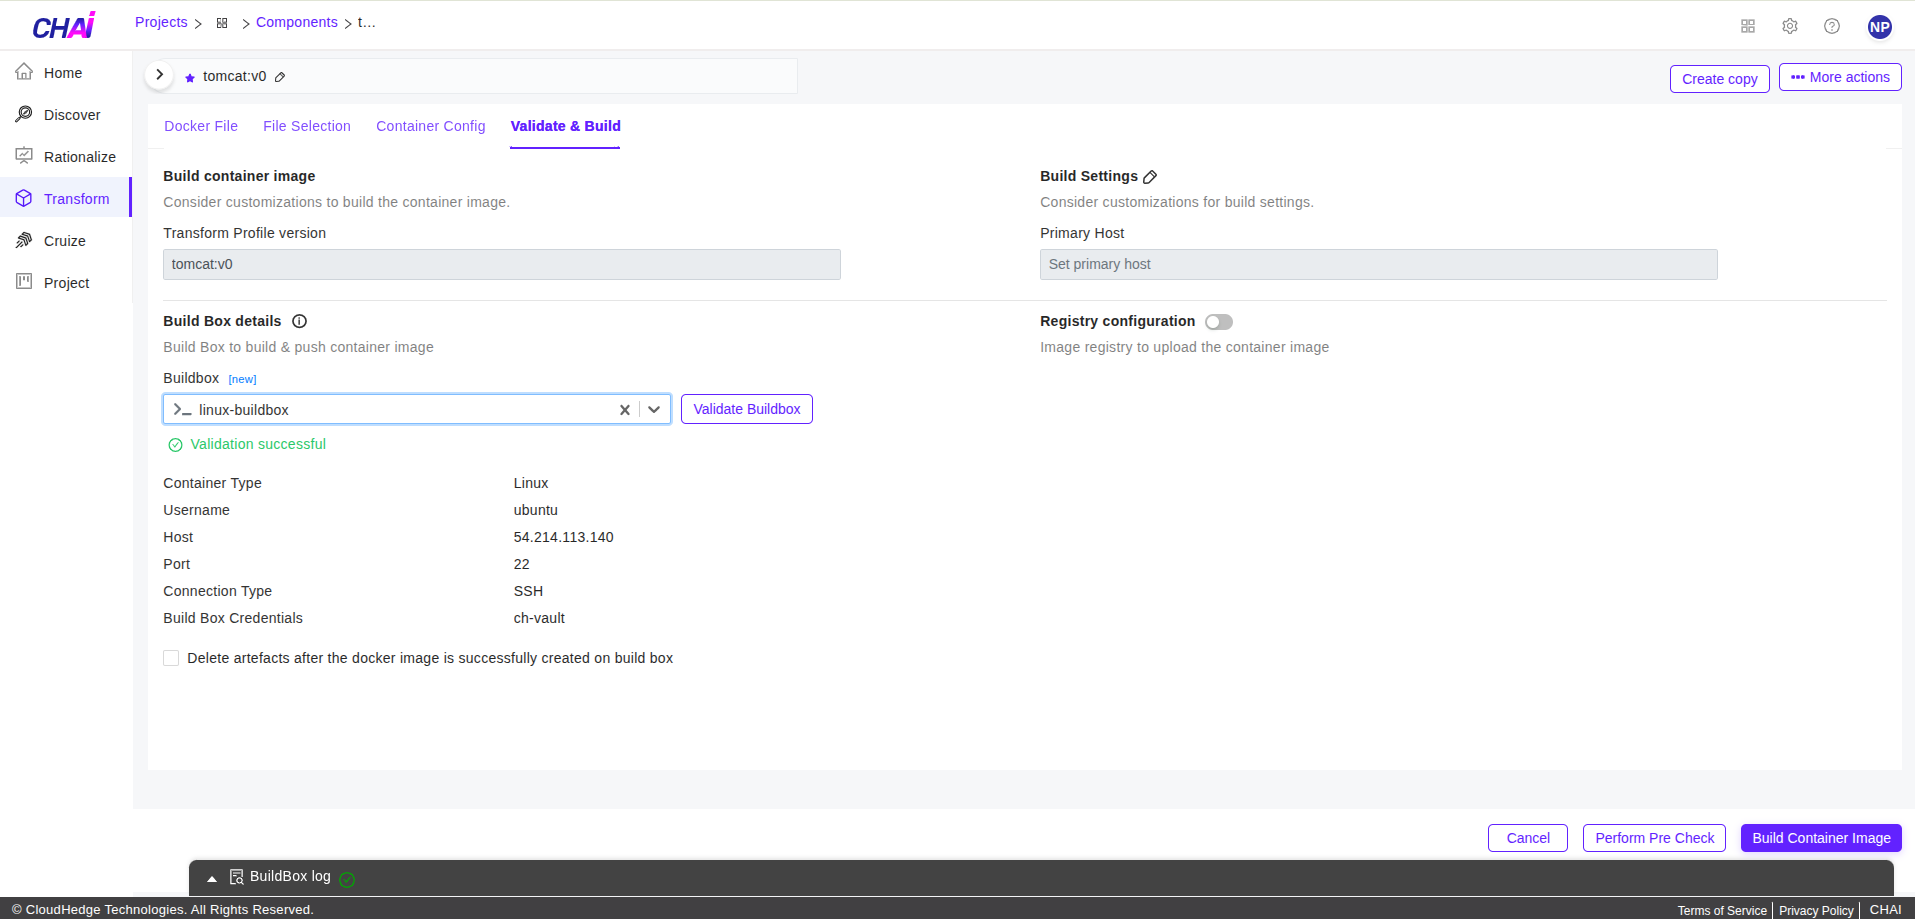
Select the build box to be used for building the image. For reference to adding a build box, click here. Scroll to Buildbox section.
-
Once users enters all the above details, Click on
Build Container Imagebutton as shown in the image below.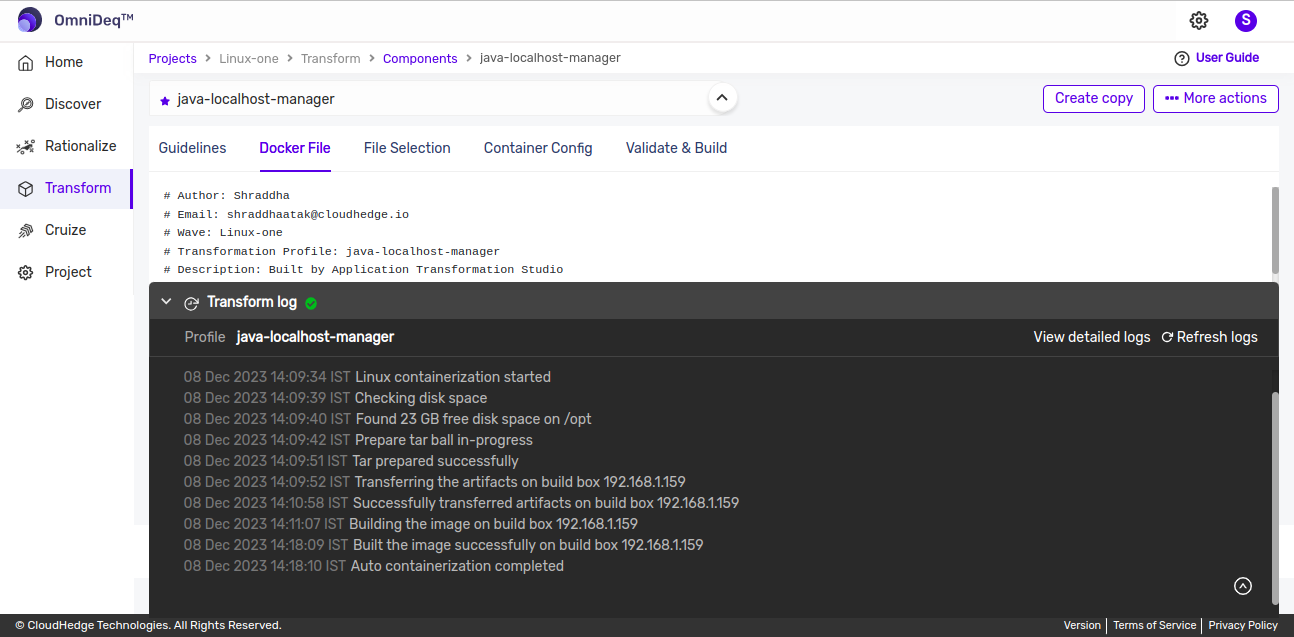
- Once the build is triggered, a notification appears saying "Auto Containerization started for ProcessName successfully". The container gets built on the BuildBox. The logs will show the status of the build as shown in the image
-
While the transform process is running in the background, users can also see the Logs for transformation by selecting the process and clicking on the Logs tab in the bottom.
-
users will get a success message after few minutes and the process transformation will be completed.
-
users can verify the Image on the registry which was pushed while adding the Build box.