Managing Workloads
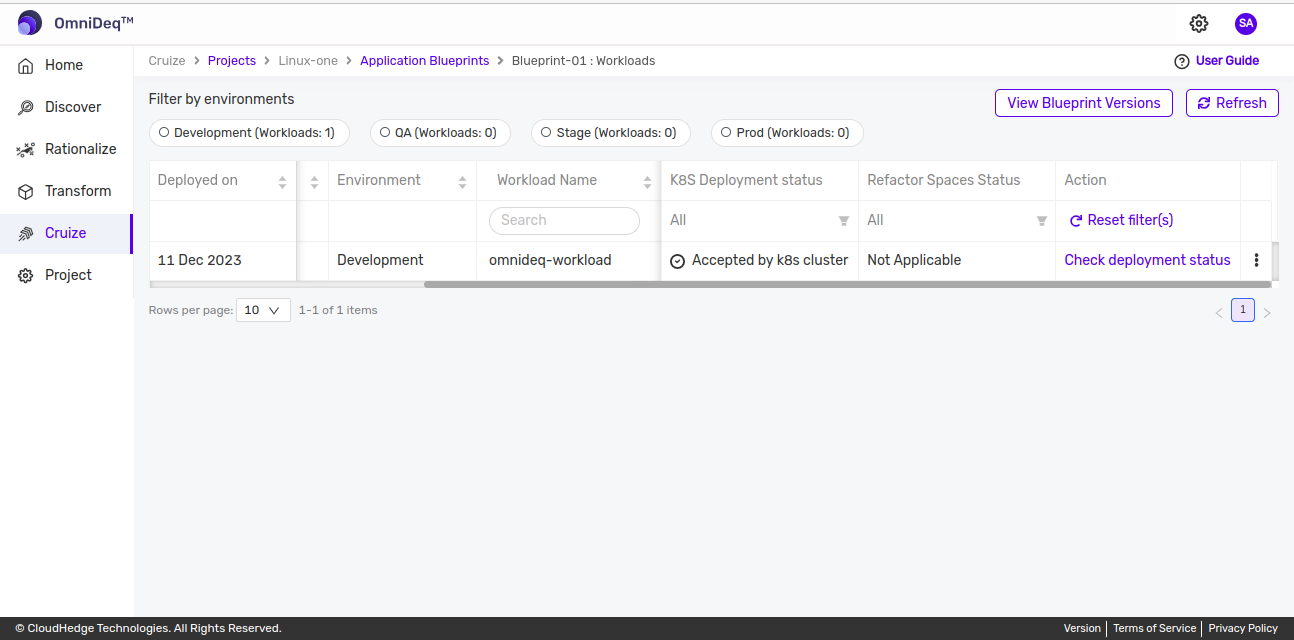
After creating a workload, it will be listed in the workloads table.
Workload Status
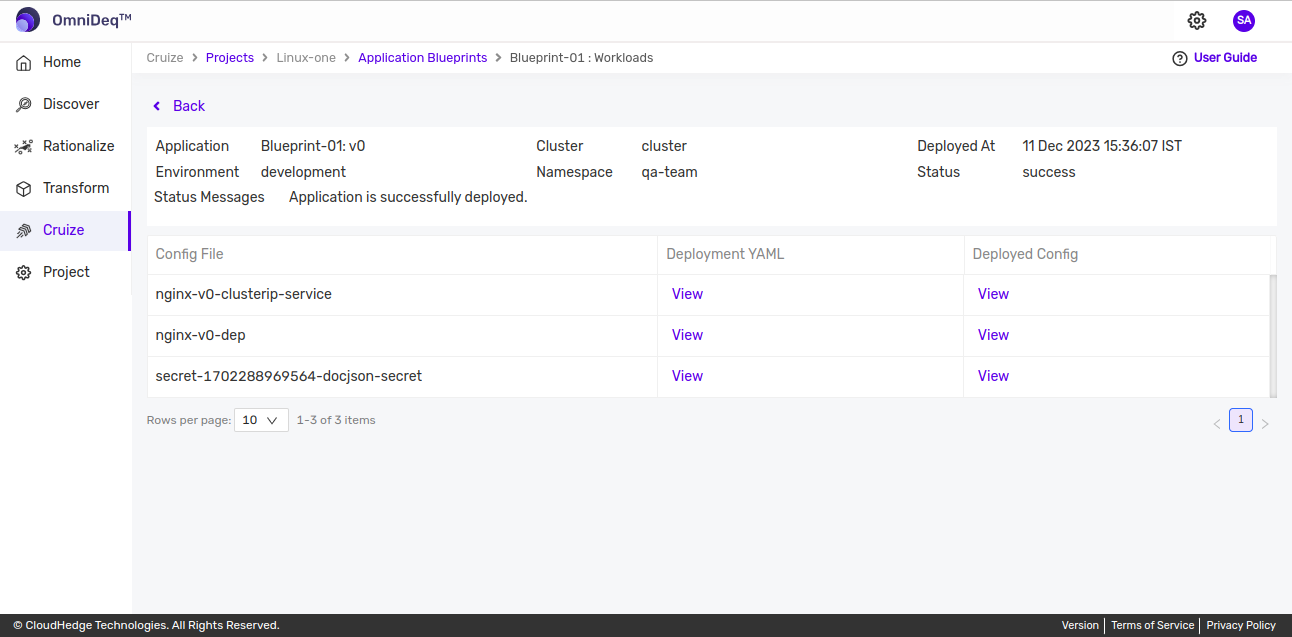
To view the workload status, click Check deployment status as shown in the image below.
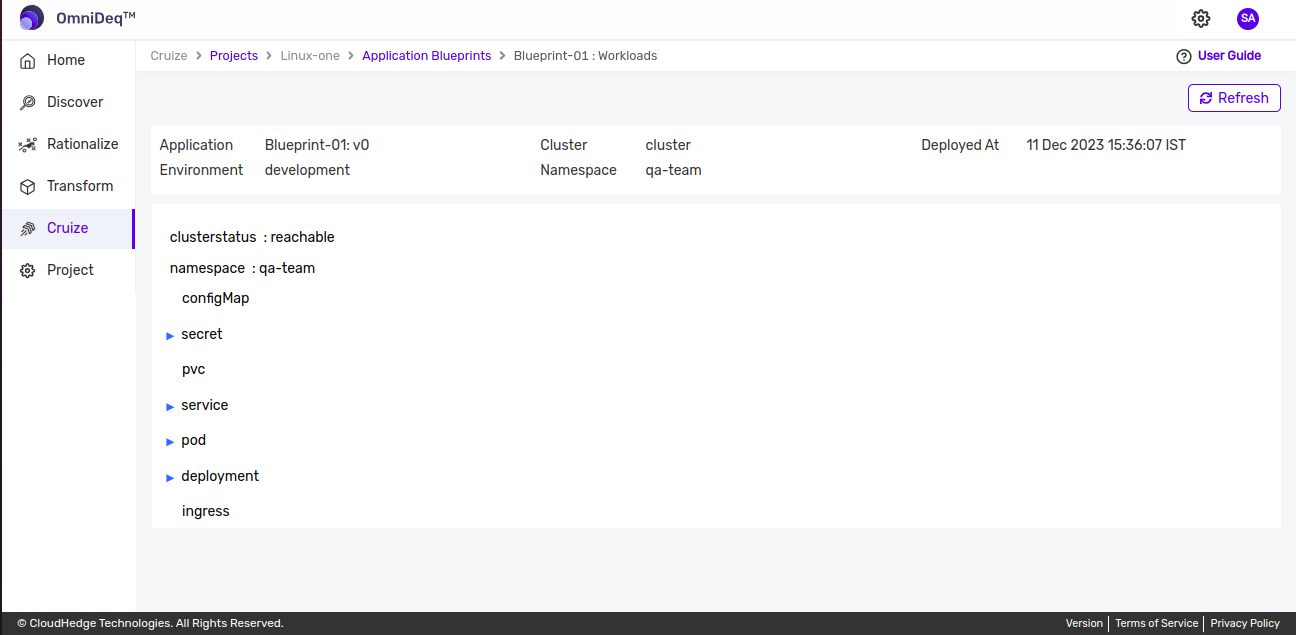
After clicking the above option, workload details will be displayed as shown in the image below.
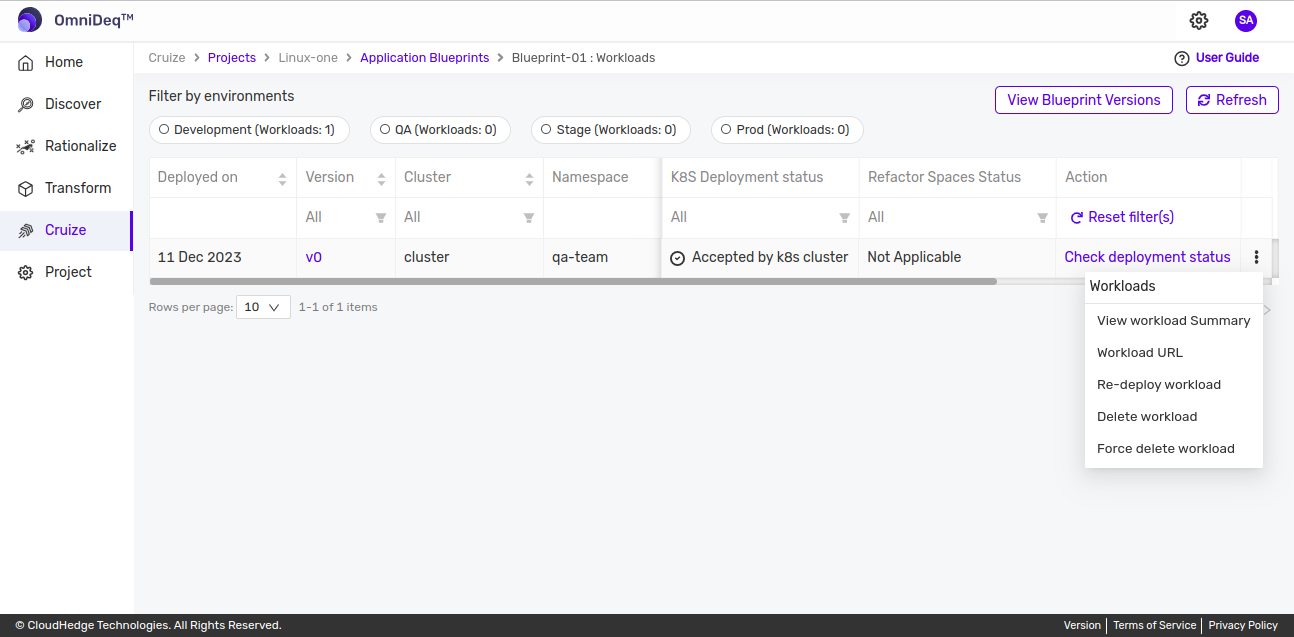
Actions on Workload
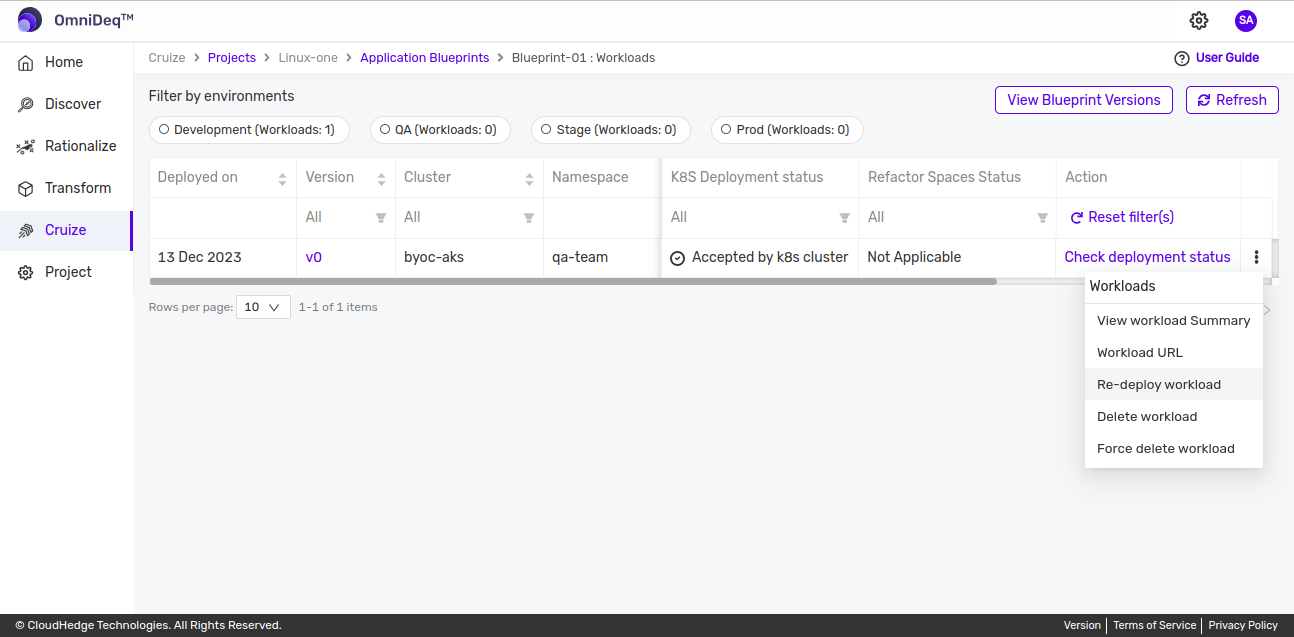
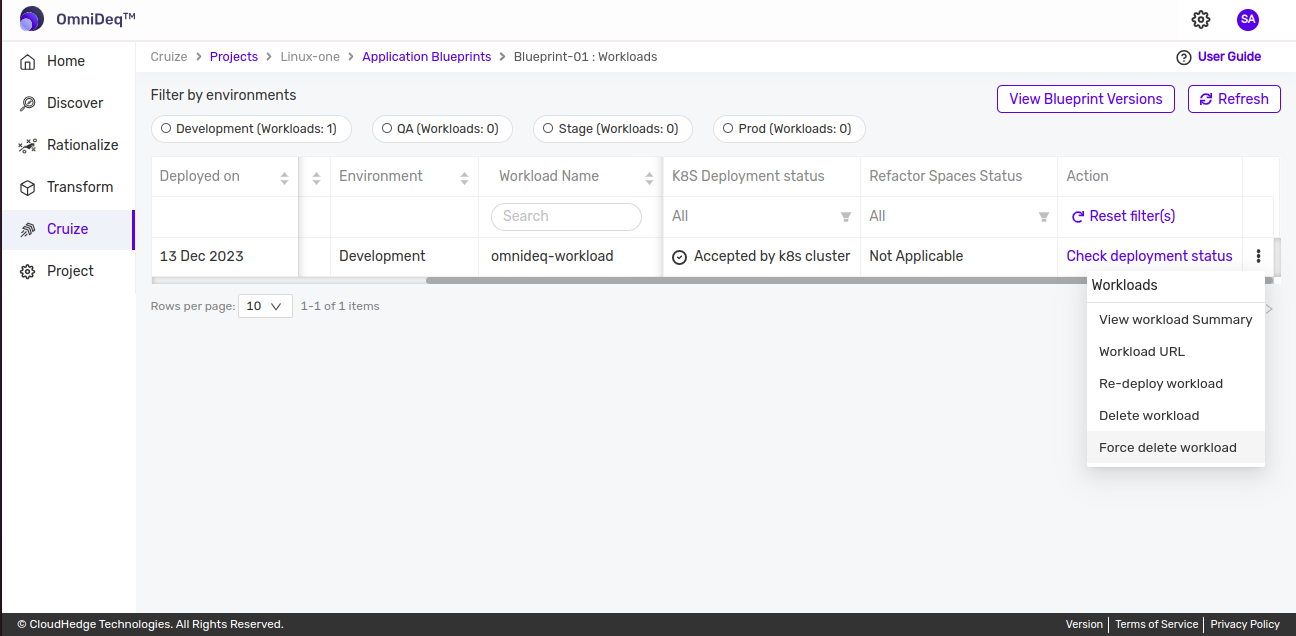
To manage a workload, click on the kebab menu (three-dot menu) of the workload. The following actions are available as shown in the image below.
1. View Workload Summary
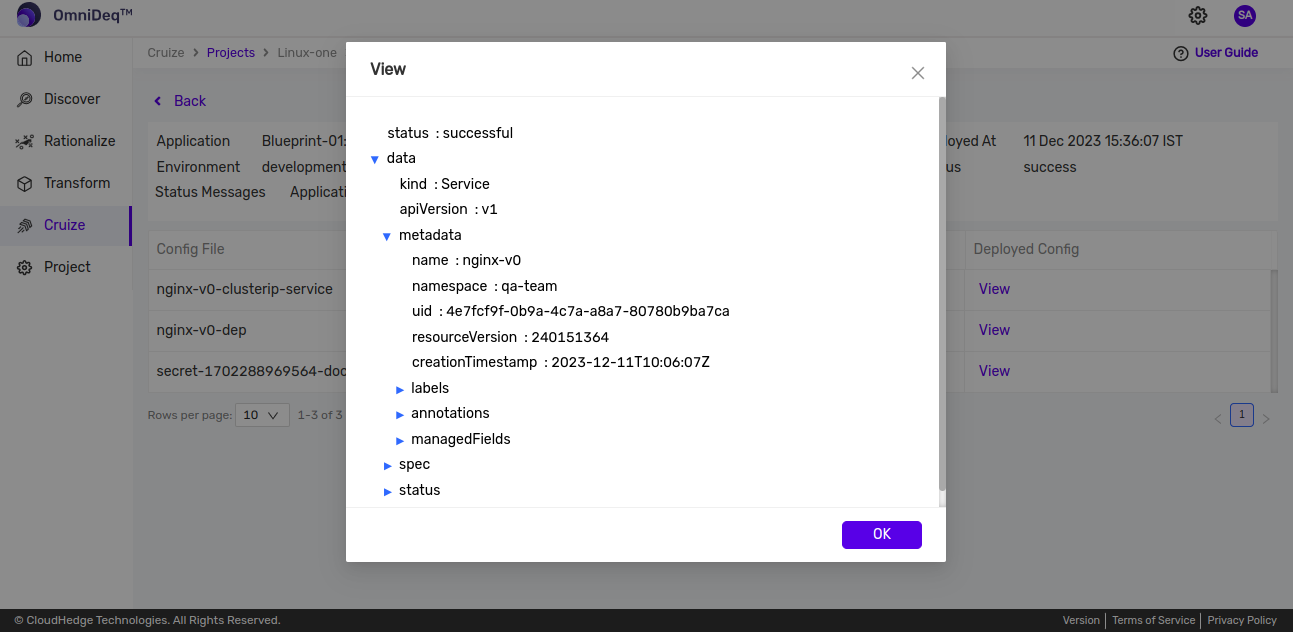
This option allows you to view the workload summary.
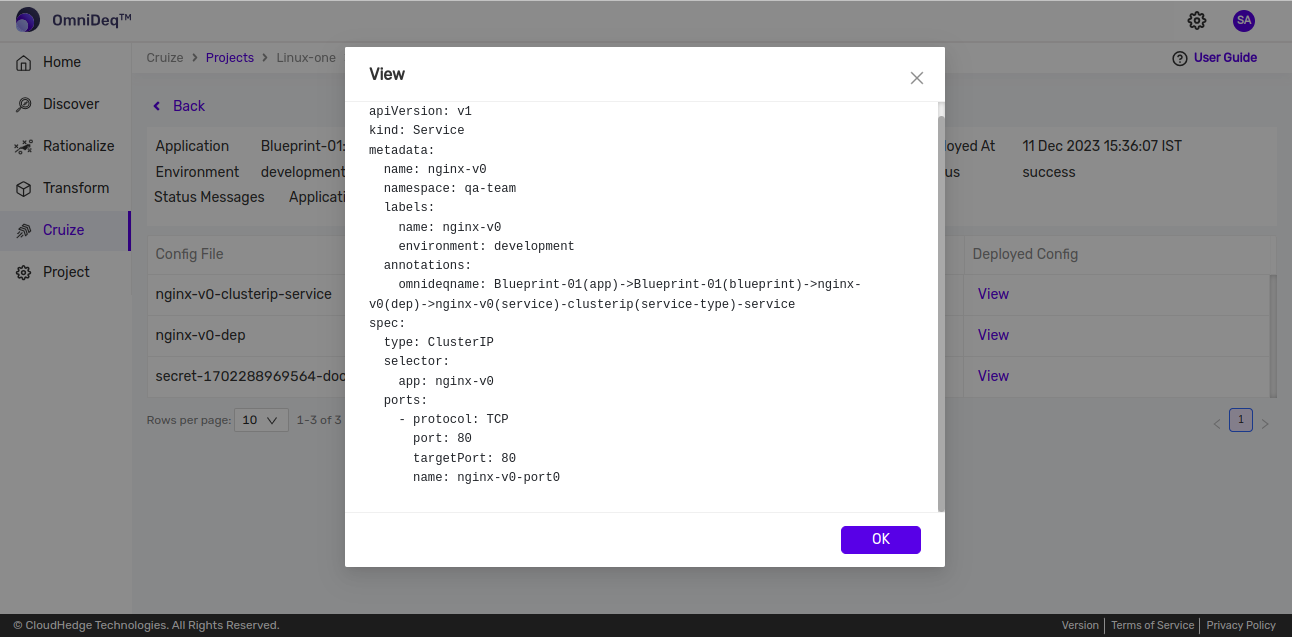
You can view the deployed YAML and JSON files using this option:
Deployed JSON:
Deployed YAML:
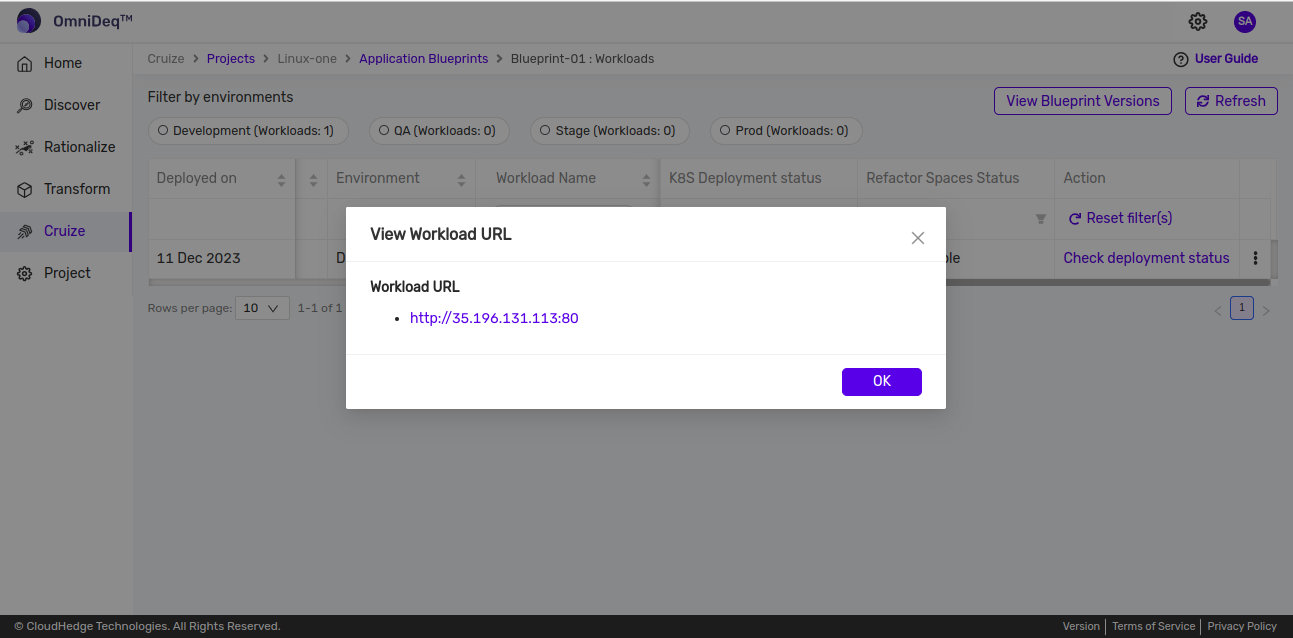
2. Workload URL
You will be presented with all the URLs as shown in the image below:
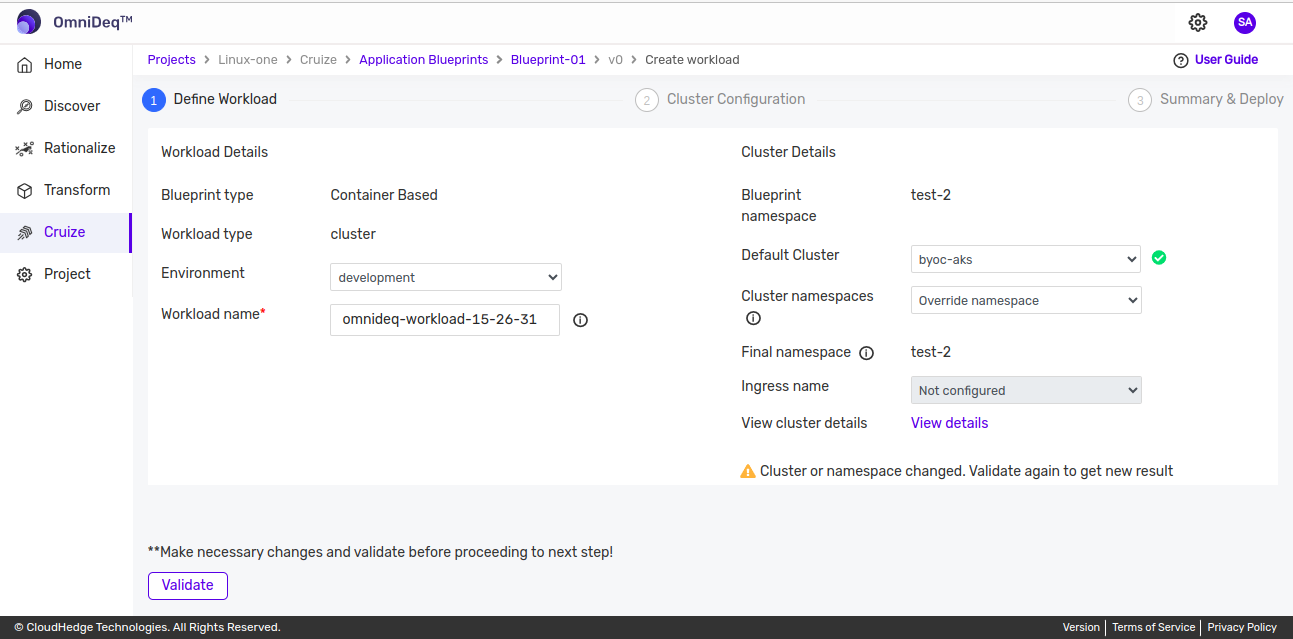
3. Re-deploy Workload
This option is used to re-deploy the application.
You will be navigated to the Create workload page. Here, previously fetched cluster details will be auto-populated to ease the re-deploy process as shown below.
4. Delete Workload
Use this option to soft delete the workload.
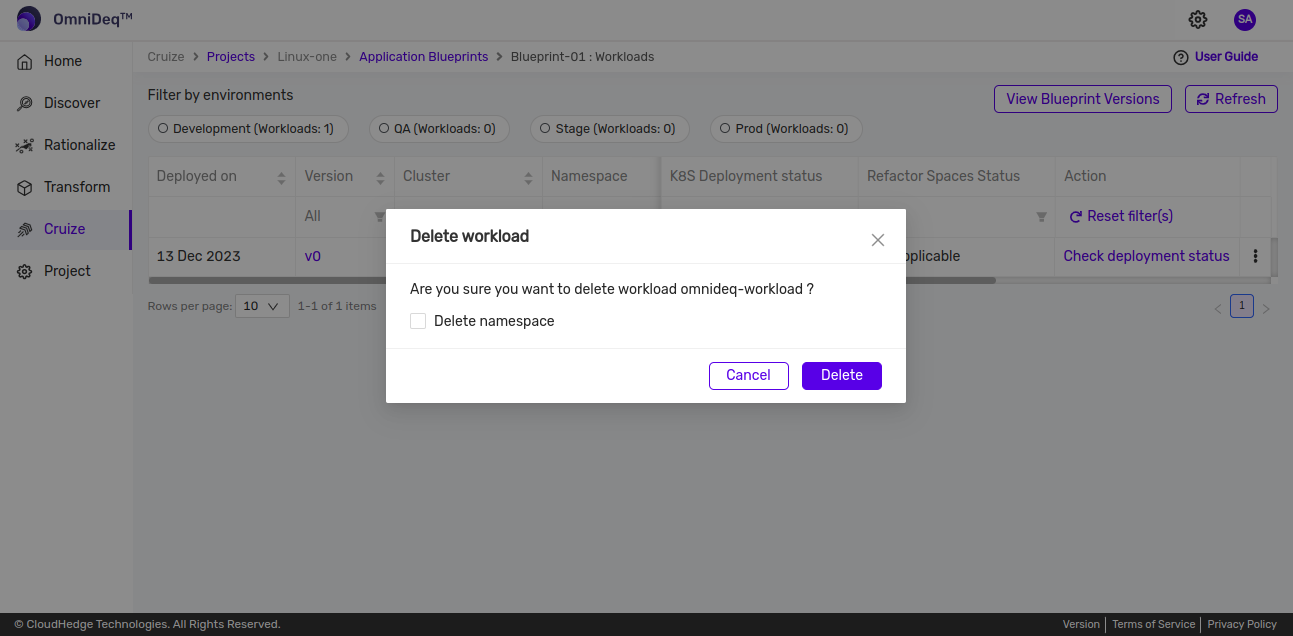
You can choose whether to delete the namespace as well. Once you click Delete, you will receive a notification as shown below.

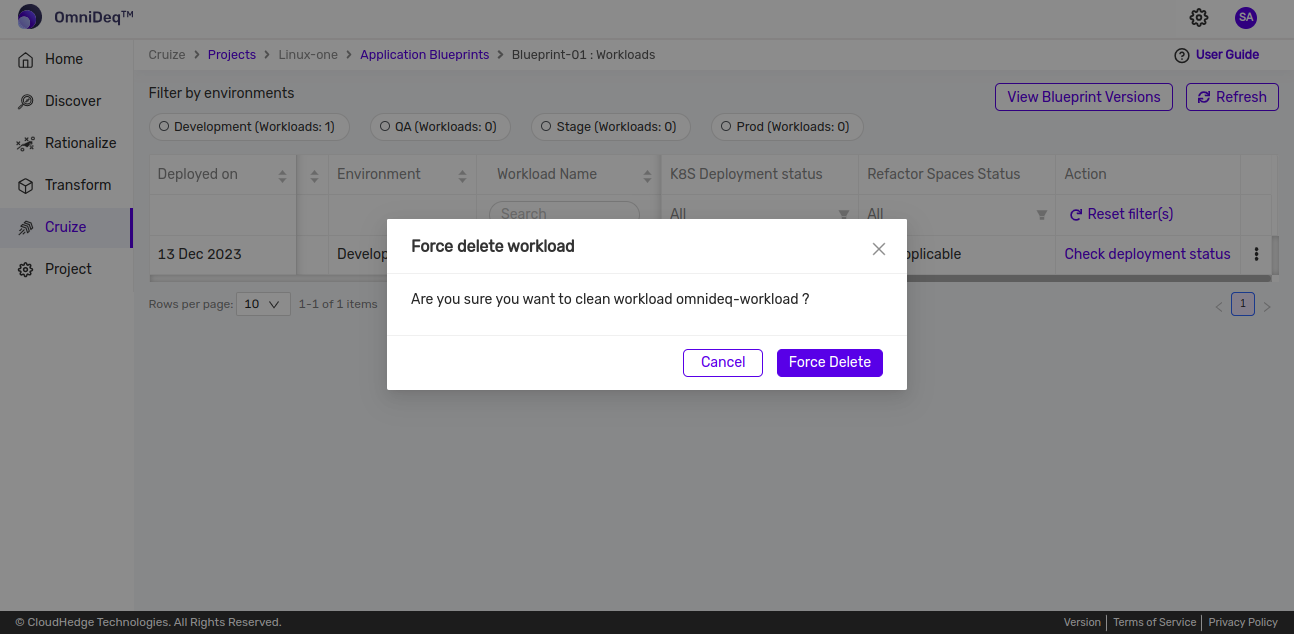
5. Force Delete Workload
Use this option to delete the workload without checking for errors and to remove the entry from the database.
You will be taken to the following screen:
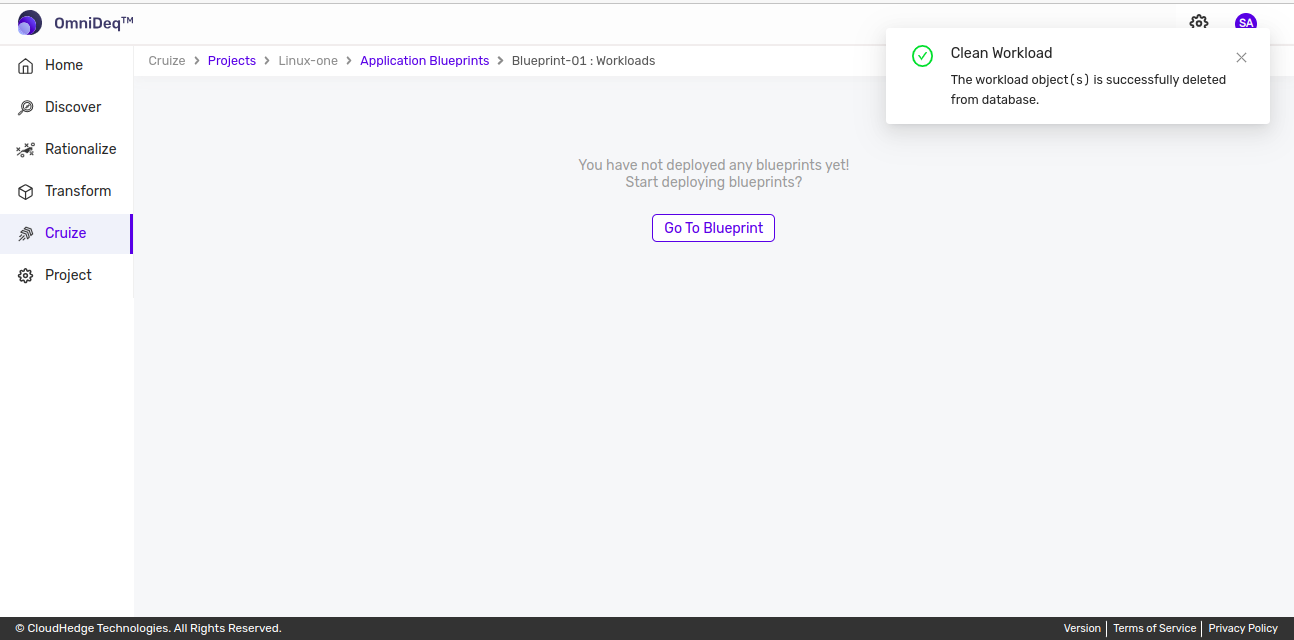
Once you click the Force Delete button, the workload is deleted and you are navigated to the following screen:
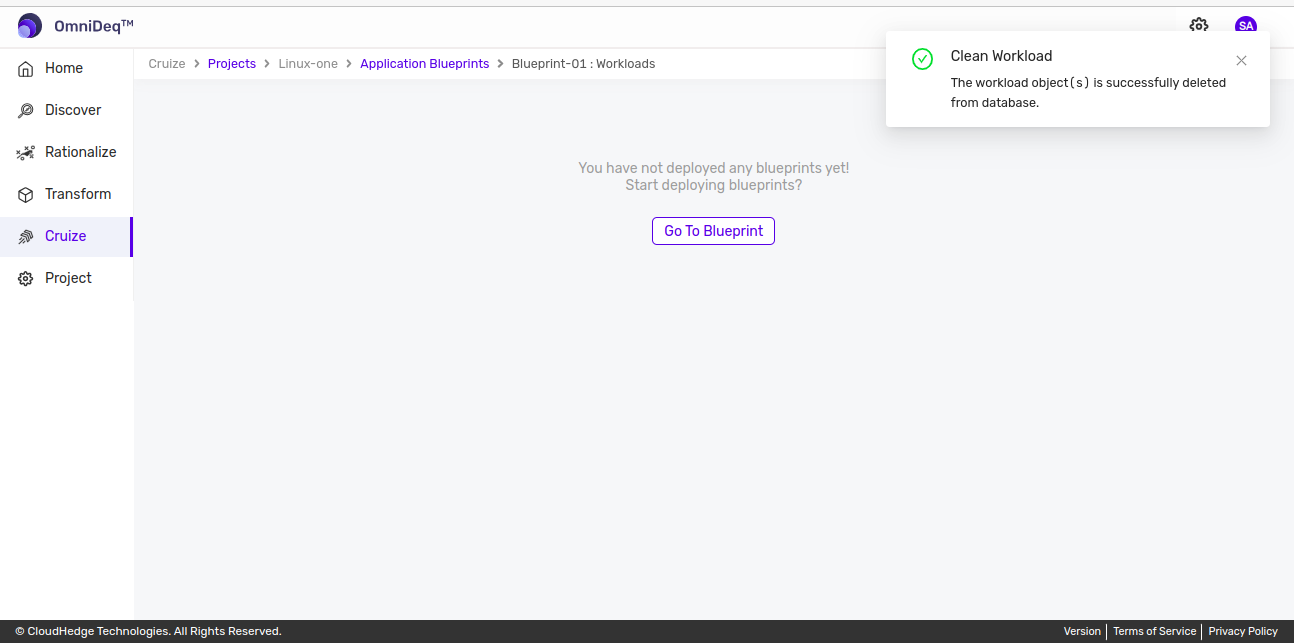
6. Clean Workload
This option is displayed once the workload is deleted. This option can be used to remove the entry from the database.
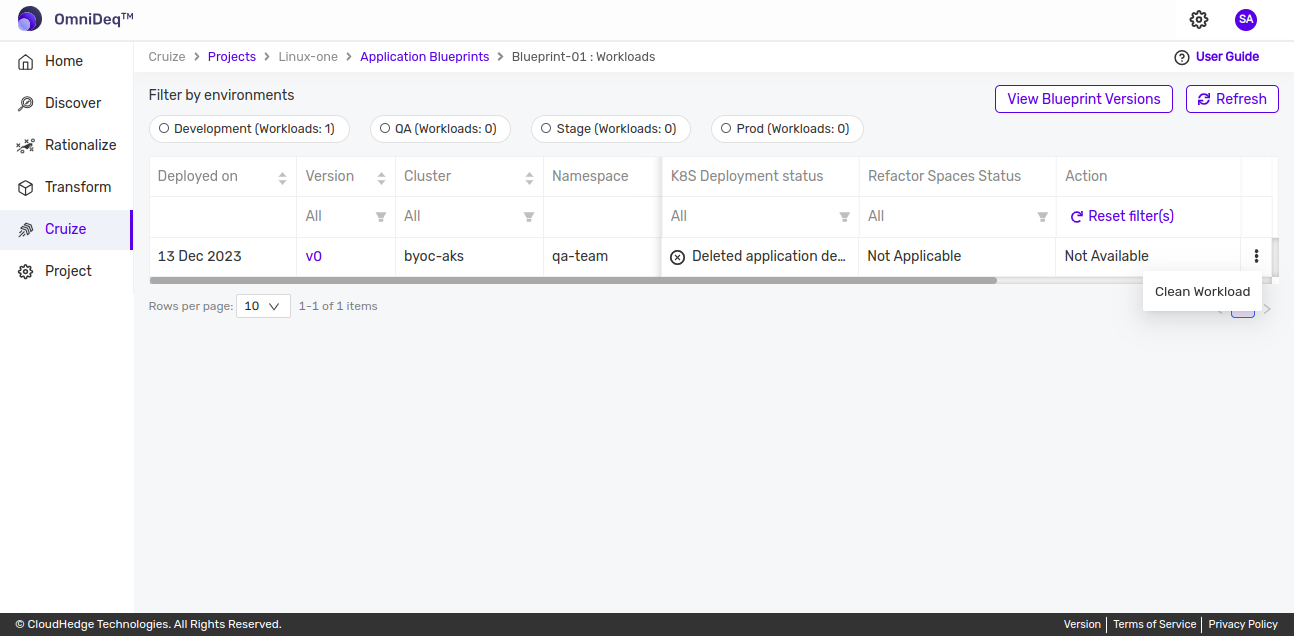
Selecting it shows the following:
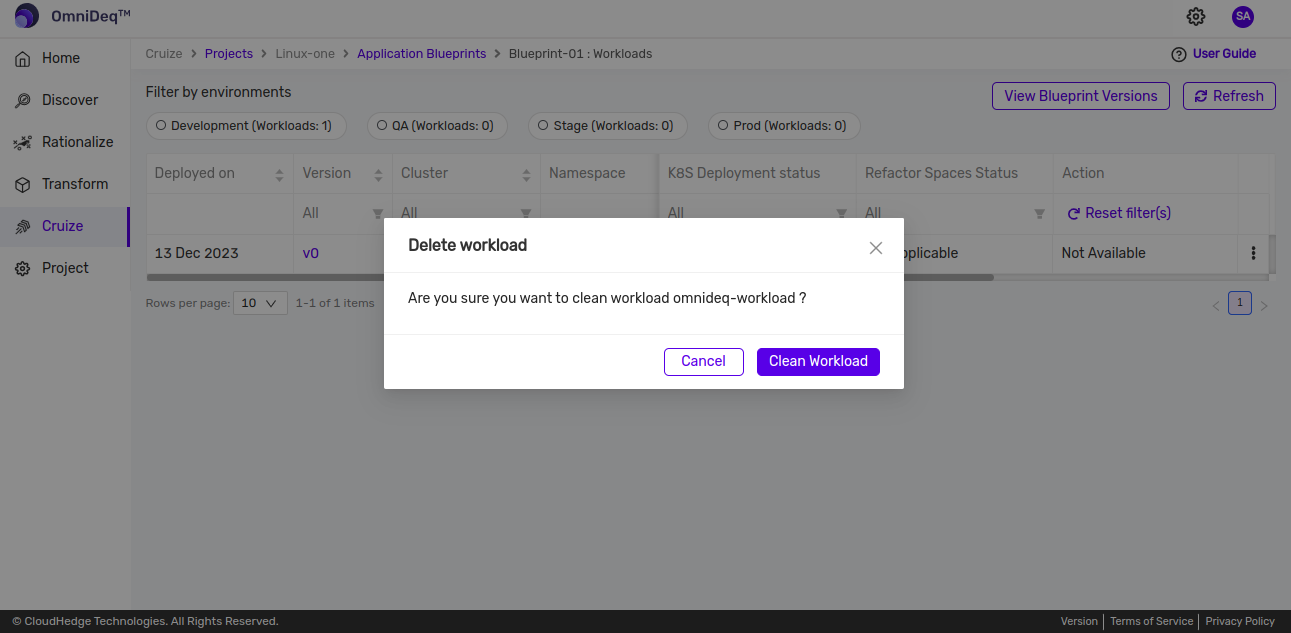
Clicking Clean Workload removes the workload entry from the database.