Clusters
A Kubernetes cluster is a set of node machines for running containerized applications.
When you log into the CHAI™ UI, go to Cruize in the menu on the left side and click on the Clusters submenu.
BYOC (Bring Your Own Cluster)
CHAI™ supports the following Kubernetes distributions:
- EKS - Elastic Kubernetes Service by AWS
- AKS - Azure Kubernetes Service by Microsoft Azure
- GKE - Google Kubernetes Engine by Google Cloud
- OpenShift - Red Hat OpenShift Container Platform by Red Hat
- IBM Cloud Kubernetes Service - By IBM
- Tanzu - VMware Tanzu Kubernetes Grid by VMware
- Rancher - Rancher Kubernetes Service by Rancher
Important Note:
The cluster must have the appropriate permissions for CHAI™ to access it. Detailed information about the necessary cluster permissions is available here.
Add New Cluster
Step 1: Navigate to Clusters Page
-
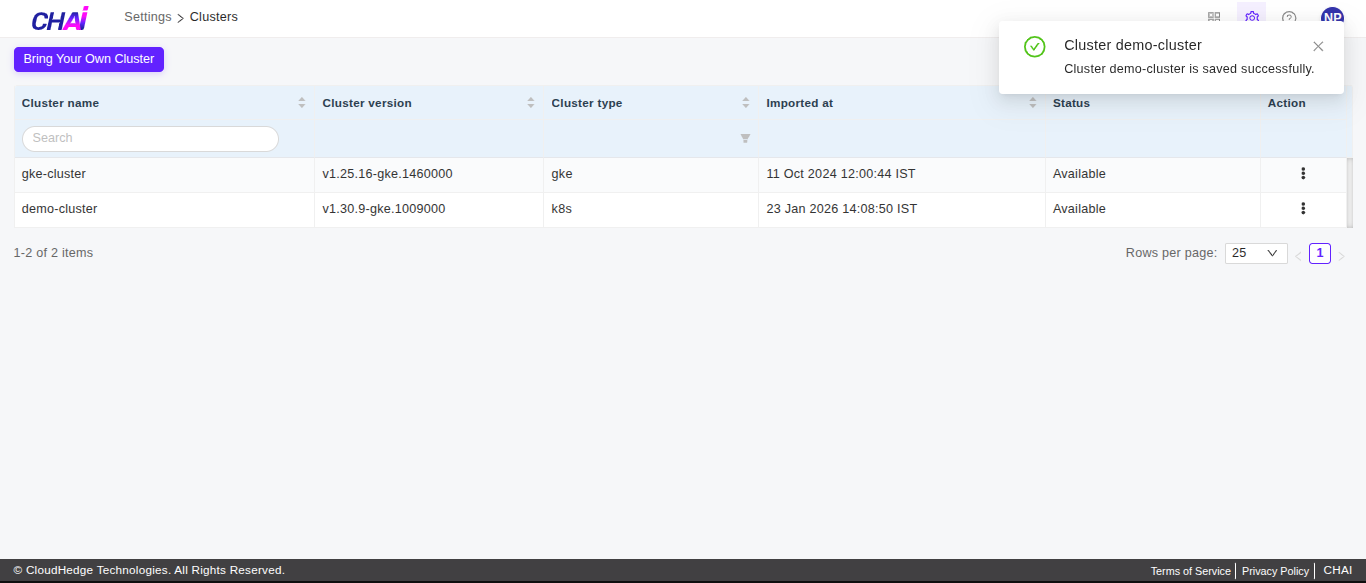
After logging into CHAI™, click on Settings and click on Clusters as shown in the first image below to navigate to the Clusters page.

-
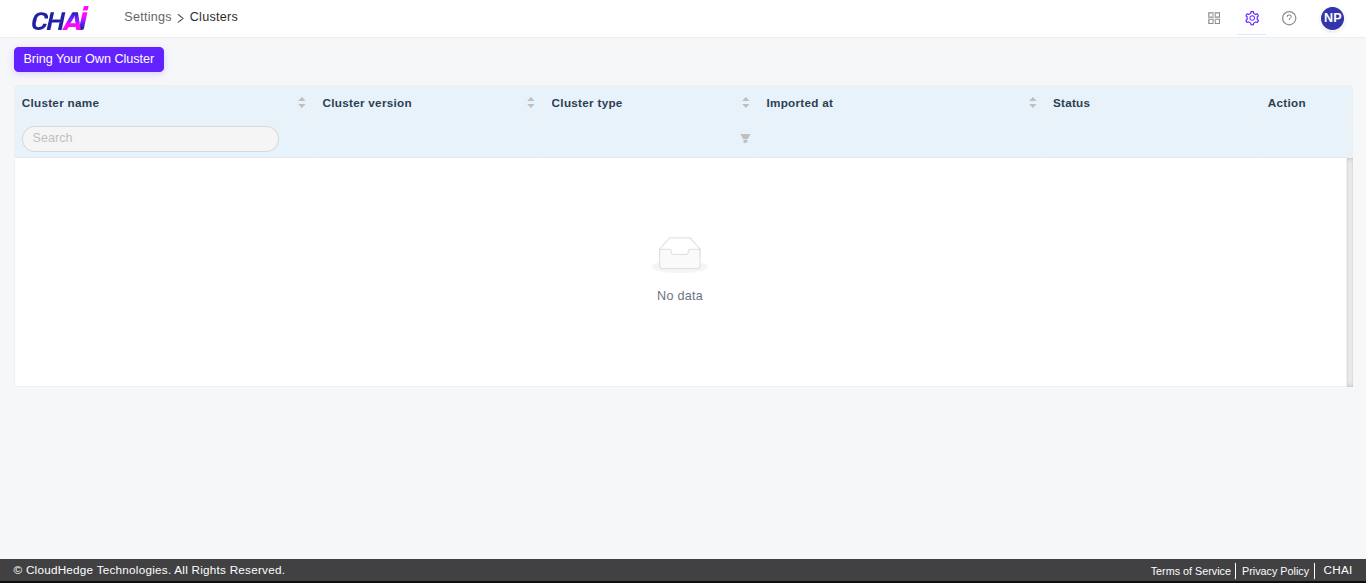
In the Clusters page, to add your own cluster configuration, click Bring Your Own Cluster as shown in the second image below.
Step 2: Fill Cluster Information
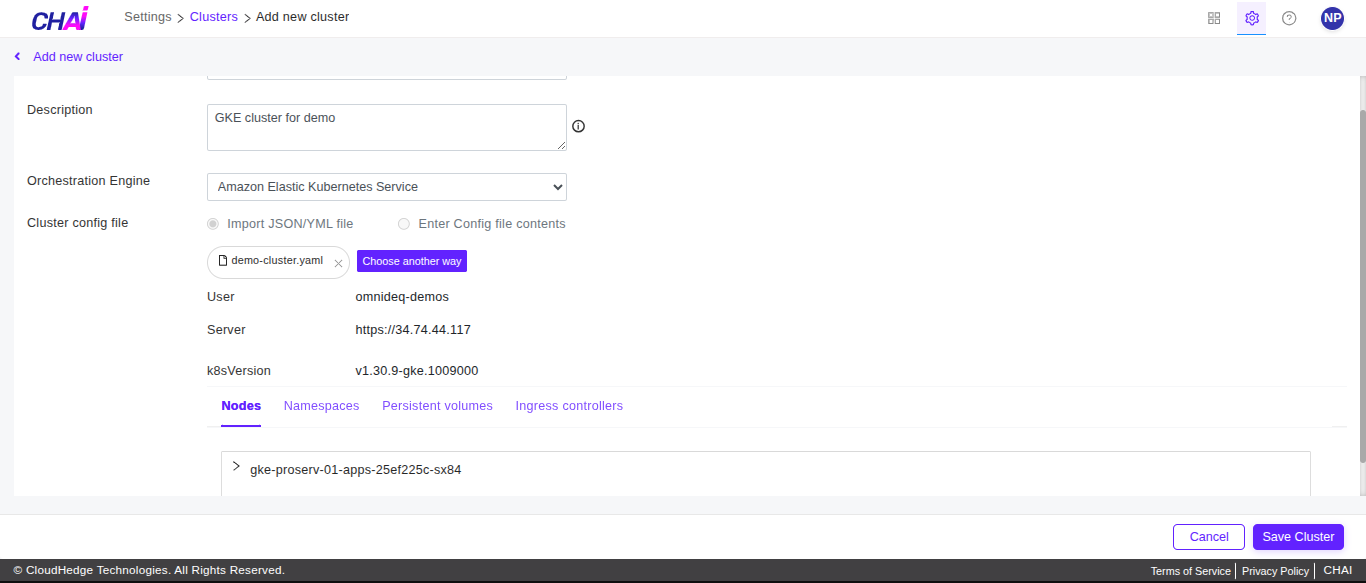
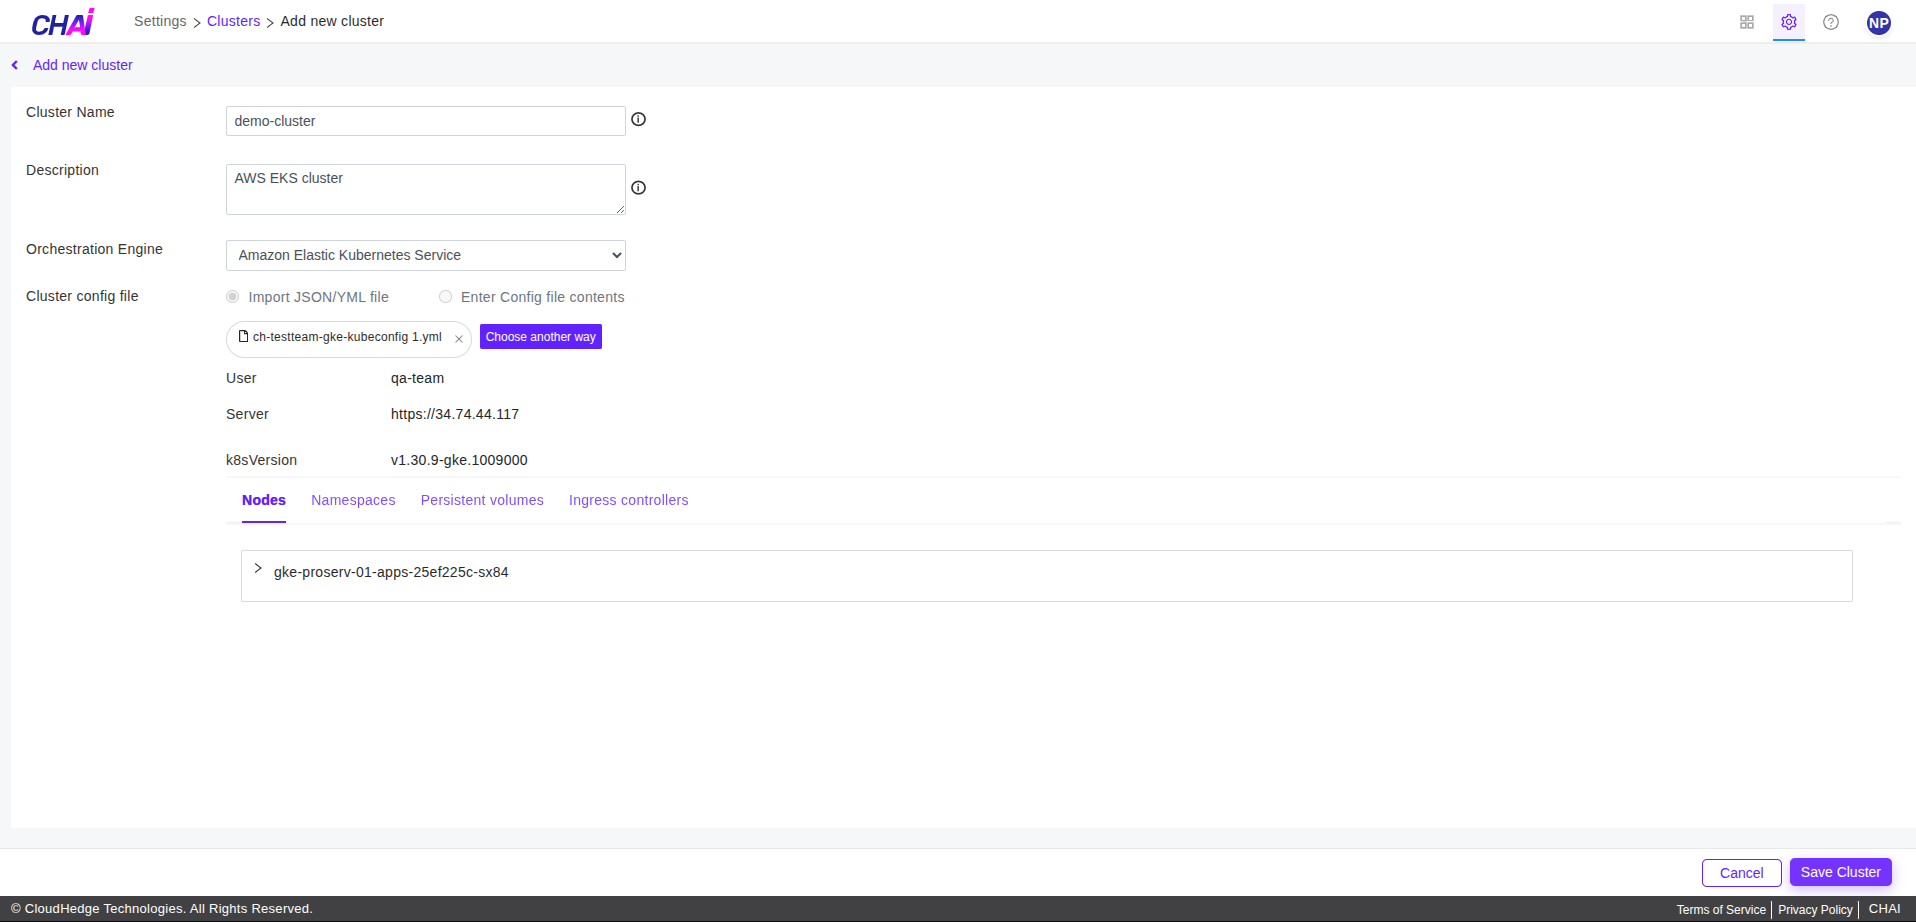
A form to add a new cluster is displayed as shown in the image below:
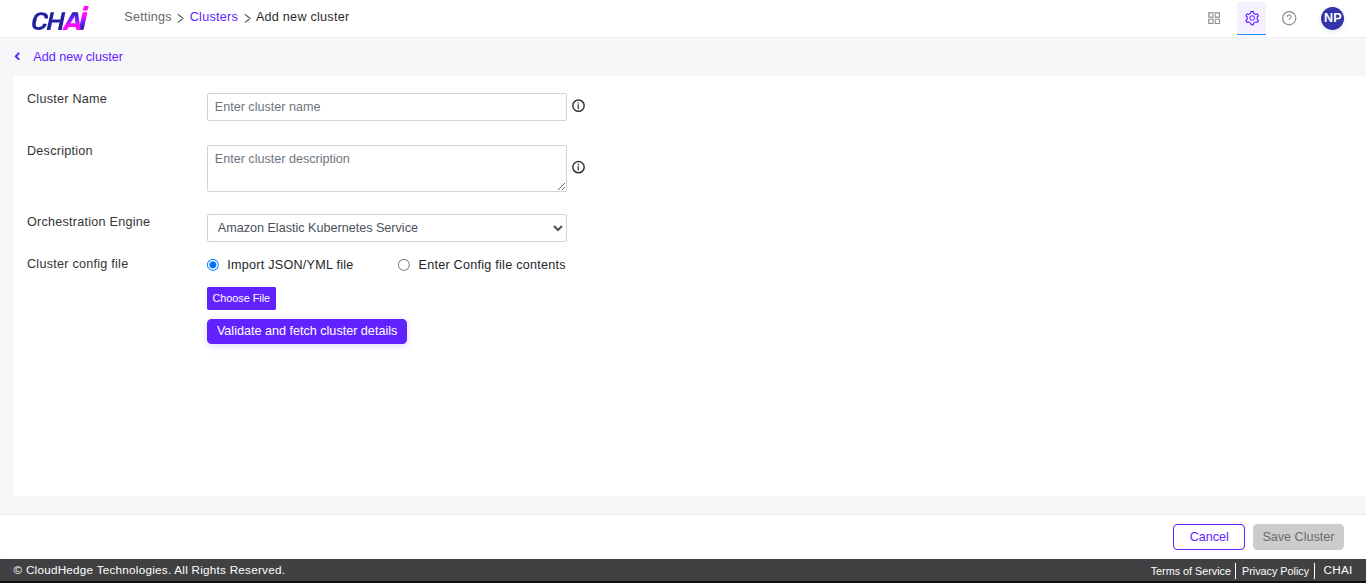
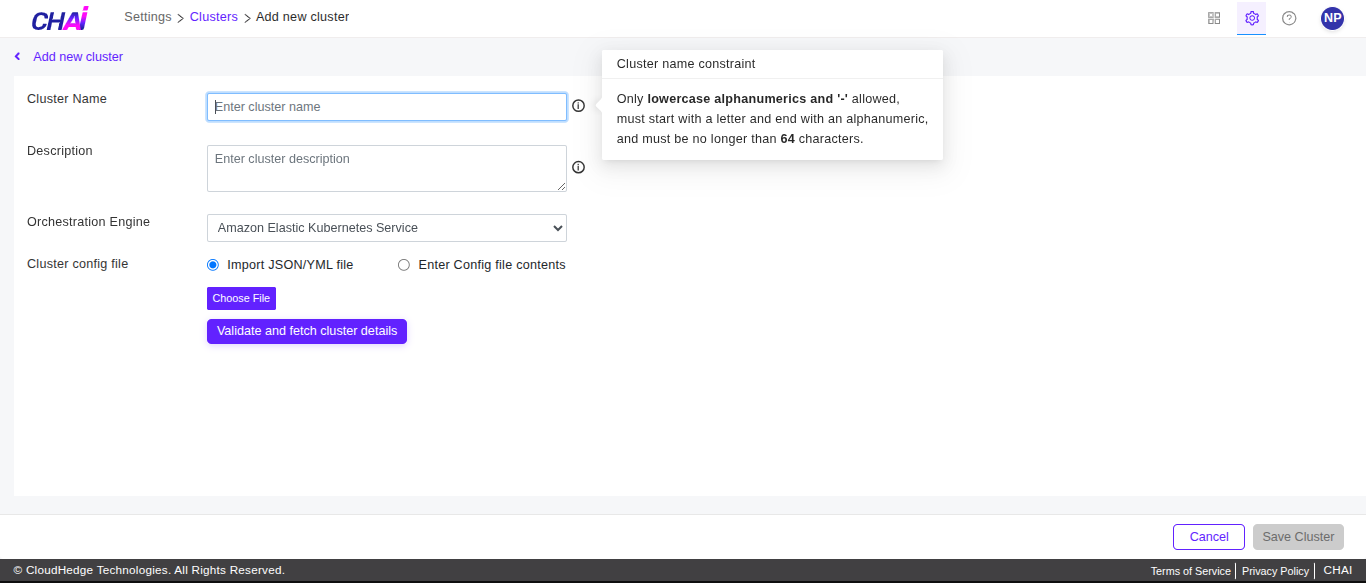
Cluster Name
Naming requirements: - Only lowercase alphanumeric characters and hyphens (-) are allowed - Must start with a letter and end with an alphanumeric character - Maximum 64 characters allowed
Cluster Description
Description requirements: - Any characters except < and > are allowed - Maximum 64 characters allowed
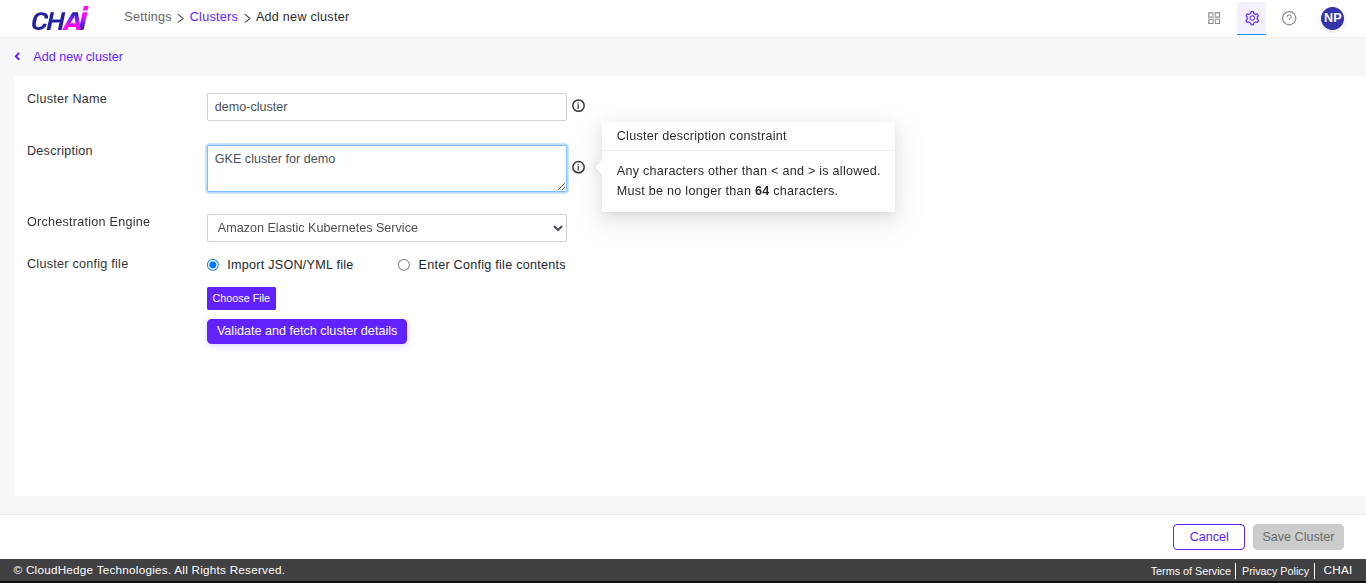
Step 3: Provide Cluster Configuration
You must enter a user-friendly cluster name, a short description, orchestration engine, and configuration file.

There are two options available for the configuration file:
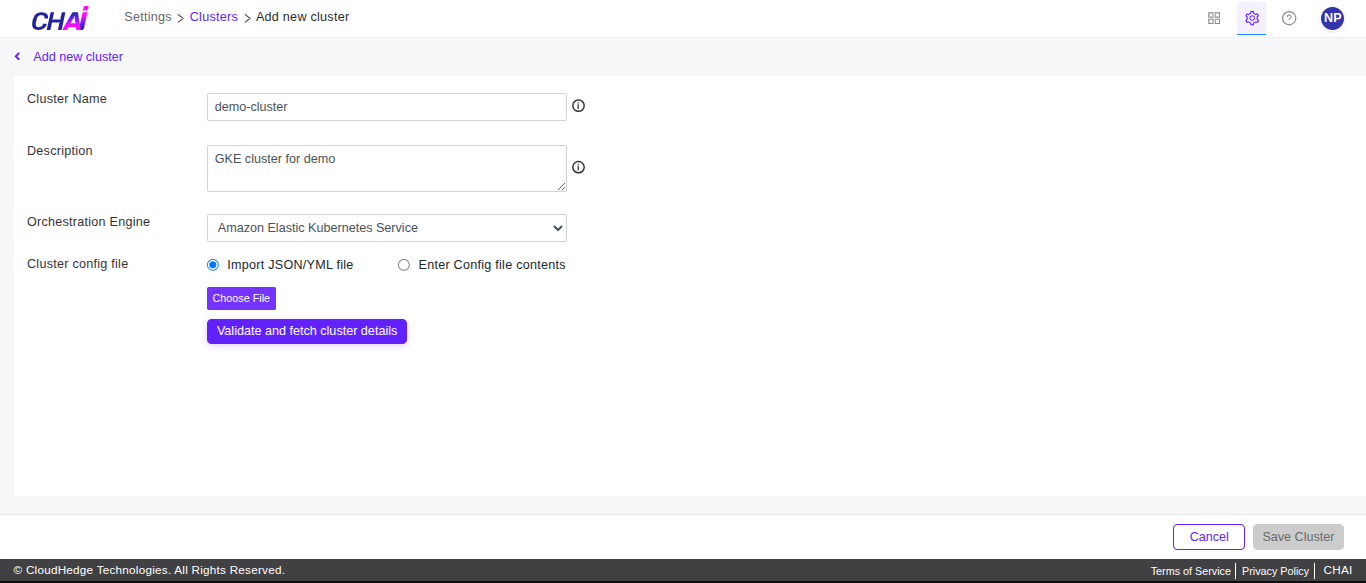
Option 1: Import Configuration File
Import a cluster configuration file in JSON or YAML format using the Import JSON/YML file option.
-
With this radio button selected, click the Choose File button. A file explorer will open.
-
Select the configuration file and validate the cluster as described below.
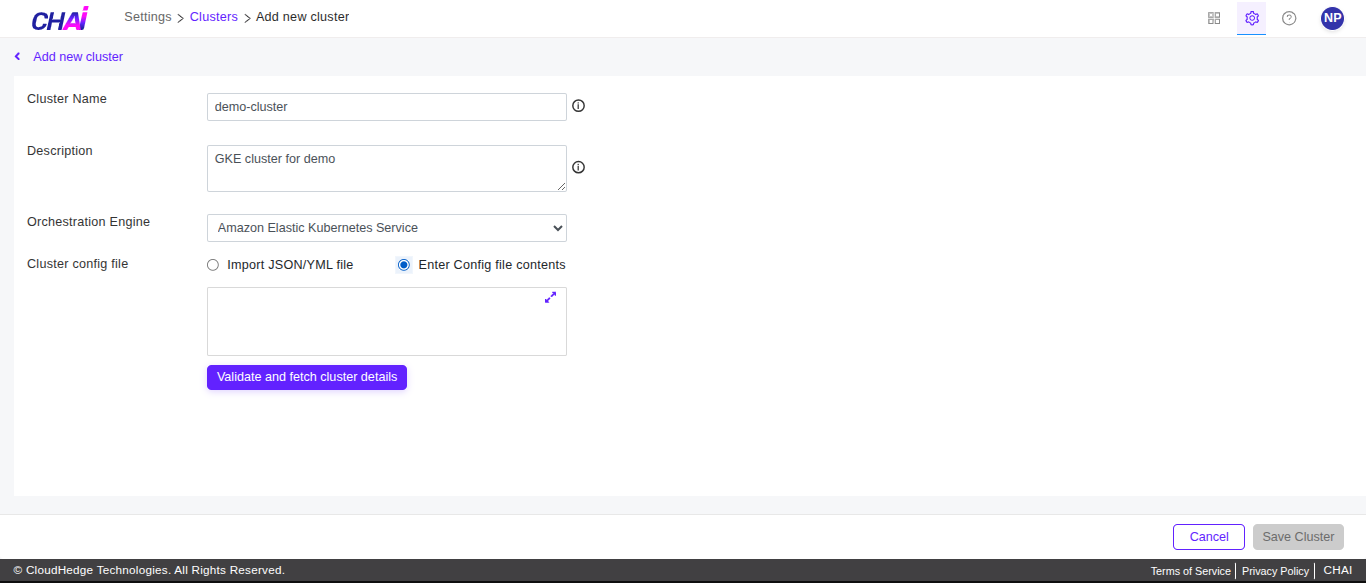
Option 2: Enter Configuration File Contents
Enter the file content directly using the Enter Config file contents option.
-
This option allows you to enter file content in the text area shown.
-
You can manually write the content of the configuration file or paste content you already have.
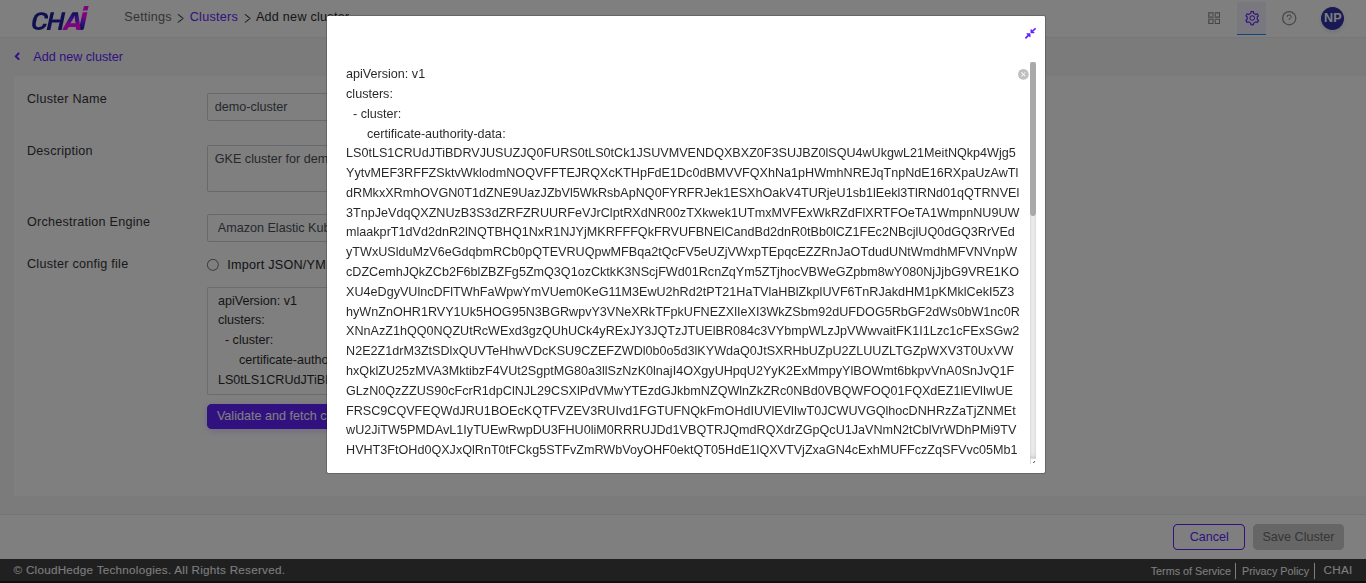
-
For better view and more content visible on the screen, you can enlarge the text area as shown in the image below:
Step 4: Validate and Fetch Cluster Details
Once all the contents are added, the Validate and fetch cluster details button becomes available as shown in the image below. This is used to fetch the cluster details.
If the cluster is valid and reachable, you will be able to view cluster details such as: - Kubernetes version - Nodes - Namespaces - Persistent volumes - Ingress controllers
Step 5: Save Cluster
Once the details are verified, you can click the Save Cluster button available at the bottom as shown in the image below:
Step 6: View Added Cluster
Once the cluster is successfully saved, you will be navigated to the cluster list table. All the added clusters will be displayed here. Every cluster has actions you can perform.