Container Config Maps
A ConfigMap is an API object used to store non-confidential data in key-value pairs.
Accessing Container Config Maps
-
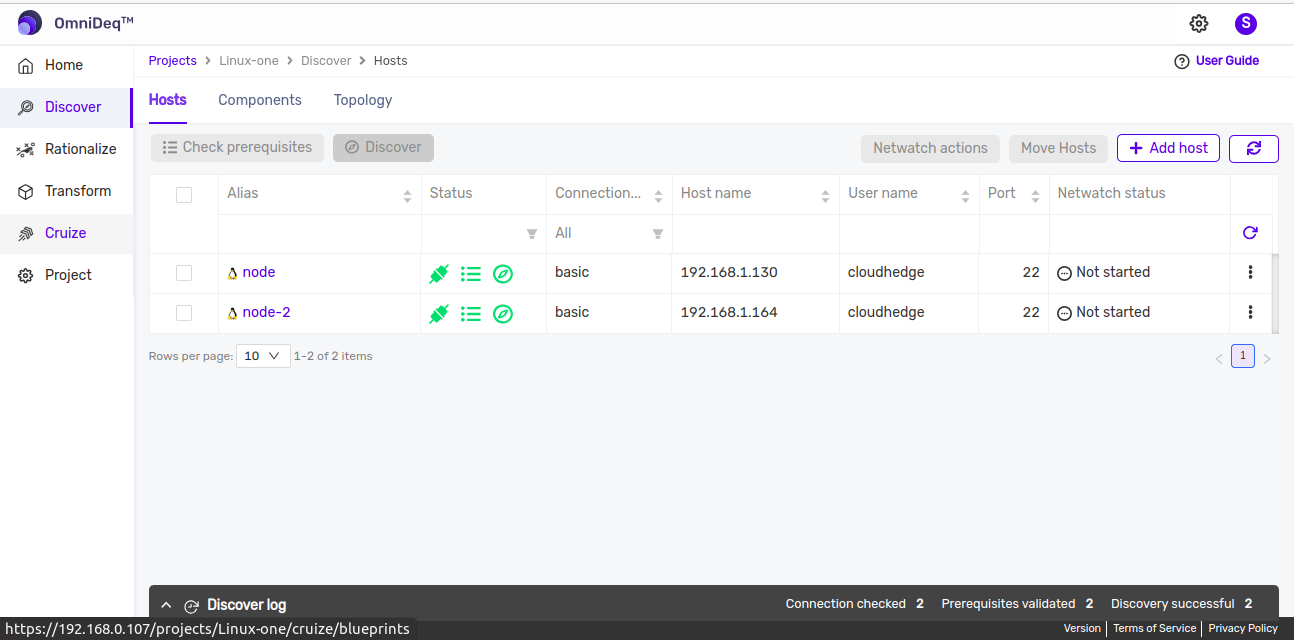
After logging into CHAI™, click on the project where you want to manage container config maps, then click Cruize.
-
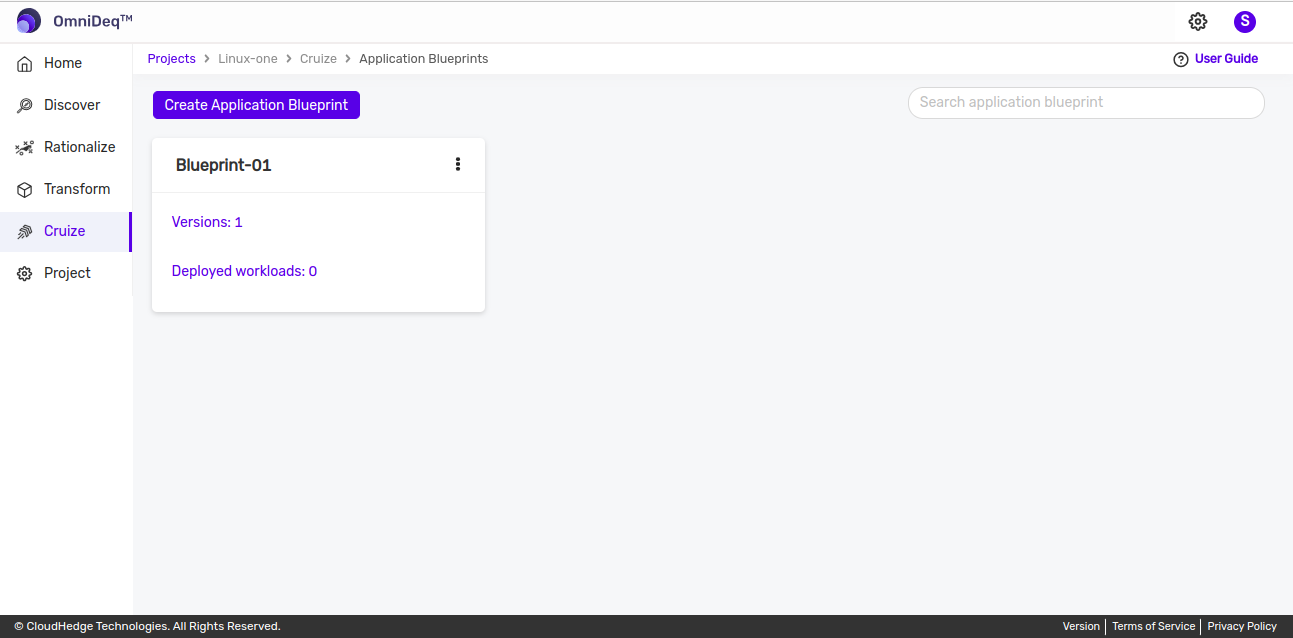
Click on the blueprint version count on the blueprint card. After clicking the count, the blueprint versions page will be displayed, which contains a list of blueprint versions.
-
Click on the View configurations kebab menu option or click on the blueprint version name to view blueprint configurations. Go to the Deployments tab and click Edit deployment definition from the Action column of any deployment.
-
The deployment definition page will open. Now go to the Containers tab. Select a container, then go to the Config Maps tab as shown in the image below.
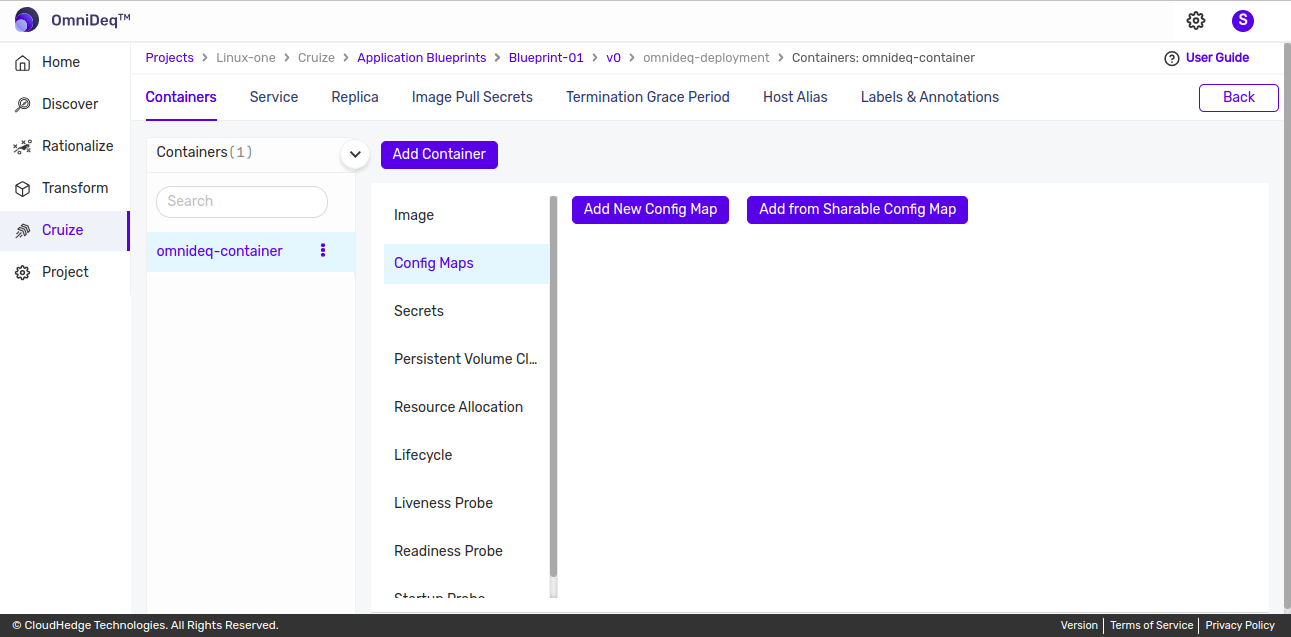
Add Config Map
There are two ways to add a config map:
1. Adding a New Config Map
-
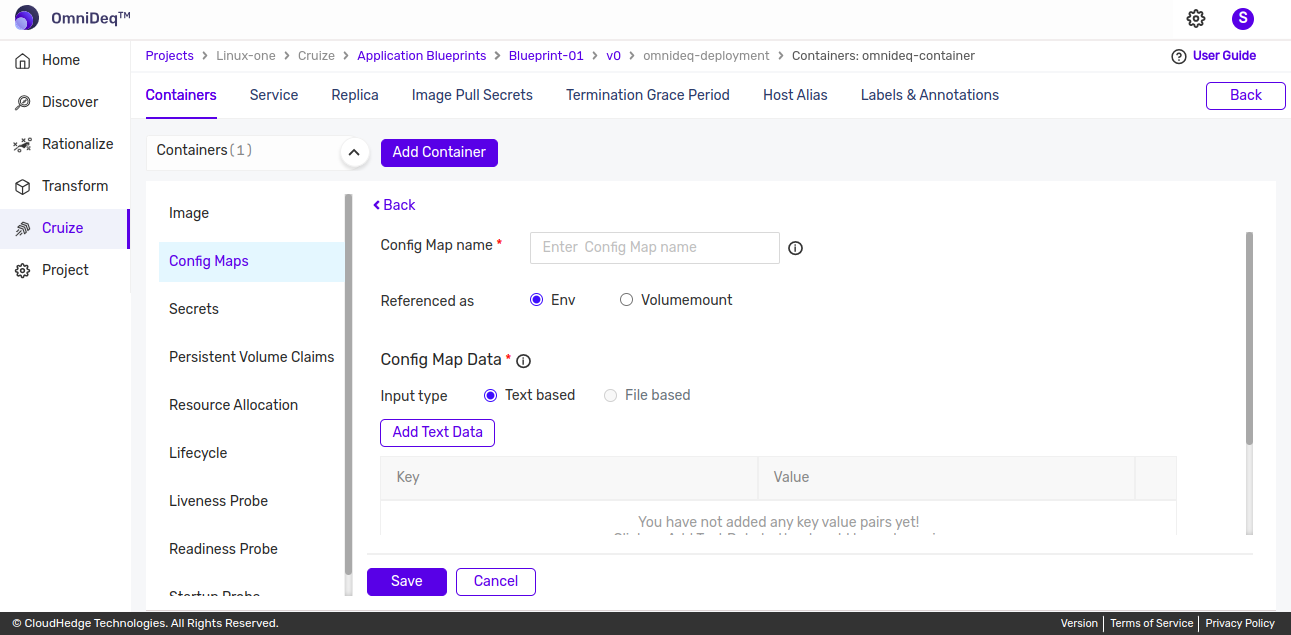
Click the Add New Config Map button from the Config Map tab. A form will be displayed to add a config map as shown in the image below.
-
Add a config map by providing the following details:
Field Description Config Map name Enter the config map name Referenced as Default selected is "Env", change as applicable Input type Select applicable input type (Text-based / File-based) Add Text/File Data Based on input type, provide key values using text data or by uploading a file for the value Labels and Annotations Optional - Add labels and annotations here
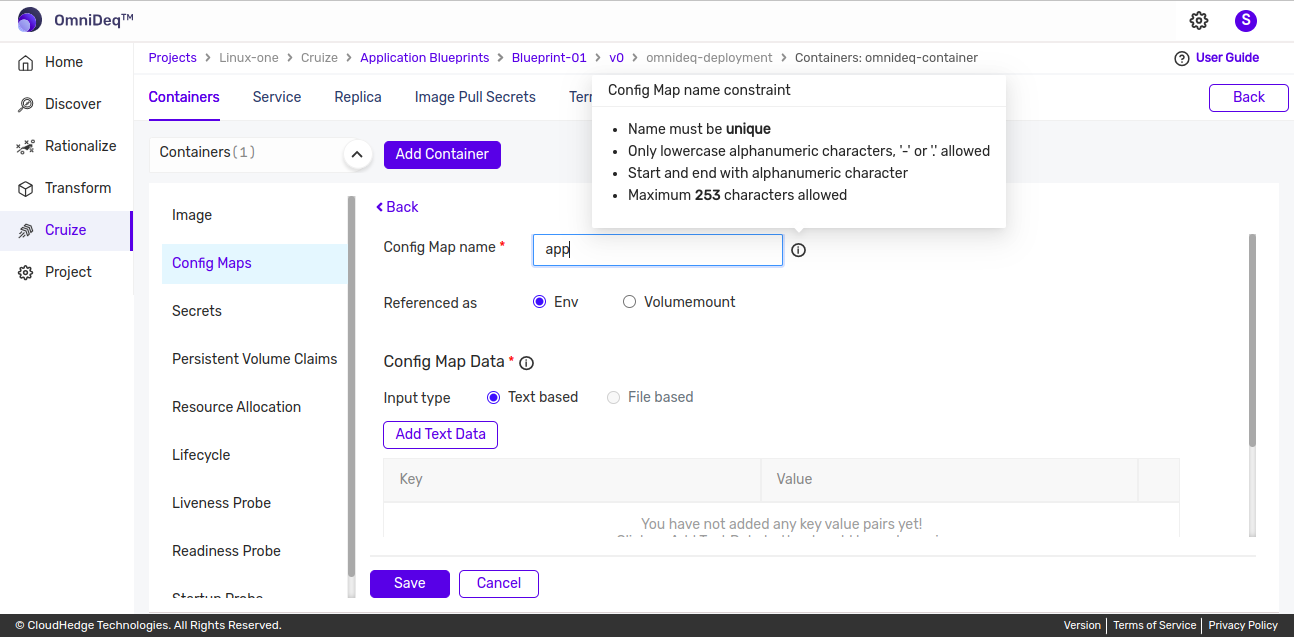
Config Map Name
Naming requirements: - Only lowercase alphanumeric characters, hyphens (-), or periods (.) are allowed - Must start and end with an alphanumeric character - Maximum 253 characters allowed - Name must be unique
Referenced As
There are two options for "Referenced as":
Env: - For Env, provide text-based config map data
Volume Mount: - For Volume Mount, provide config map data using text-based or file-based input as shown in the image below - For Volume Mount, provide the following details: - Mount path: Enter the mount path, which should start with '/' - Subpath: Optional - Subpath key: Also optional, but if subpath is entered, then subpath key is mandatory
Labels & Annotations
Click here to learn more about labels and annotations.
Important Note:
Provide config map data either using text-based input or file-based input (only available for "Referenced as" Volume Mount).
-
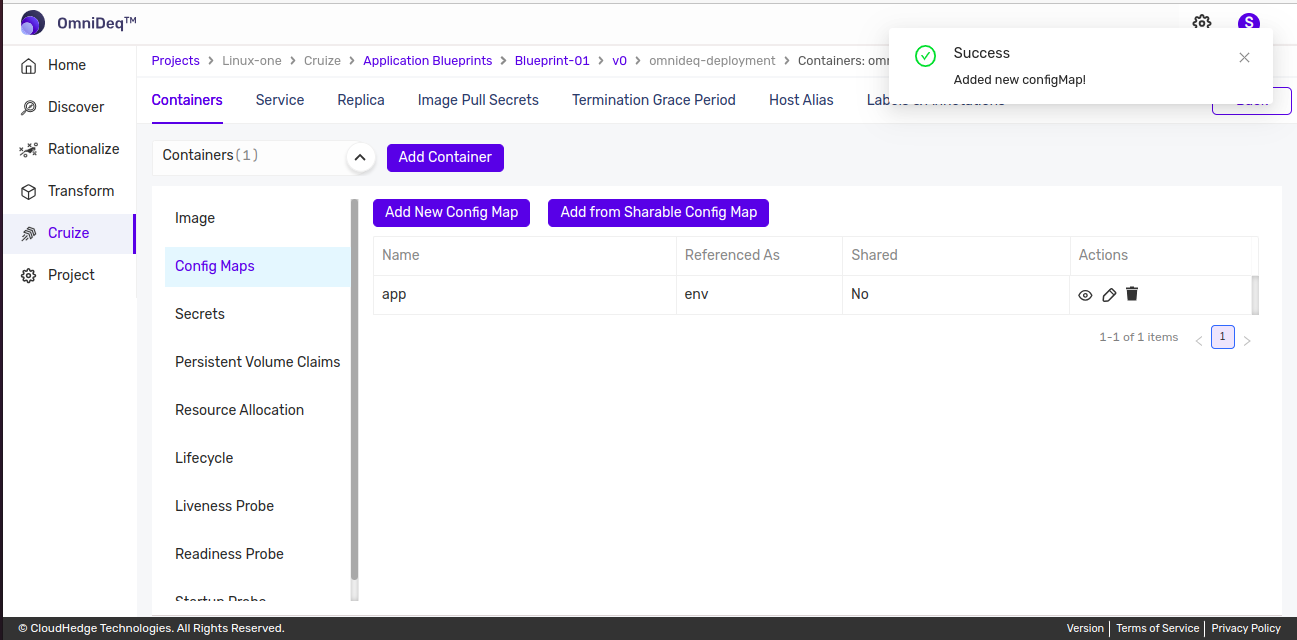
Provide all details and click the Save button.
2. Add from Shareable Config Map
Prerequisites: To add a config map from the shareable config map list, first create a shared config map in the blueprint. Click here to learn more about adding shared config maps.
-
Click the Add from Shareable Config Map button as shown below.
-
After clicking the button, the shareable config map list will be displayed as shown in the image below.
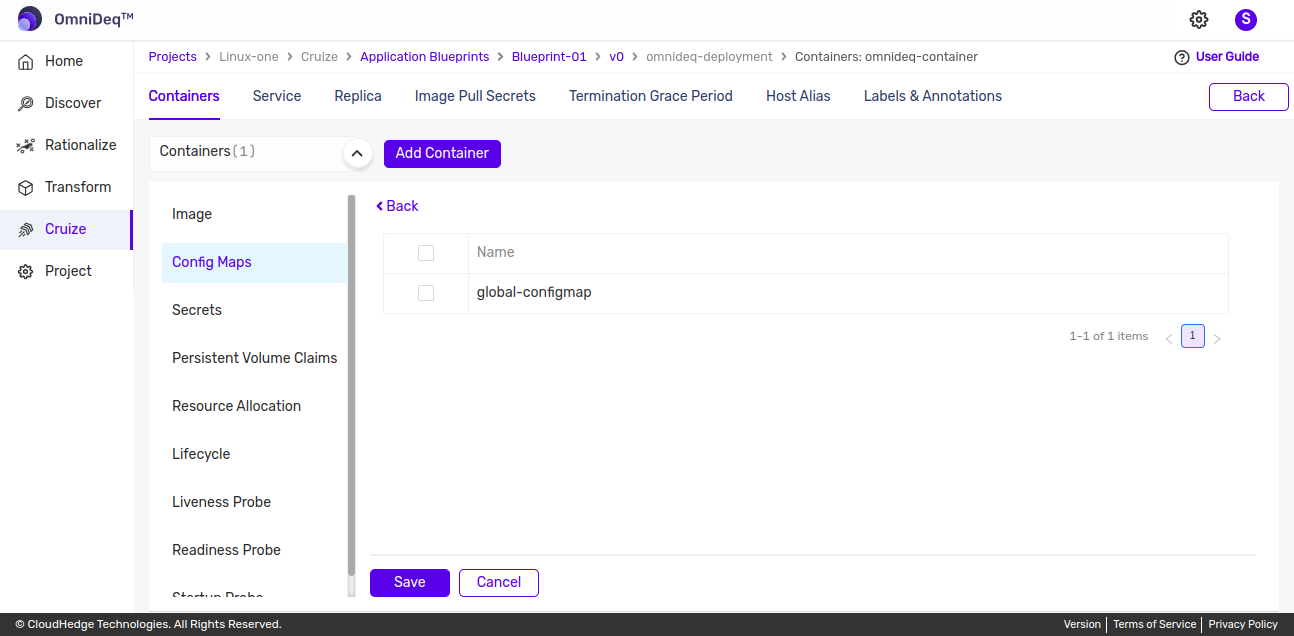
-
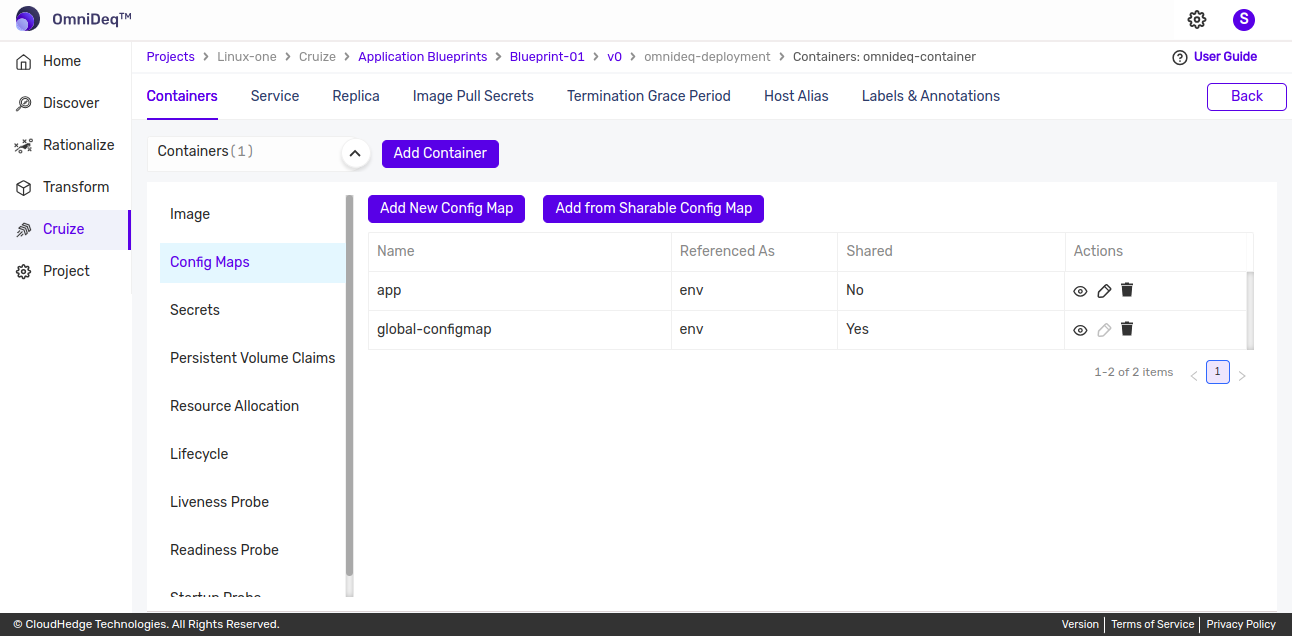
Select shareable config maps from the list and click Save. All the selected config maps will be listed as shown in the image below.
View Config Map Data
To view config map details:
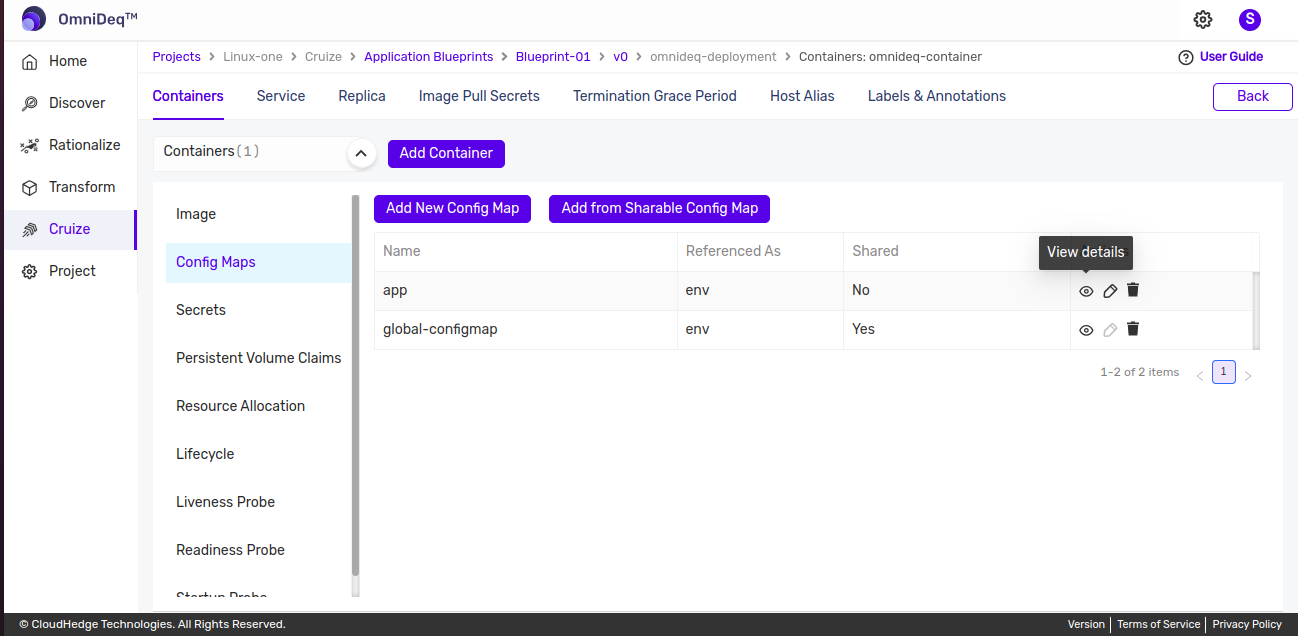
-
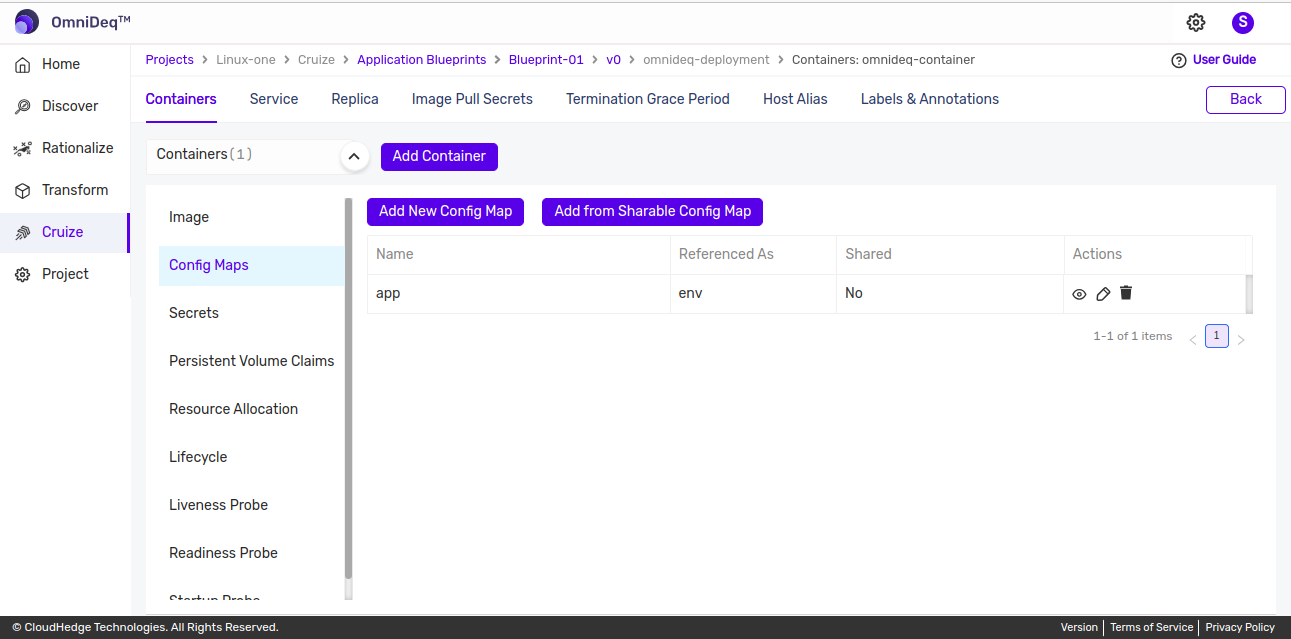
Click the View icon from the actions column in the config map table as shown in the image below.
Edit Config Map
To edit config map details:
-
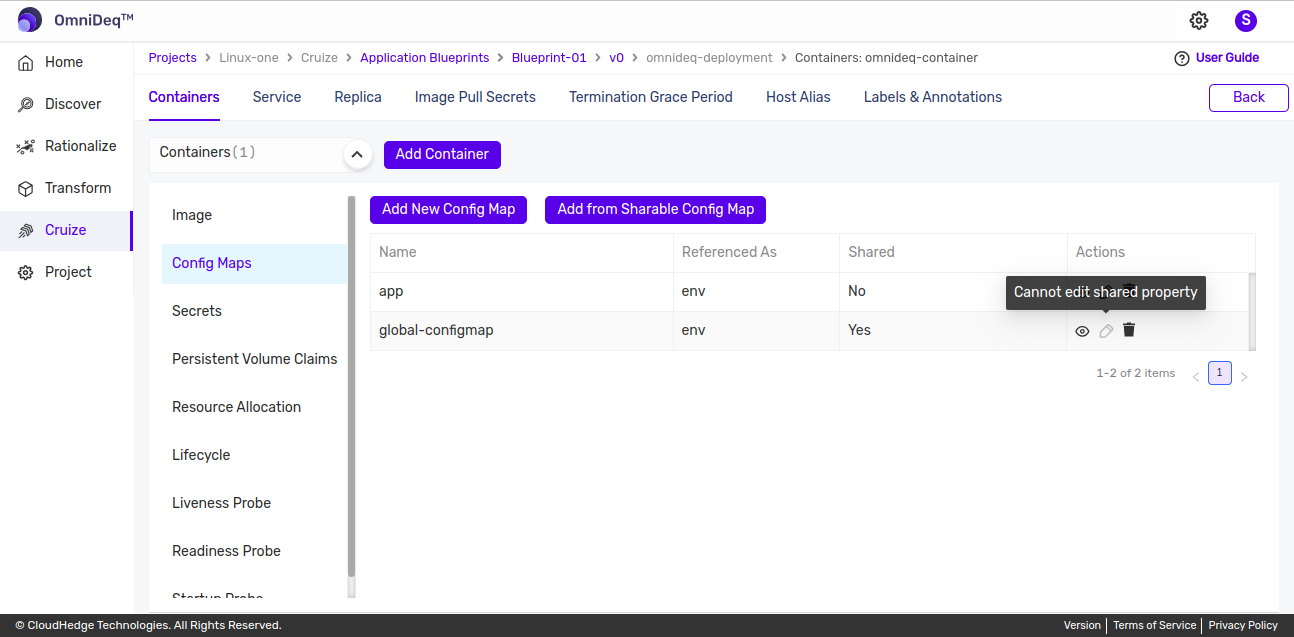
Click the Edit icon as shown in the image below.
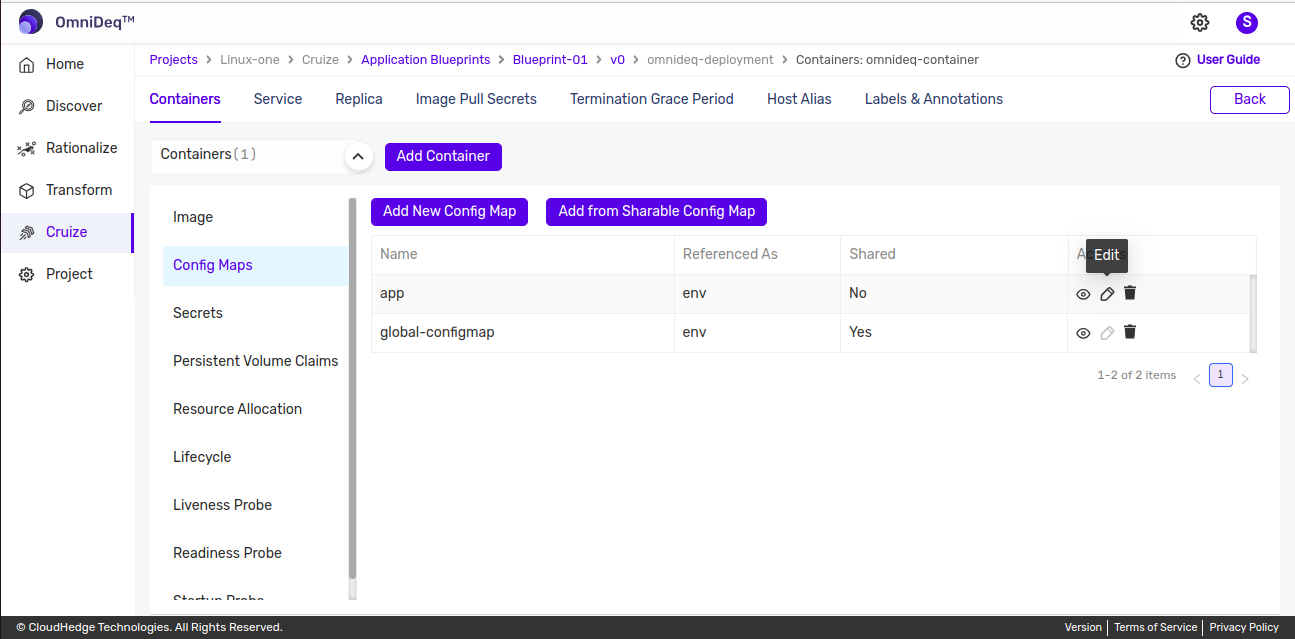
Note: If a config map is added from the shareable option, it cannot be edited. In that case, the edit option is disabled as shown in the image below.
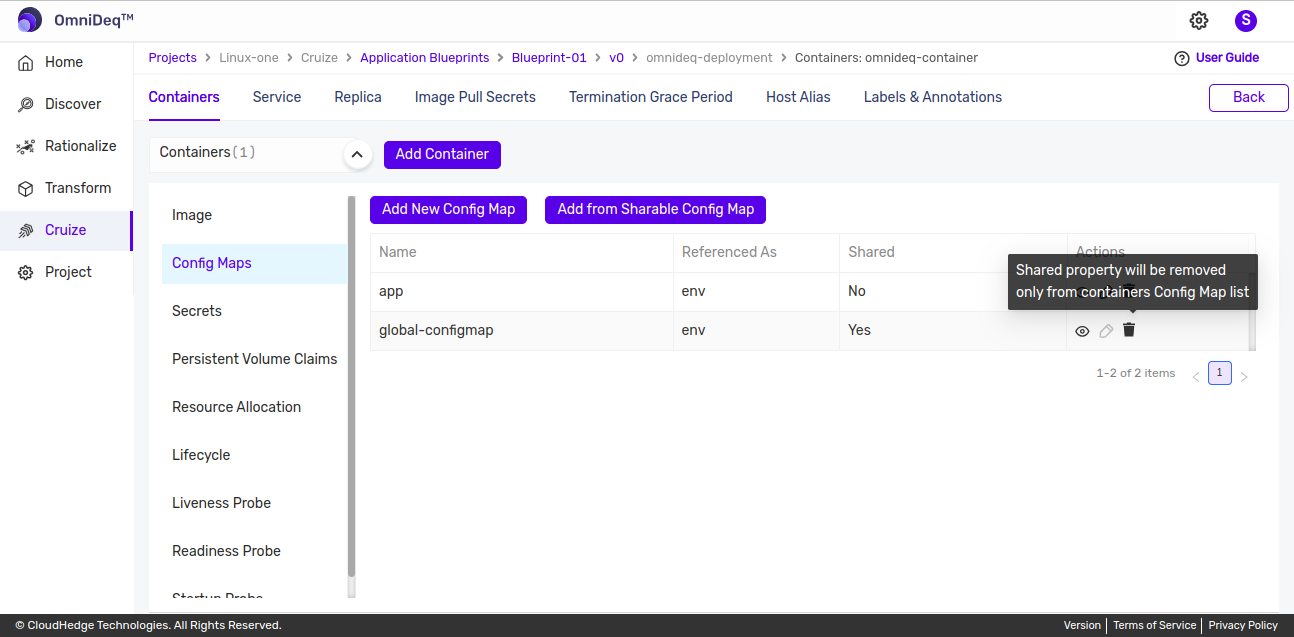
Delete Config Map
To delete a config map:
-
Click the Delete icon as shown in the image below.
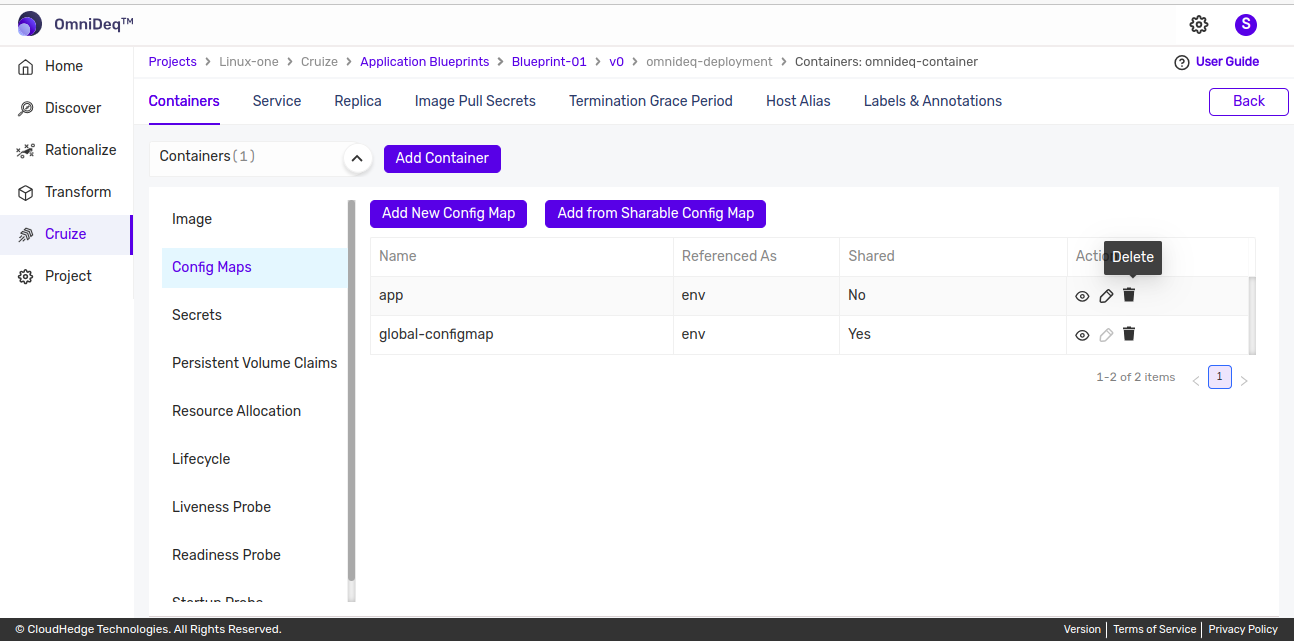
Note: If a config map is added from the shareable option and is deleted, it will be removed only from the container's config map list.