Containers
Accessing Containers
-
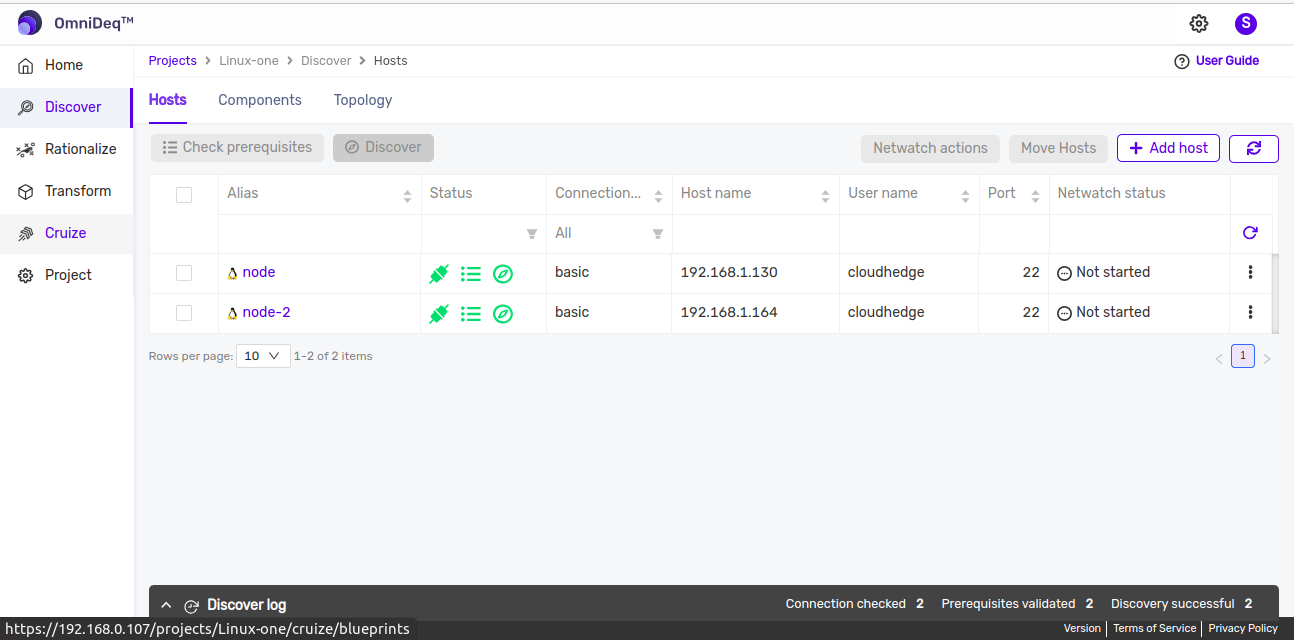
After logging into CHAI™, click on the project where you want to manage containers, then click Cruize.
-
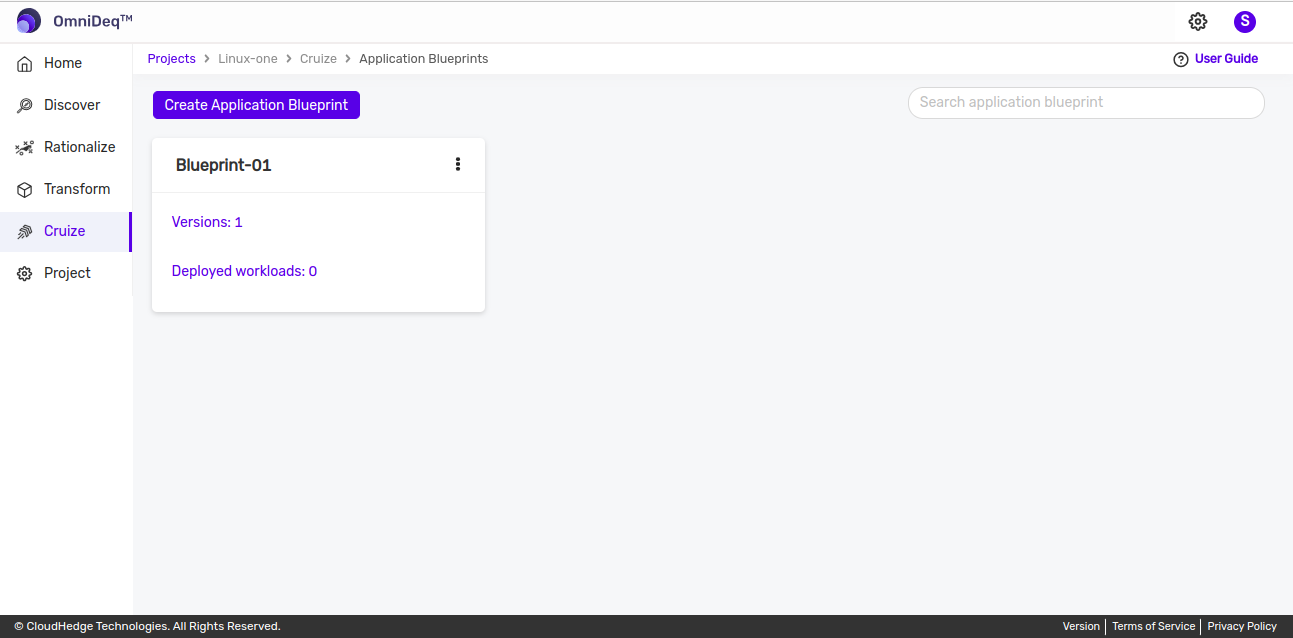
Click on the blueprint version count on the blueprint card. After clicking the count, the blueprint versions page will be displayed, which contains a list of blueprint versions.
-
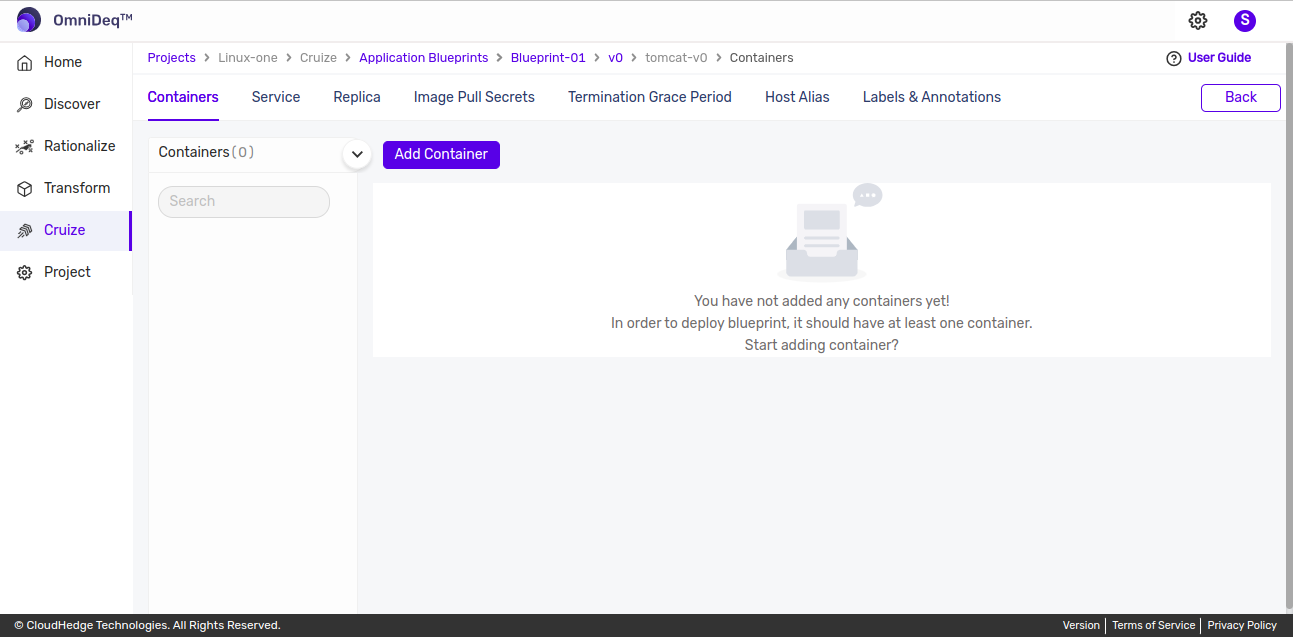
Click on the View configurations kebab menu option or click on the blueprint version name to view blueprint configurations.
-
Go to the Deployments tab and click Edit deployment definition from the Action column of any deployment.
-
The deployment definition page will open. Now go to the Containers tab as shown in the image below.
Adding a New Container
Click here to learn the detailed steps for adding a container image.
All the added containers are listed in the panel as shown in the image below.

Edit Container Details
-
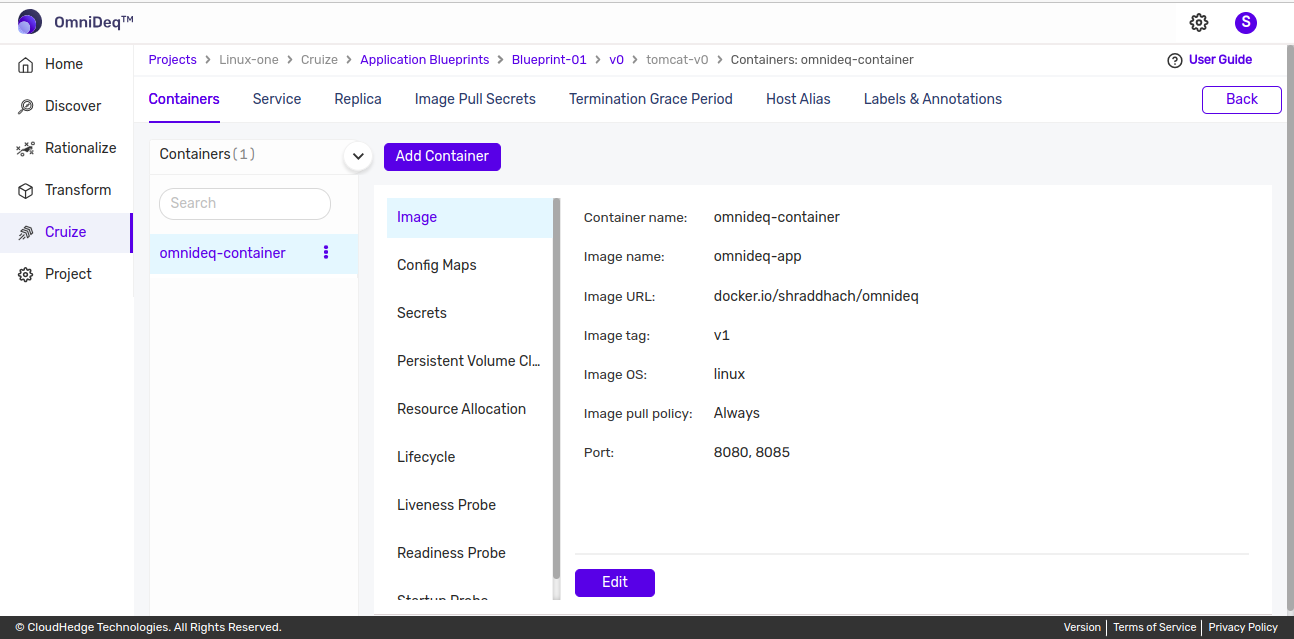
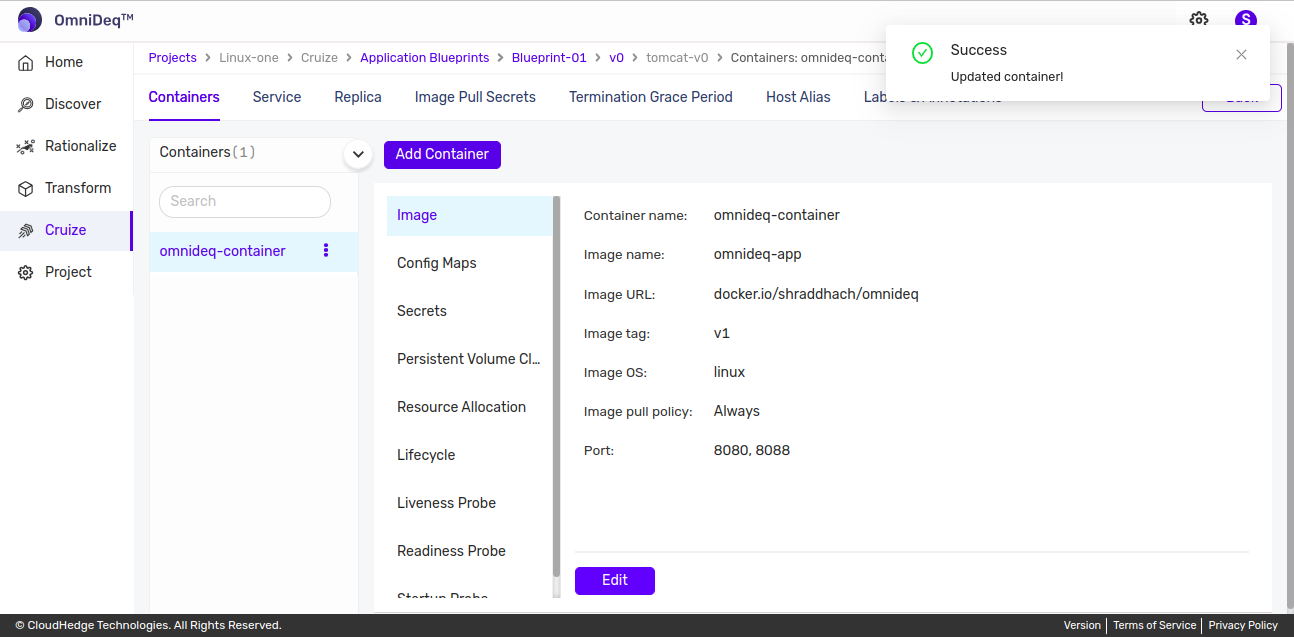
Select a container and go to the Image tab. Click the Edit button as shown in the image below to edit container details.
-
Update container details and click the Update button.
Delete Container
-
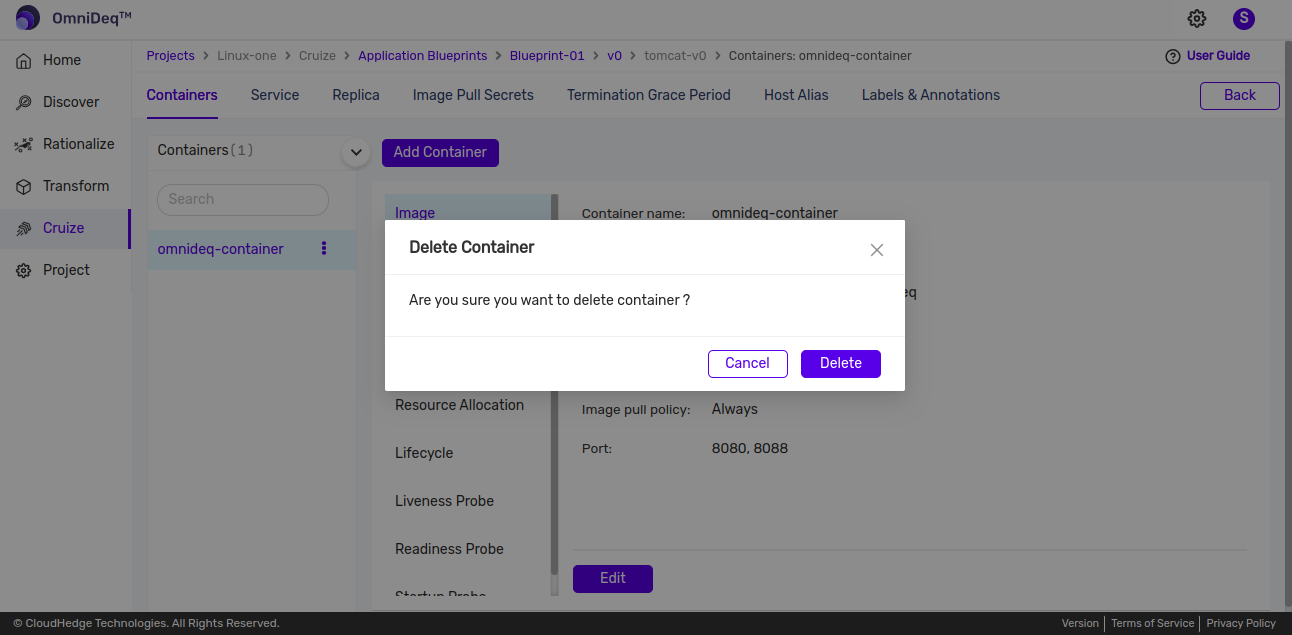
Click on the kebab menu (three-dot menu) of the container and select the Delete container option.

-
This will open a confirmation popup asking for confirmation as shown below. Click the Delete button to delete the container.
-
This will remove the container.