Container Liveness, Readiness and Startup Probes**
-
Liveness probeis used to know when to restart a container. -
Readiness probeis used to know when a container is ready to start accepting traffic. -
Startup probeis used to know when a container application has started. -
After logging into CHAI™, click on the Project where you want to manage the container probes and click on
Cruize.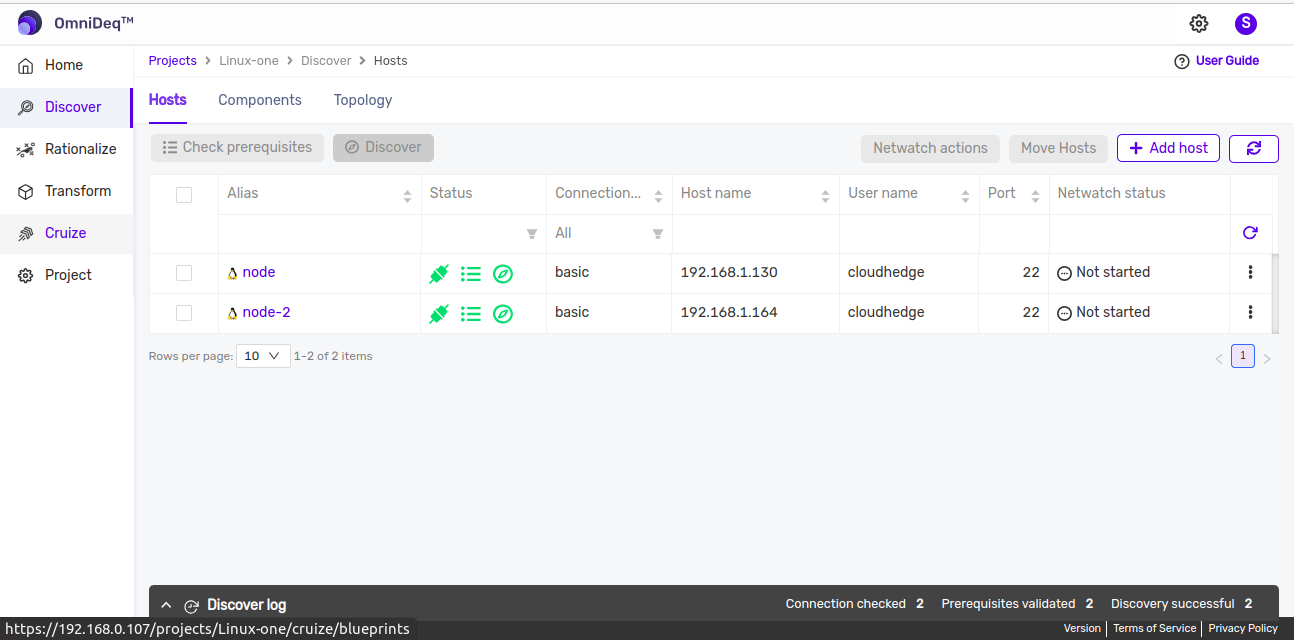
-
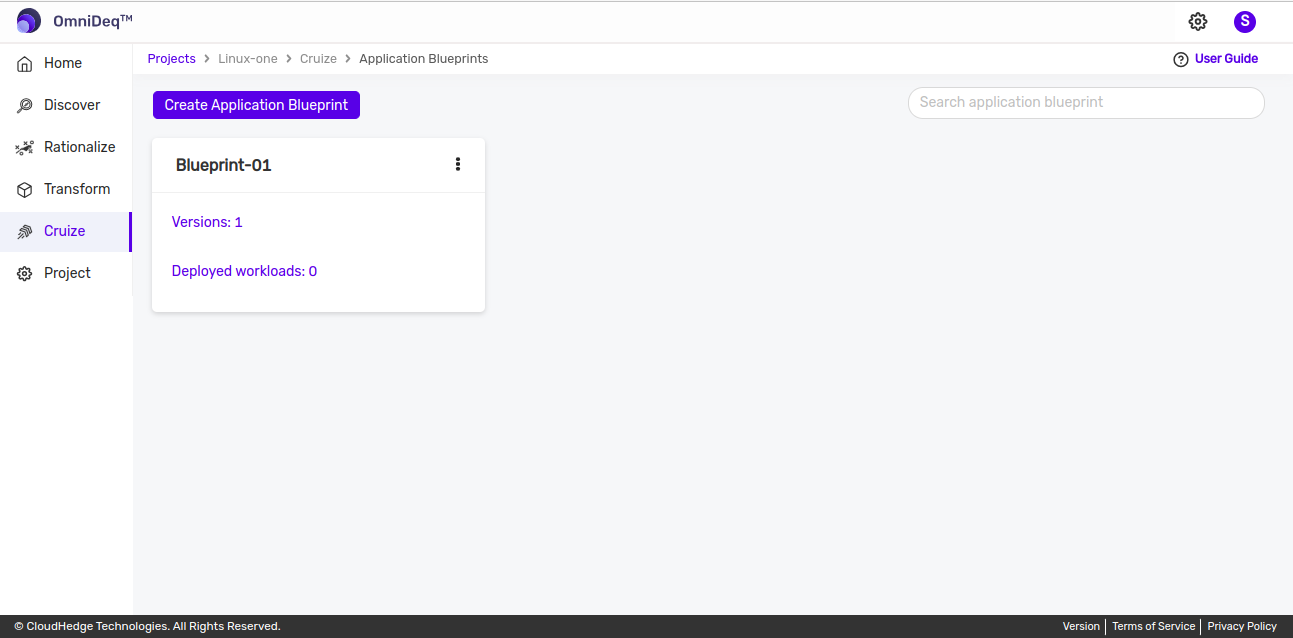
Click on blueprint version count on blueprint card. After clicking to count, blueprint versions page will be displayed which contains list of blueprint versions.
-
Click on View configurations kebab menu option or click on blueprint version name then of blueprint version to view blueprint configurations. Go to Deployments tab and click on
Edit deployment definitionfrom Action column of any deployment.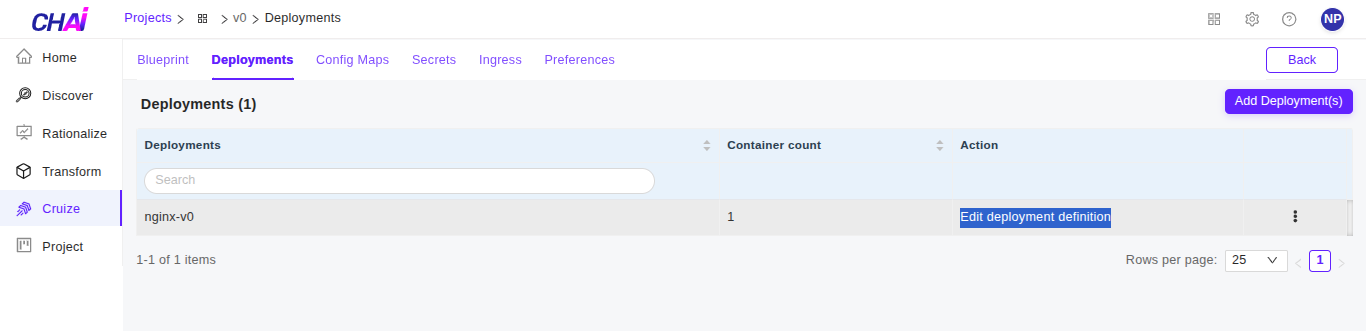
-
Then deployment definition page will be opened, now go to
Containerstab. Select container and then go to specific probe tab as shown in the below image.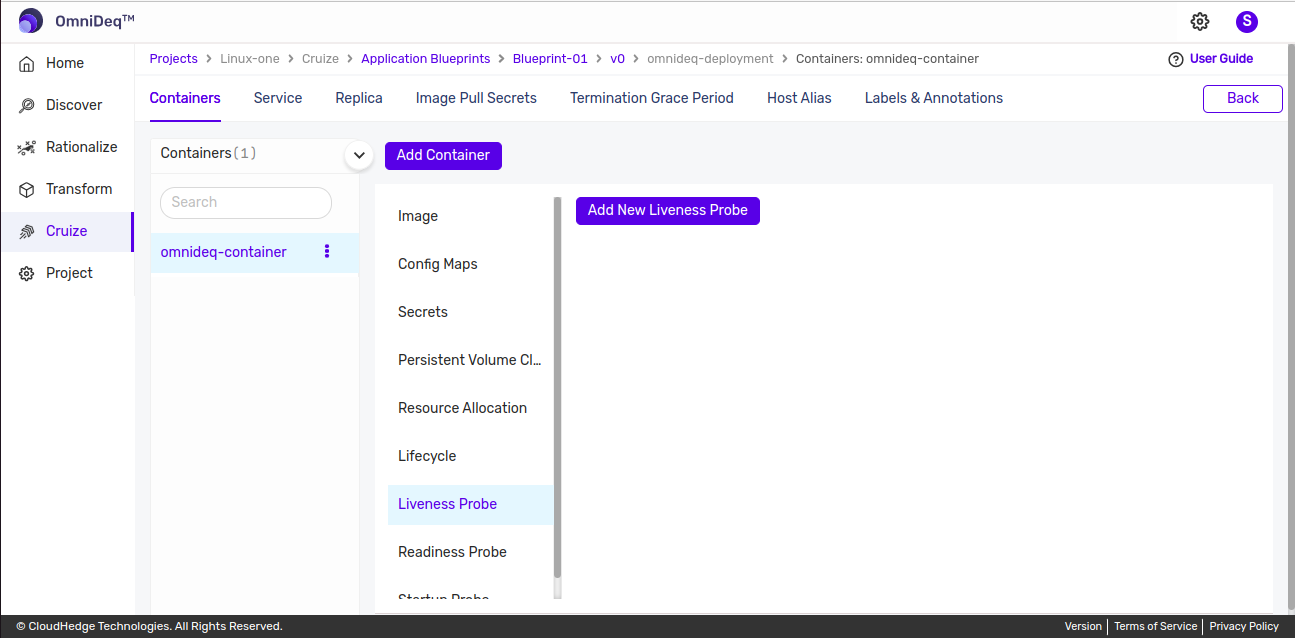
Adding a new Probe
-
Click on
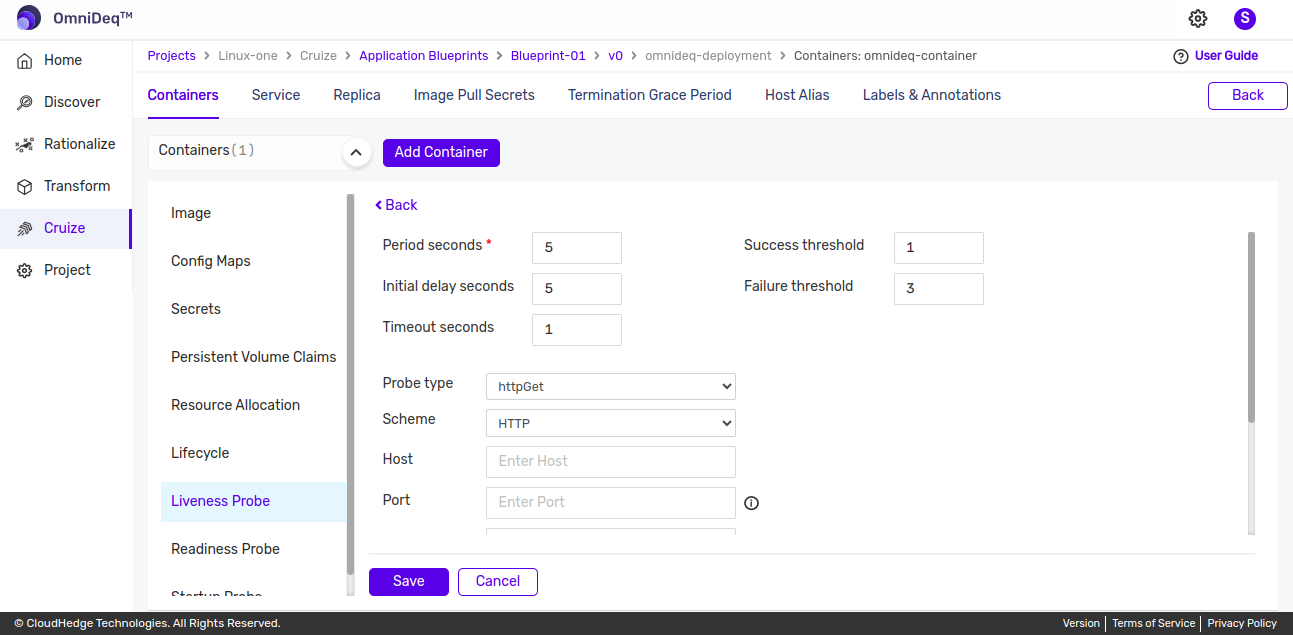
Add New Liveness Probebutton and after clicking following form will be displayed.
-
Add Probe by entering the below details:
Period seconds Default value is '5', change as applicable Initial delay seconds Default value is '5', change as applicable Timeout seconds Default value is '1', change as applicable Success threshold Default value is '1', change as applicable Failure threshold Default value is '3', change as applicable Probe type There are 4 different types. Default type is 'httpGet', change as applicable. Enter data based on selected probe type. -
Probe Type :
-
httpGet
- For httpGet probe type enter below details
Scheme Select Scheme (HTTP / HTTPS) Host Type Host name here Port Type port here Path Port should be in the range 1 to 65535 HTTP Headers Click on Add Key Value Pairbutton to add headers
-
tcpSocket or grpc
- For tcpSocket or grpc probe type enter below details as shown in the image below.
Host Type Host name here Port Port should be in the range 1 to 65535 
-
exec
- For exec probe type enter below details as shown in the image below.
Command Enter comma separated command 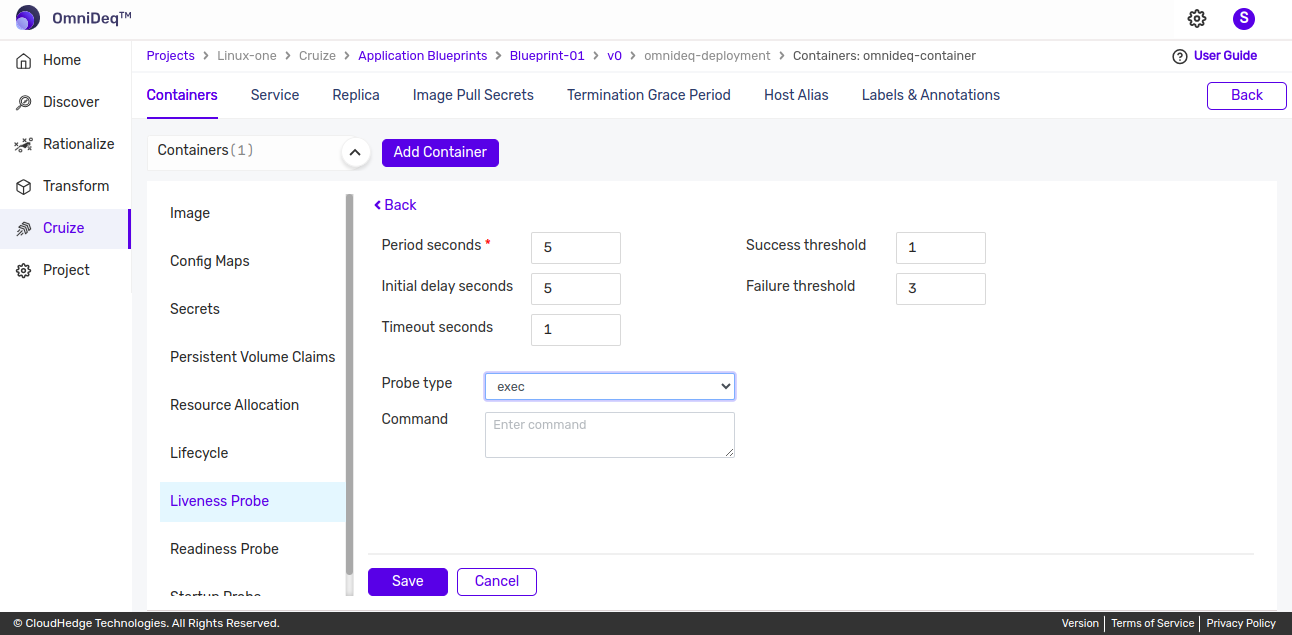
-
-
-
Provide all details and click on
Savebutton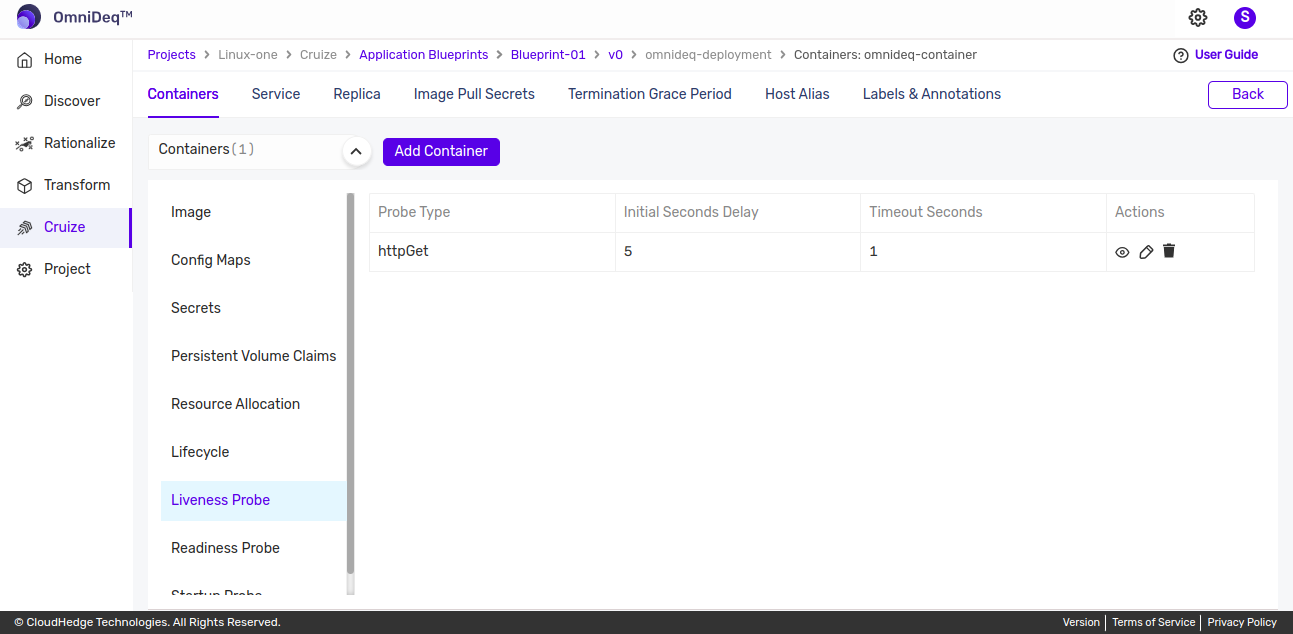
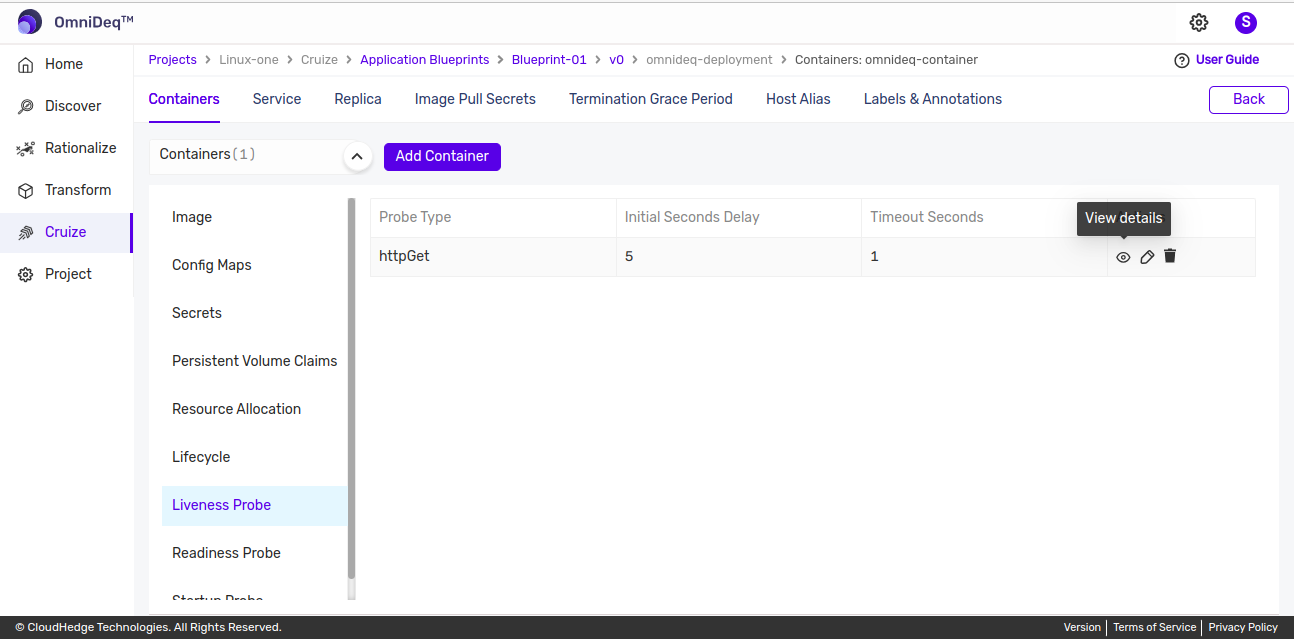
View Probe
To view probe details:
-
Click the View icon as shown in the image below.
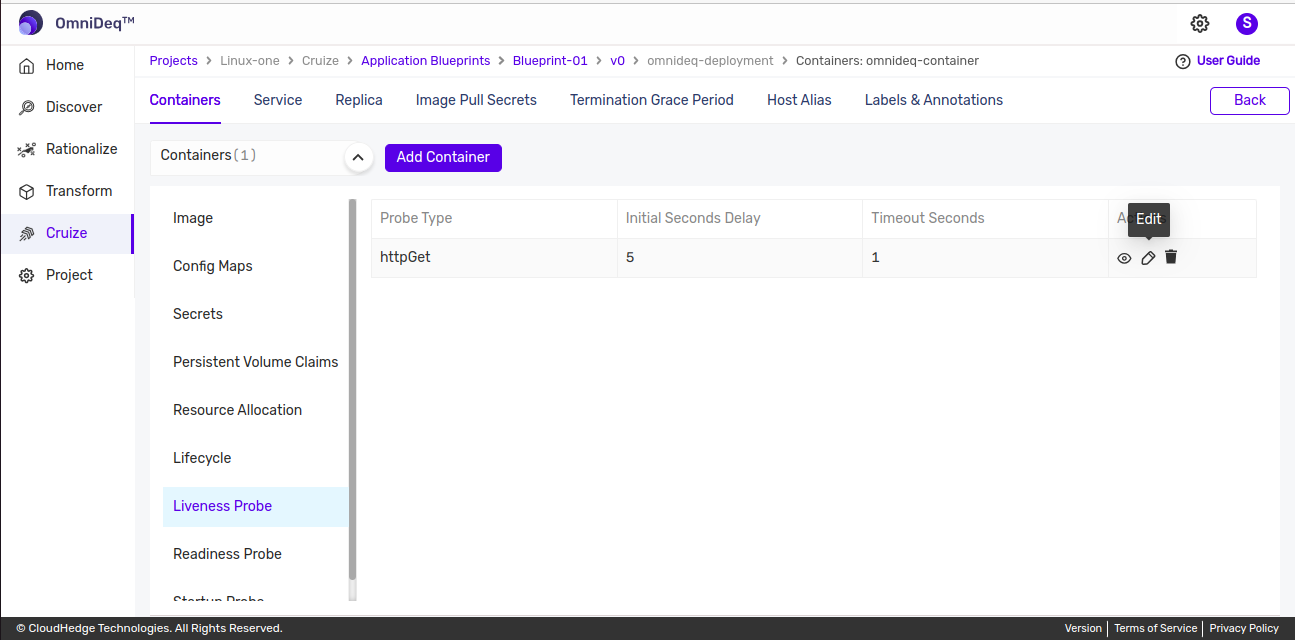
Edit Probe
To edit a probe:
-
Click the Edit icon as shown in the image below.
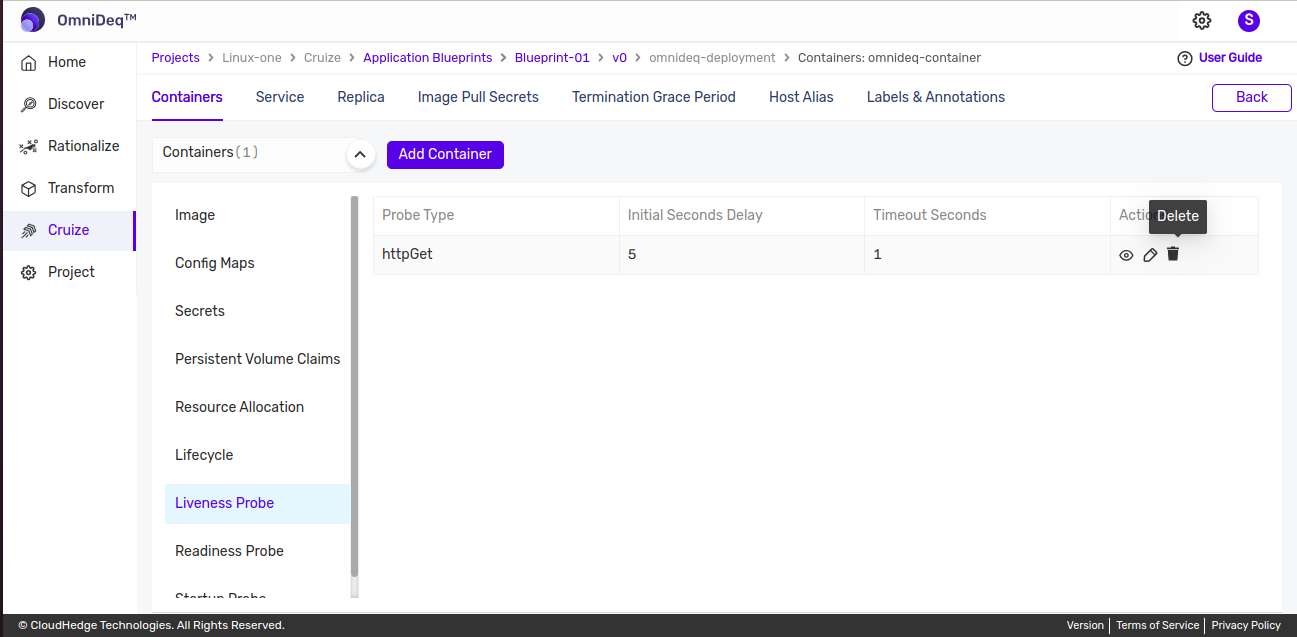
Delete Probe
To delete a probe:
-
Click the Delete icon as shown in the image below.
Note:
Please follow similar steps to perform add, view, edit, and delete actions for Readiness and Startup Probes.