Container Resource Allocation
When you specify the resource request for containers in a pod, the kube-scheduler uses this information to decide which node to place the pod on.
When you specify a resource limit for a container, the kubelet enforces those limits so that the running container is not allowed to use more of that resource than the limit prescribed.
Accessing Container Resource Allocation
-
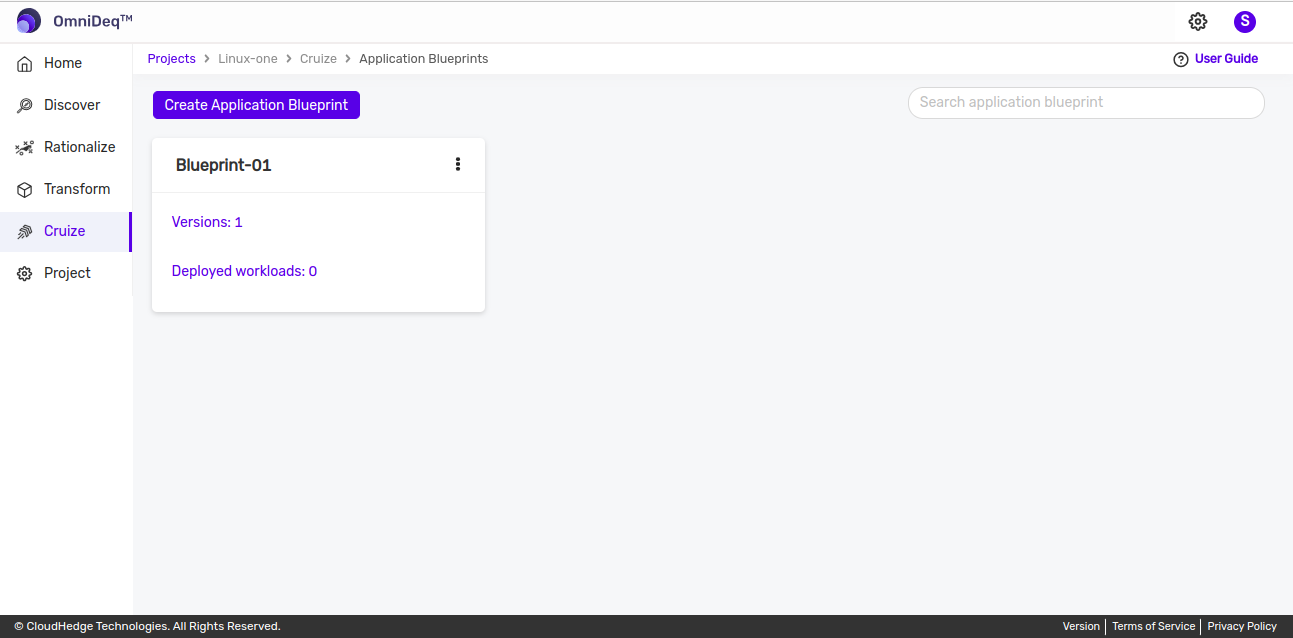
After logging into CHAI™, click on the project where you want to manage resource allocations, then click Cruize.
-
Click on the blueprint version count on the blueprint card. After clicking the count, the blueprint versions page will be displayed, which contains a list of blueprint versions.
-
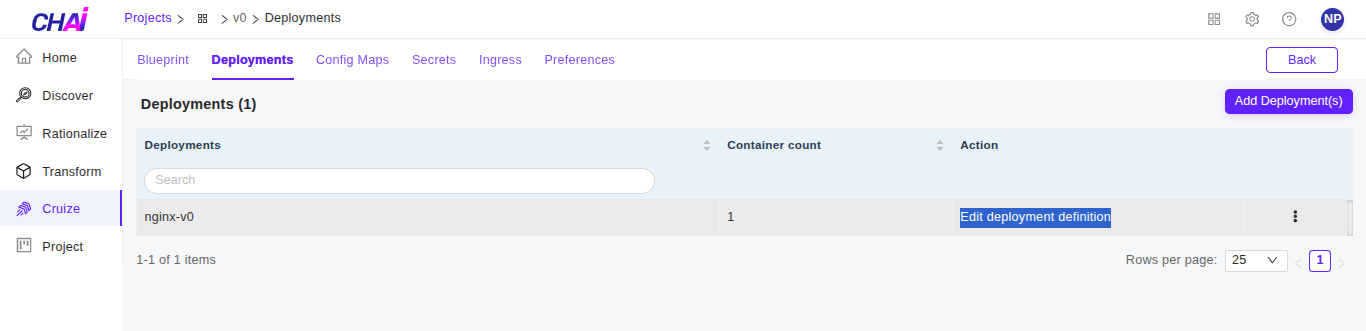
Then deployment definition page will be opened, now go to
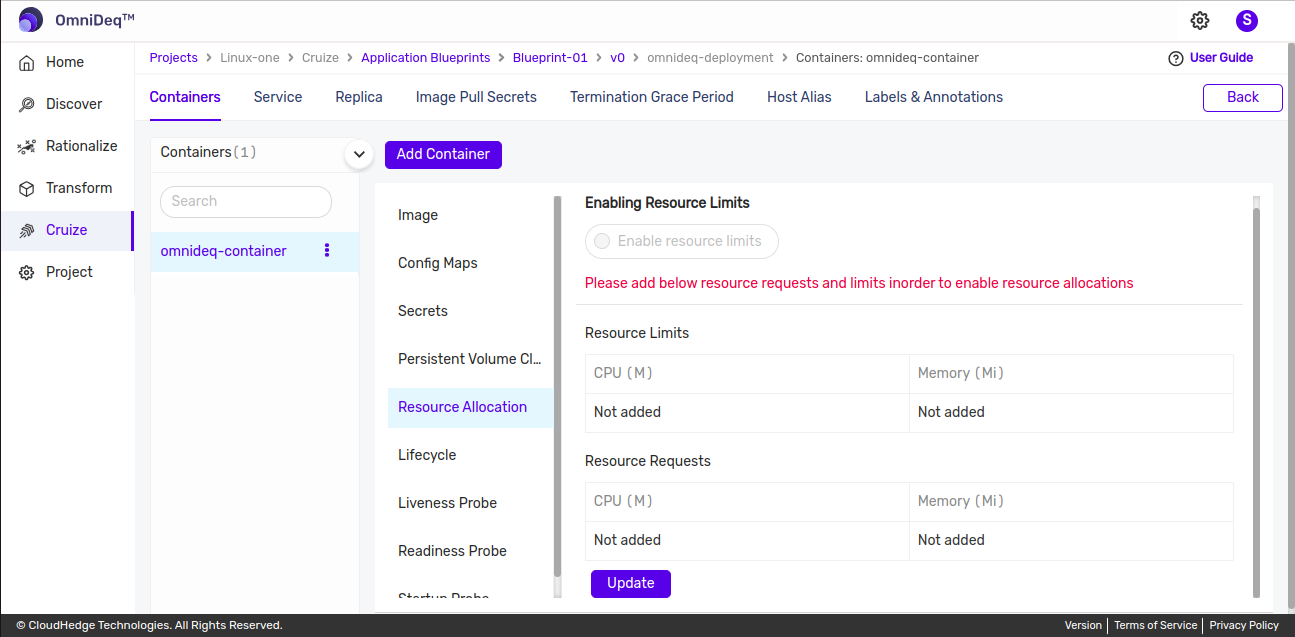
Containerstab. Select container and then go toResource Allocationtab as shown in the below image. -
The deployment definition page will open. Now go to the Containers tab. Select a container, then go to the Resource Allocation tab as shown in the image below.

Add Resource Allocation
By default, resource requests and limits are not applied as shown in the image below. To enable resource allocations, add resource requests and limits.
Steps to Add Resource Requests and Limits

-
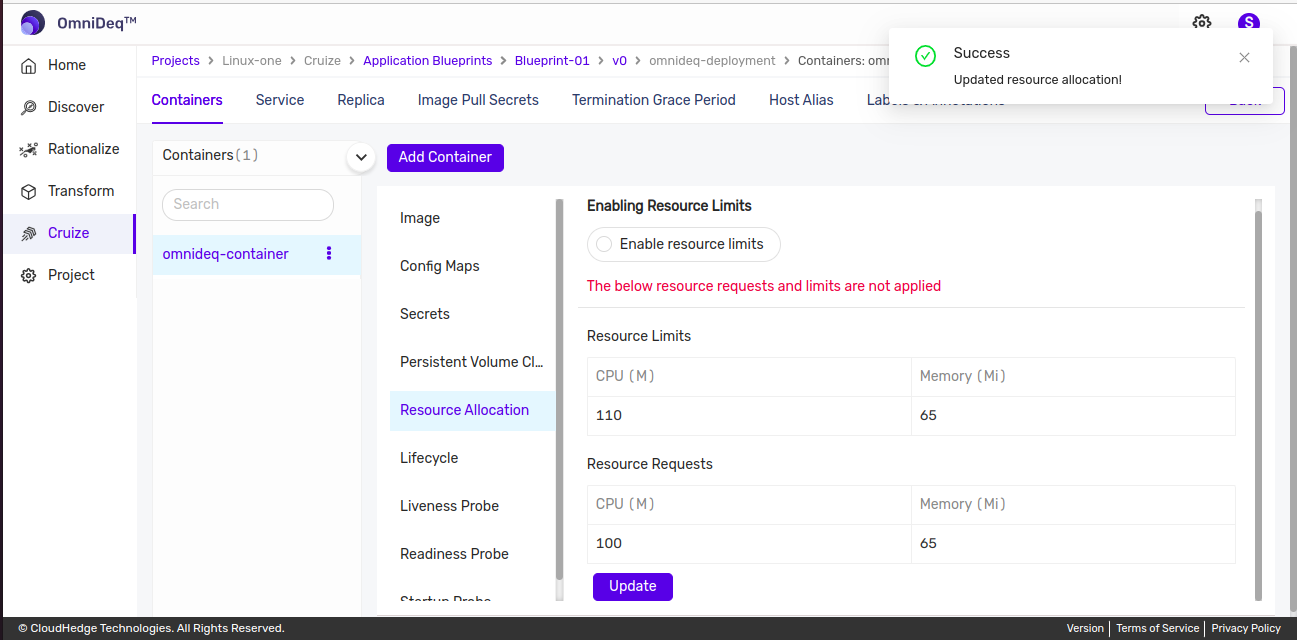
In order to add resource requests and limits, click on
updatebutton. Enter the values as shown in the image below.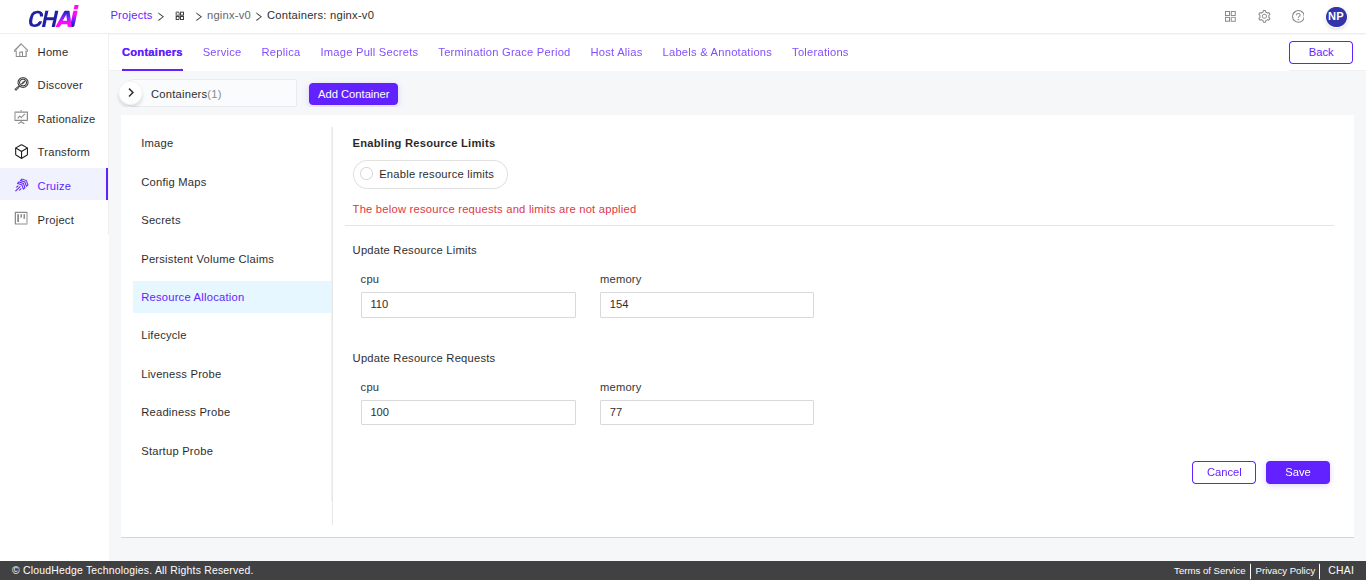
Resource Limits
Configure the following resource limits:
- CPU (M): Provide a value greater than 100
- Memory (Mi): Provide a value greater than 64
Resource Requests
Configure the following resource requests:
-
CPU (M):
- Provide a value greater than 100
- Provide a value less than or equal to CPU limit
-
Memory (Mi):
- Provide a value greater than 64
- Provide a value less than or equal to memory limit
-
Provide values and click the Save Changes button.
Enabling Resource Limits
To enable resource limits:
-
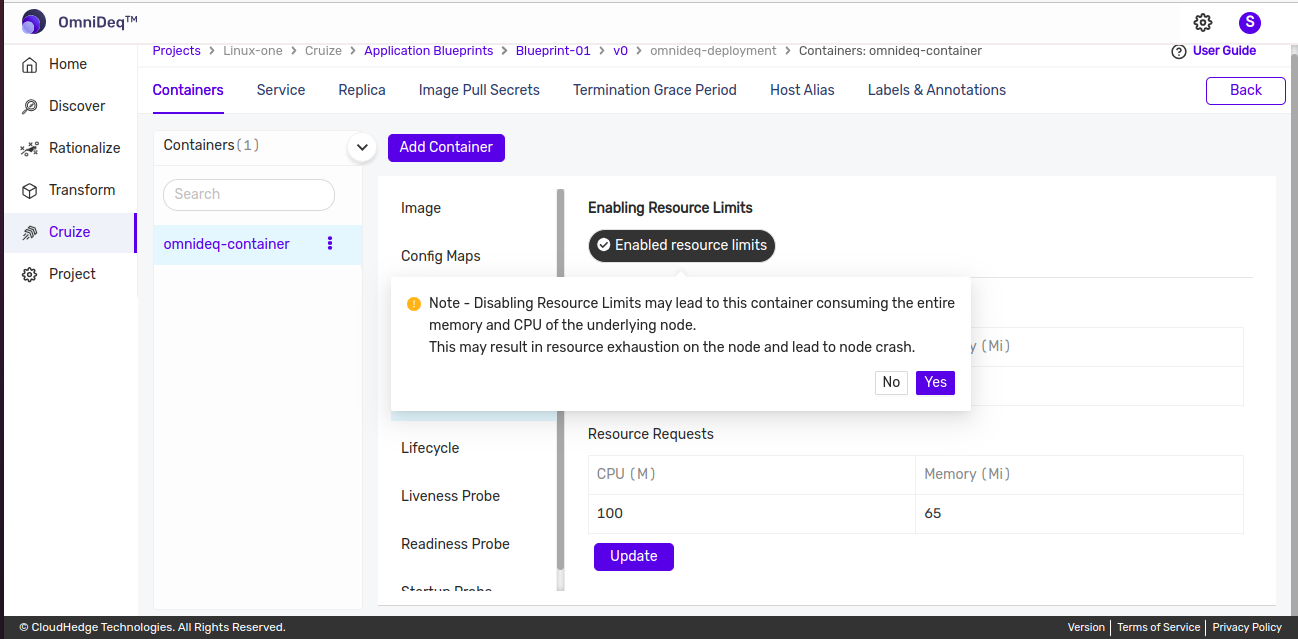
Click the Enabling Resource Limits button. This will open a confirmation popup asking for confirmation as shown below.
-
Click the Yes button to enable resource limits.
Important Note:
Before enabling resource limits, make sure that the allocated resources are available on the cluster.

Disabling Resource Limits
To disable resource limits:
-
Click the Enabling Resource Limits button. This will open a confirmation popup asking for confirmation as shown below.
-
Click the Yes button to disable resource limits.
Important Warning:
Disabling resource limits may lead to this container consuming the entire memory and CPU of the underlying node. This may result in resource exhaustion on the node and lead to node crash.
Notes: 1. CPU unit: m = millicpu 2. Memory unit: Mi = MiB = Mebibyte