User Management
CHAI™ can be used by multiple users simultaneously to conduct different pre-modernization and post-modernization activities. This section explains how to manage different types of users.
Go to User Management
- Click on
User Managementoption fromSettingsmenu as shown in the image below.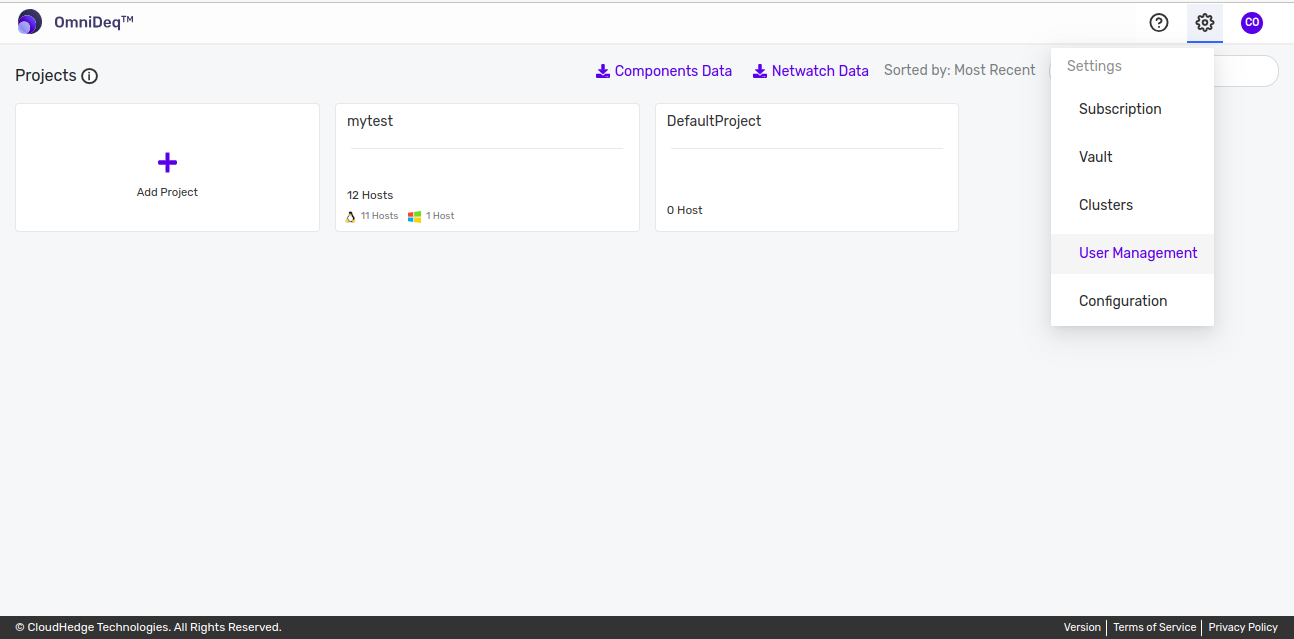
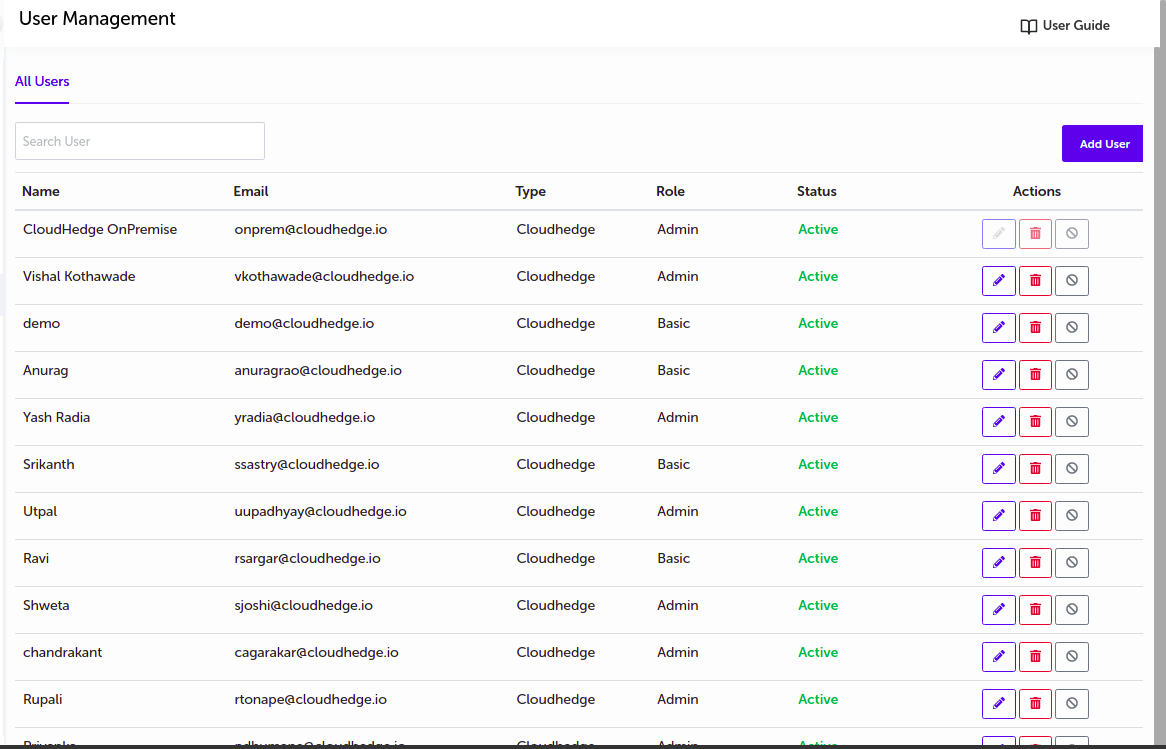
Admin can add and manage the users from this page.
Adding a User
-
Click on
Add Userbutton -
Clicking on
Add Userbutton, drawer will get open. Supply the appropriate values and click onSavebutton as shown in the image below.
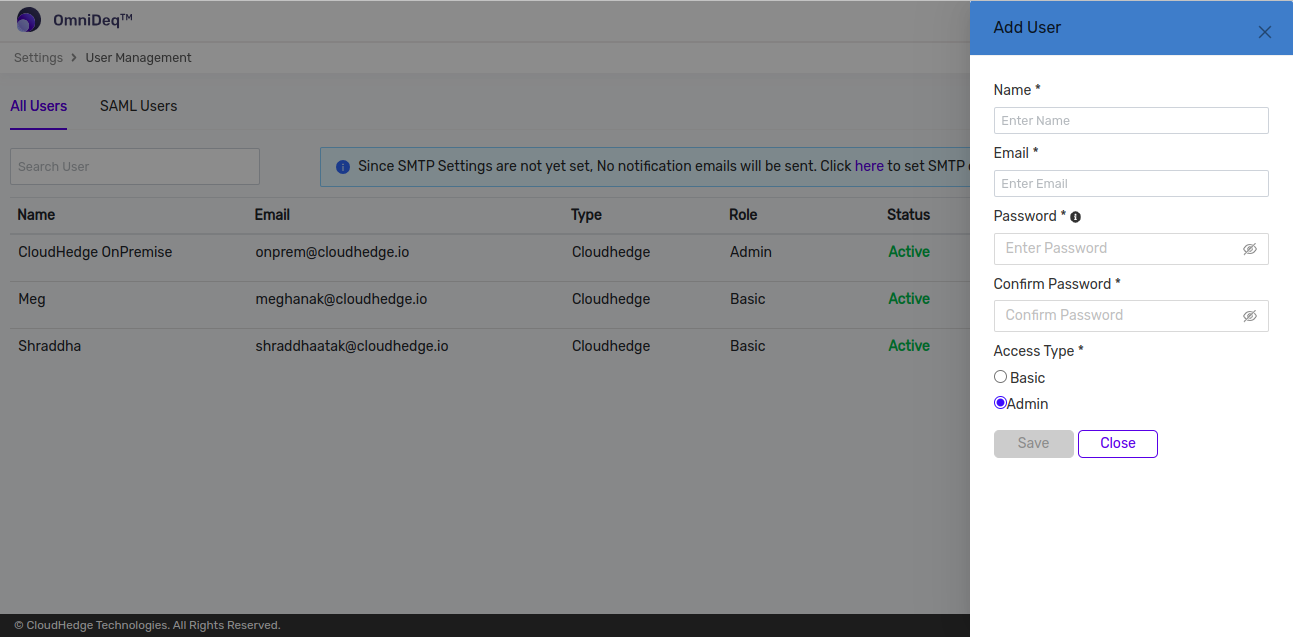
| Field Name | Description |
| Name | Enter User Name |
| Enter Email Address | |
| Password | Enter Password |
| Confirm Password | Enter Password again to confirm |
| Access Type | Select either Basic or Admin |
Managing Existing Users
- Users can Edit user details, Delete user & Mark user as Inactive.
- Logged in admin user cannot mark inactive, edit, delete himself/herself.

Editing a User
- Click on
Editicon beside user profile as shown in the image below.(edit icon in highlighted row)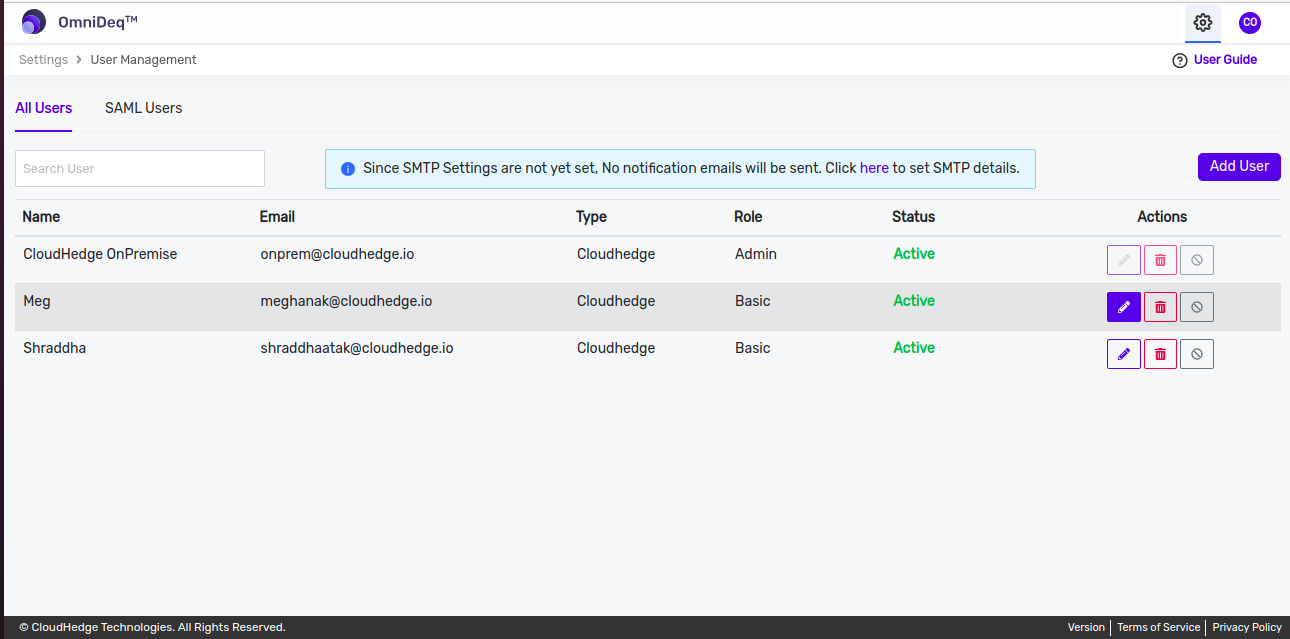
- Edit the values and click on
Submitbutton to save the details. - Users cannot edit
SAML typeuser.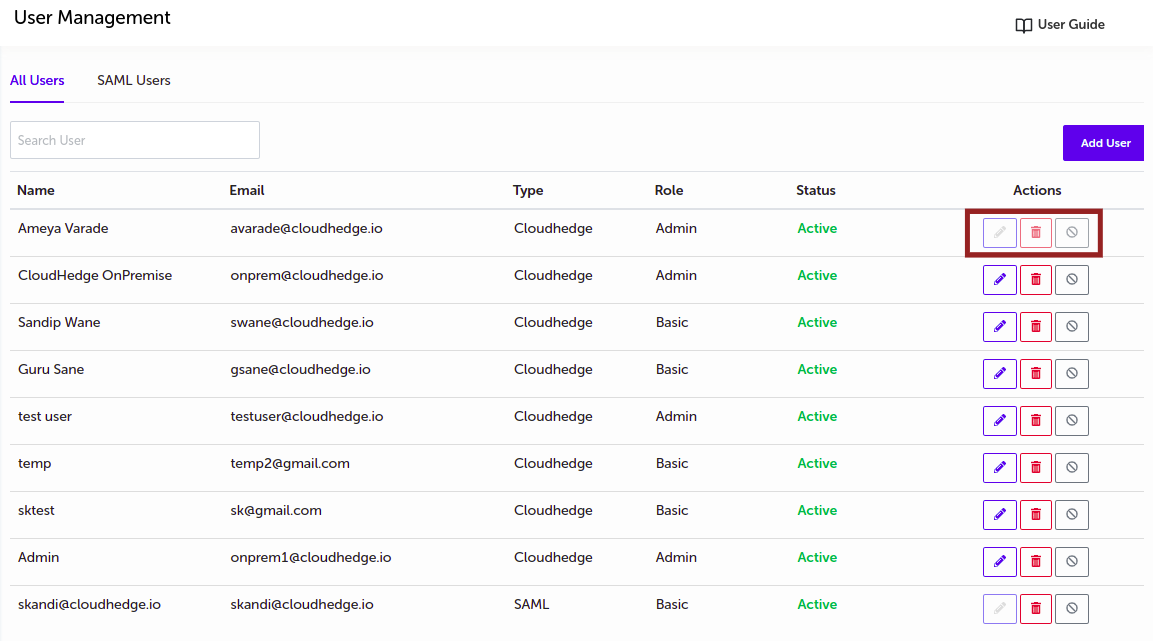
Deleting a User
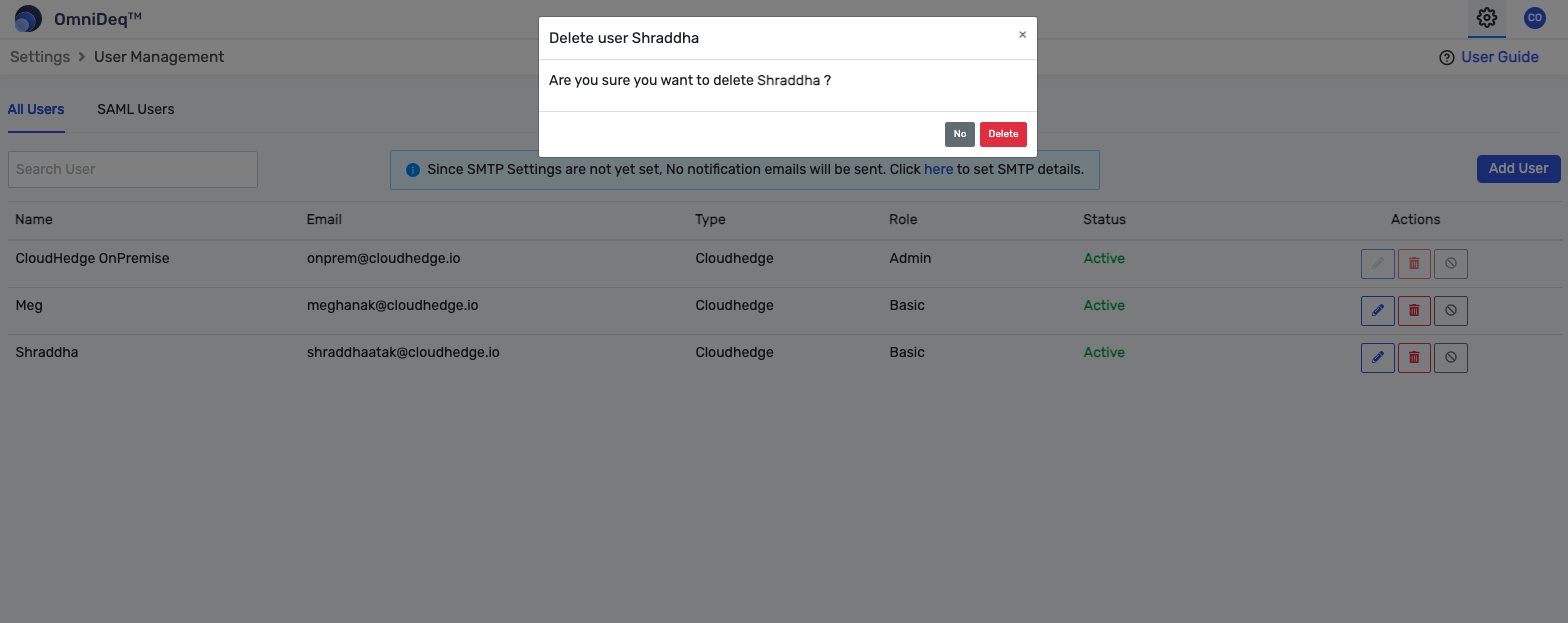
- Click on
Deleteicon as shown in the image below and again click on theDeletebutton in the popup.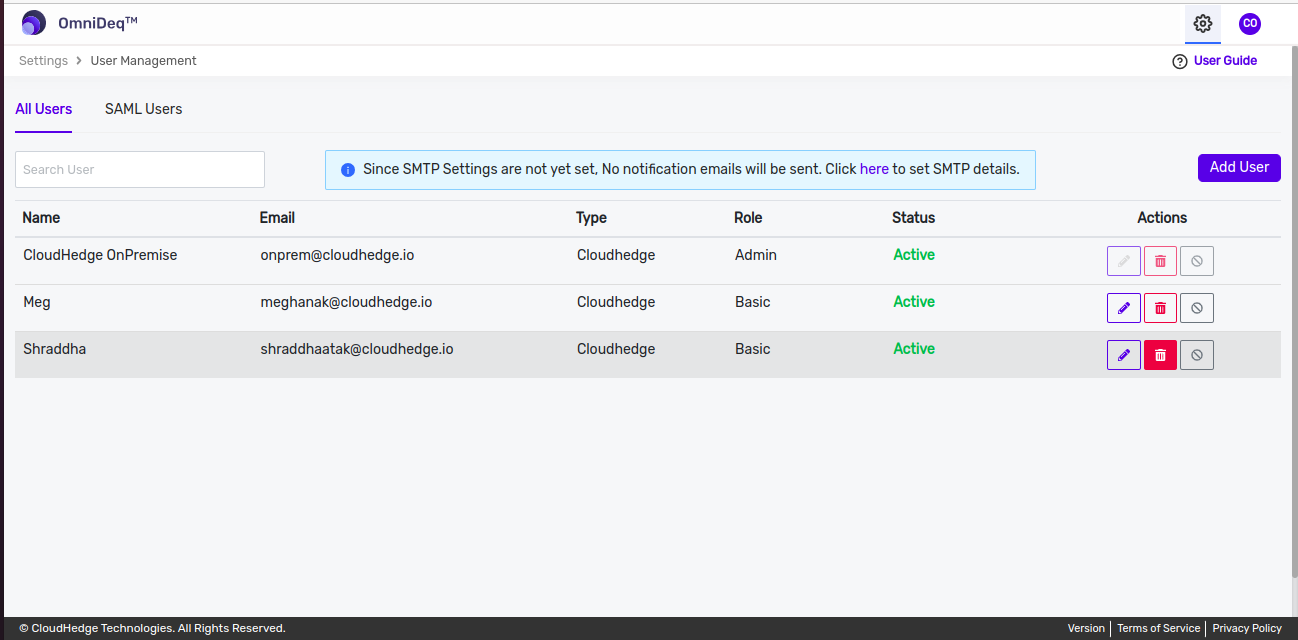
Mark a User as Inactive
- Click on
Mark user as inactiveicon as shown in the image below.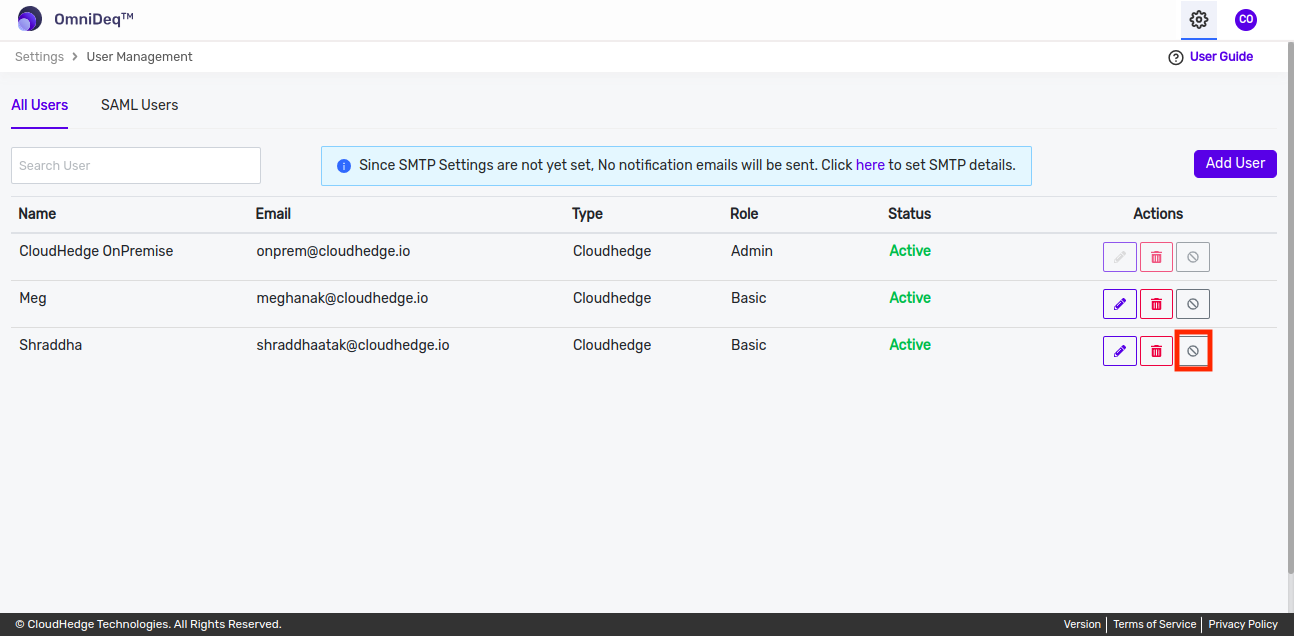
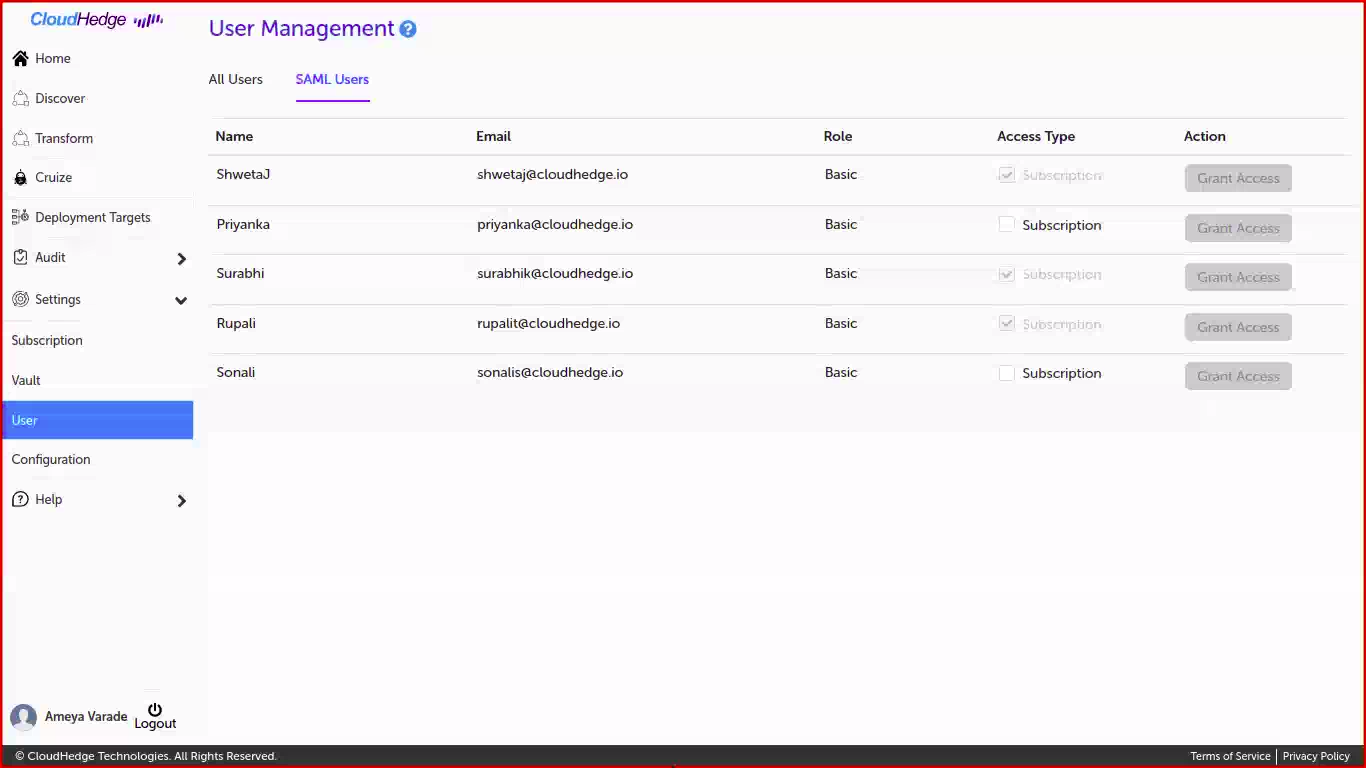
SAML Users
- New SAML type users are granted read only access to the system.
- Admin can grant user access of
Subscriptionto perform operations such as Discover, Transform, Cruize, etc. - To grant access navigate to SAML user section as shown in image below:
- Click on the access type. Once the access is selected
Grant Accessbutton is enabled.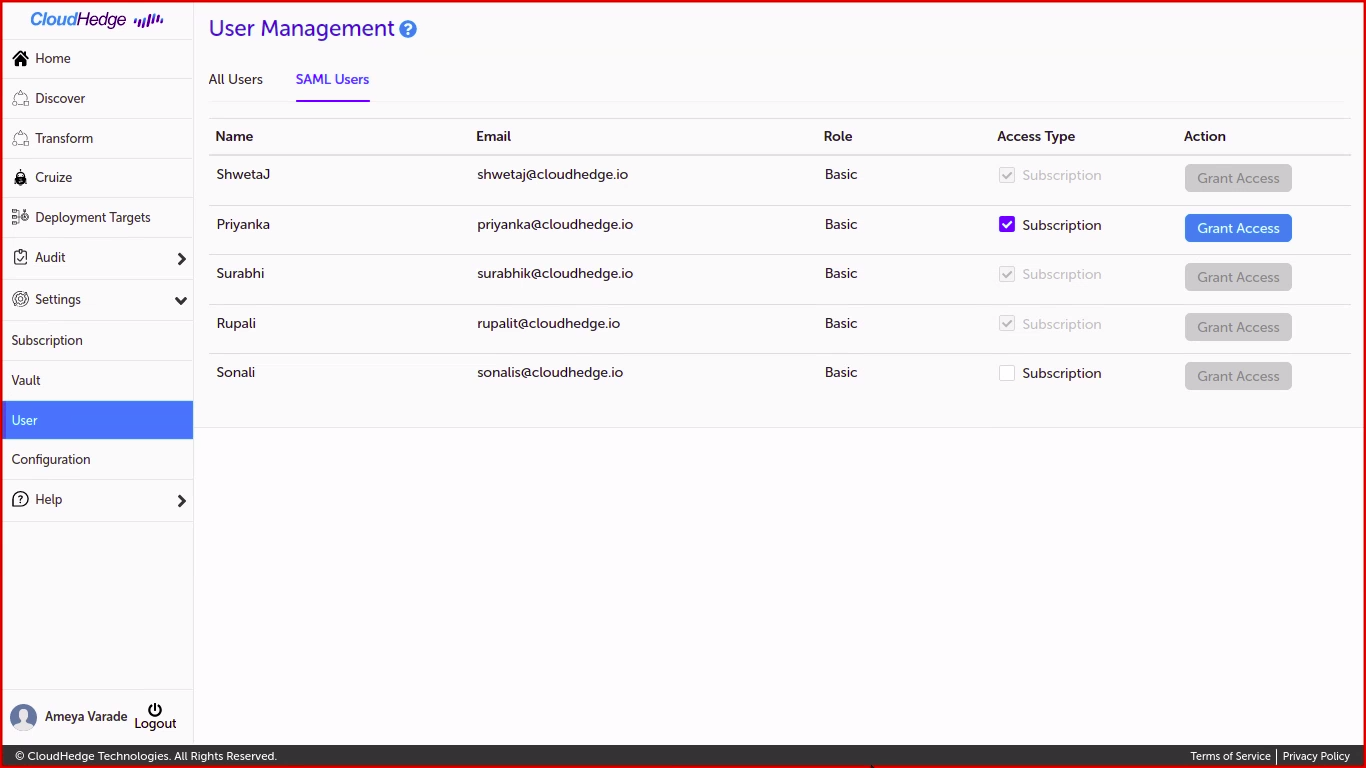
- Admin can click on the
Grant Access. Confirmation popup will open as shown in image below: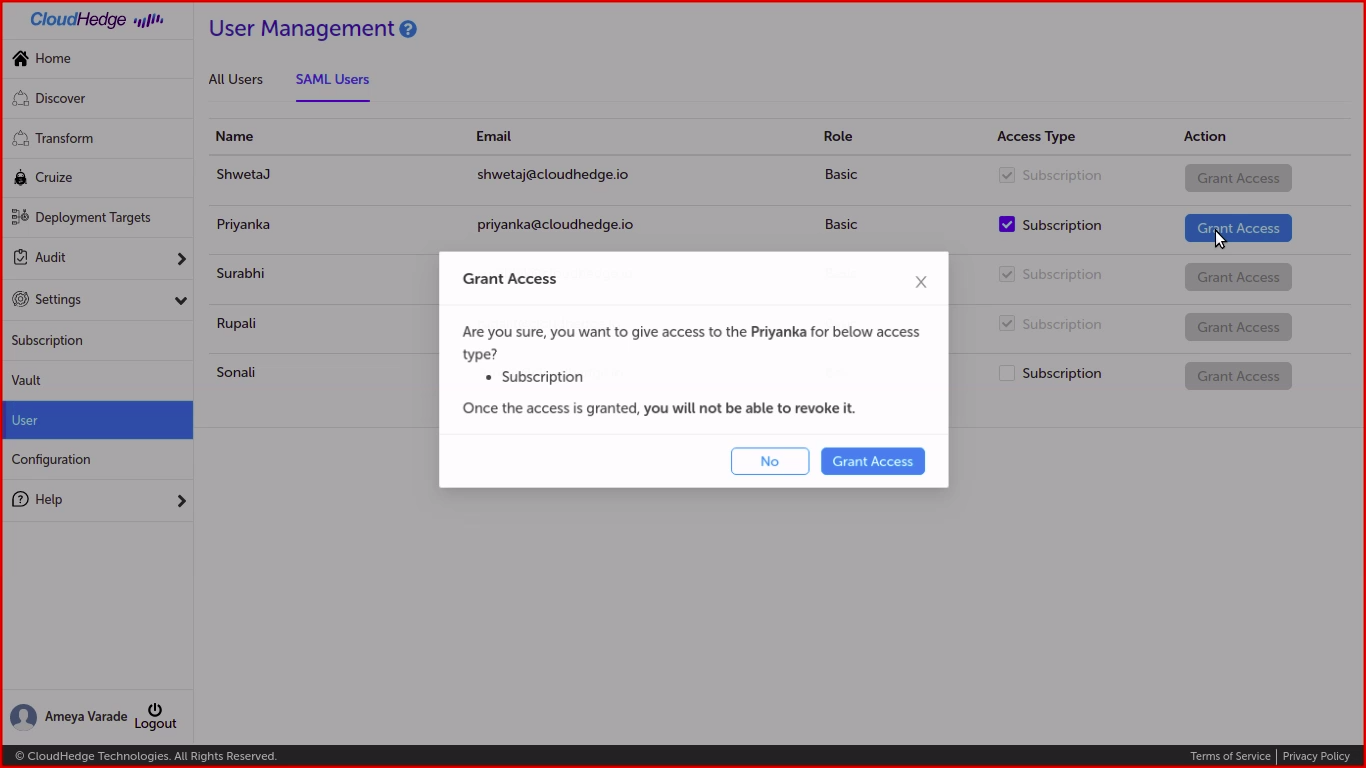
- Once the access is granted, Admin will not be able to revoke it.
Notes:
User Managementis only accessible to Admin users.- Logged in admin user cannot mark inactive, edit, delete himself/herself.