Application Blueprint Creation
There are two ways to create an application blueprint:
Manual Creation
Add an Application Blueprint
-
After logging into CHAI™, click on the project where you want to create the blueprint, then click on Cruize.
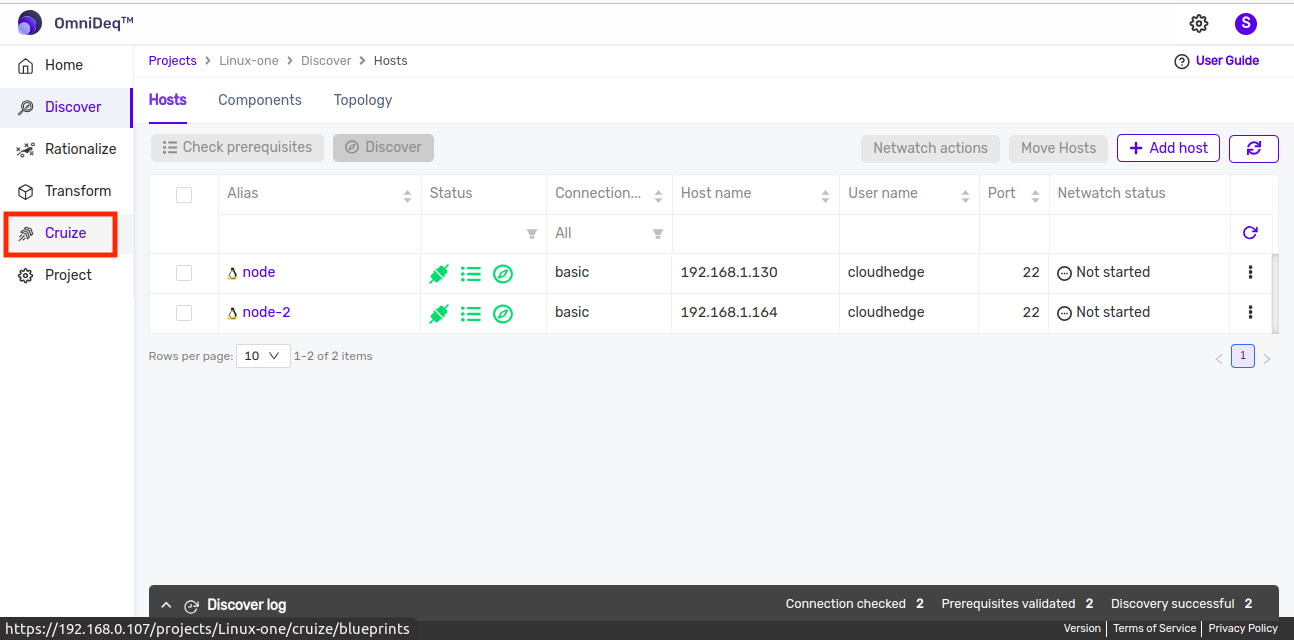
The page will open as shown in the image below.
-
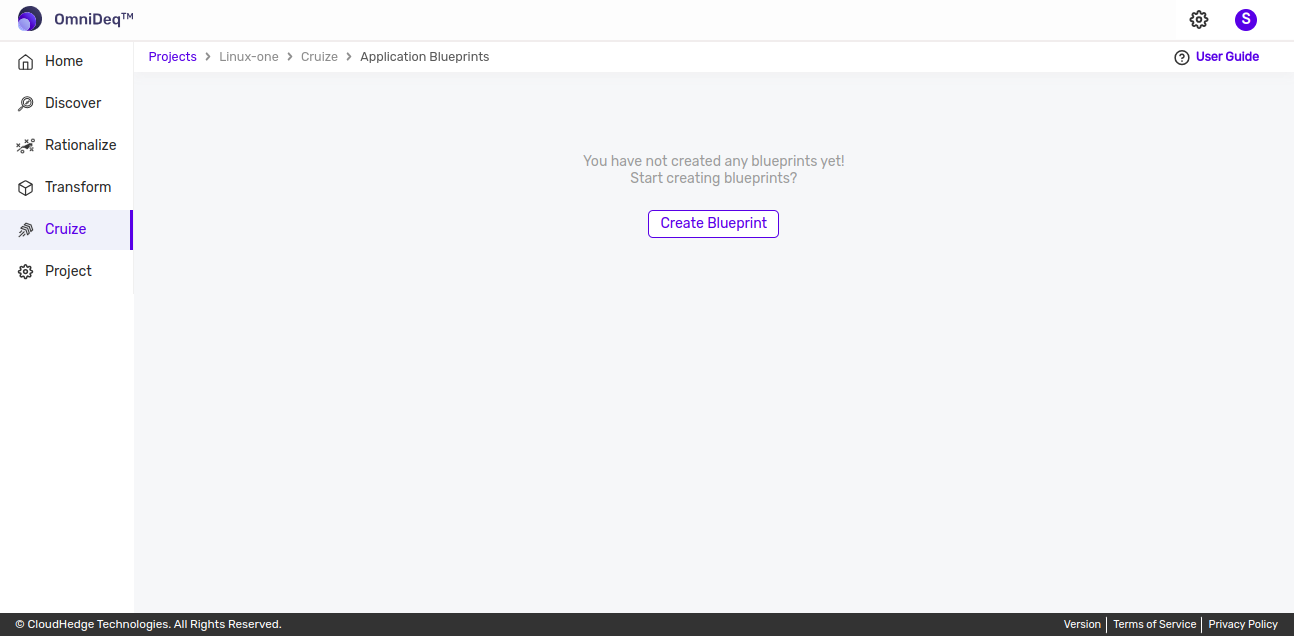
Click the Create Blueprint button to create an application blueprint. This allows you to specify different attributes for the application you want to deploy in your environment.
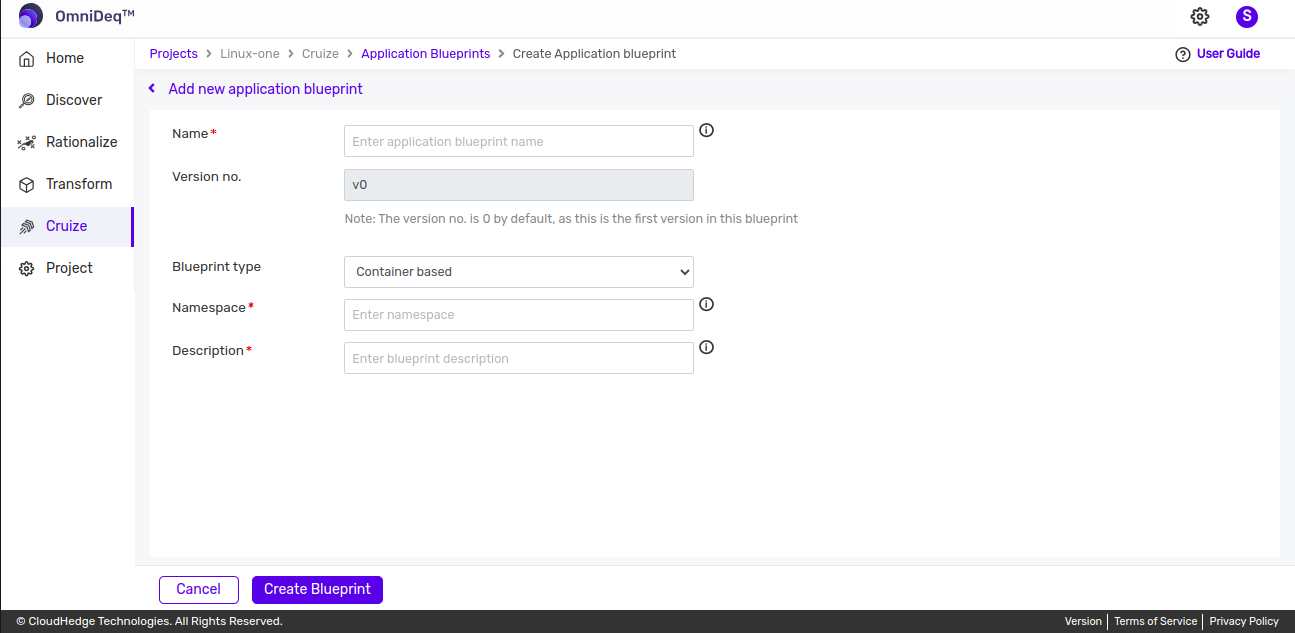
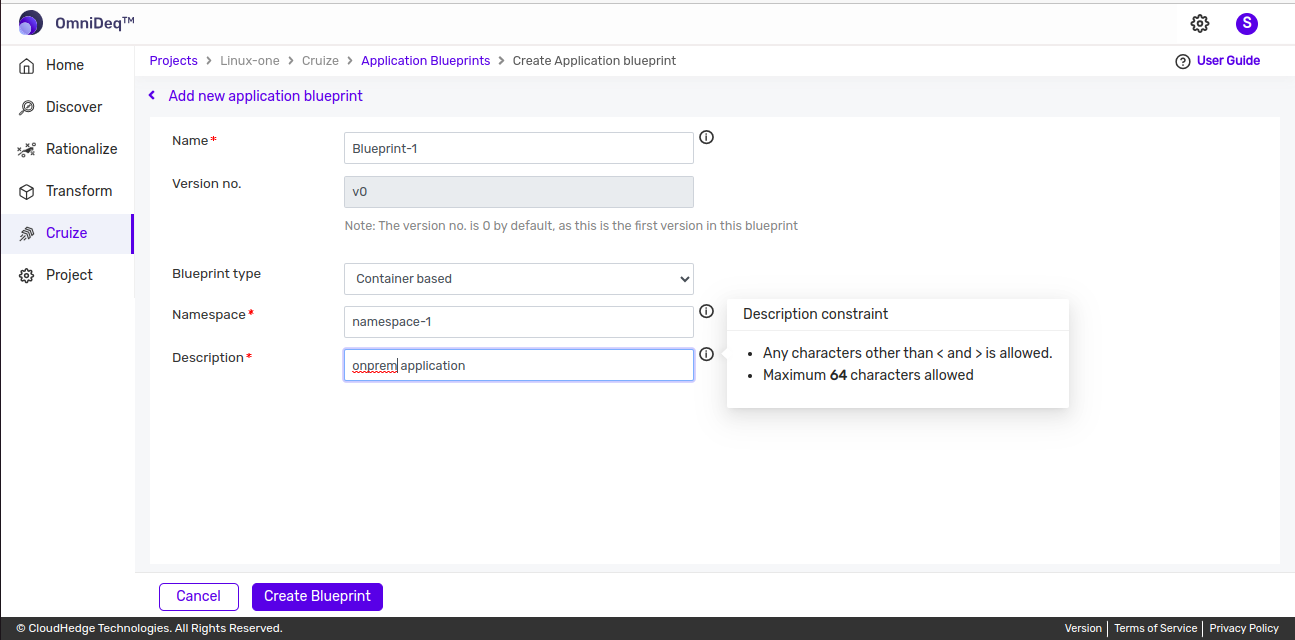
After clicking the Create Blueprint button, the following form will be displayed:
-
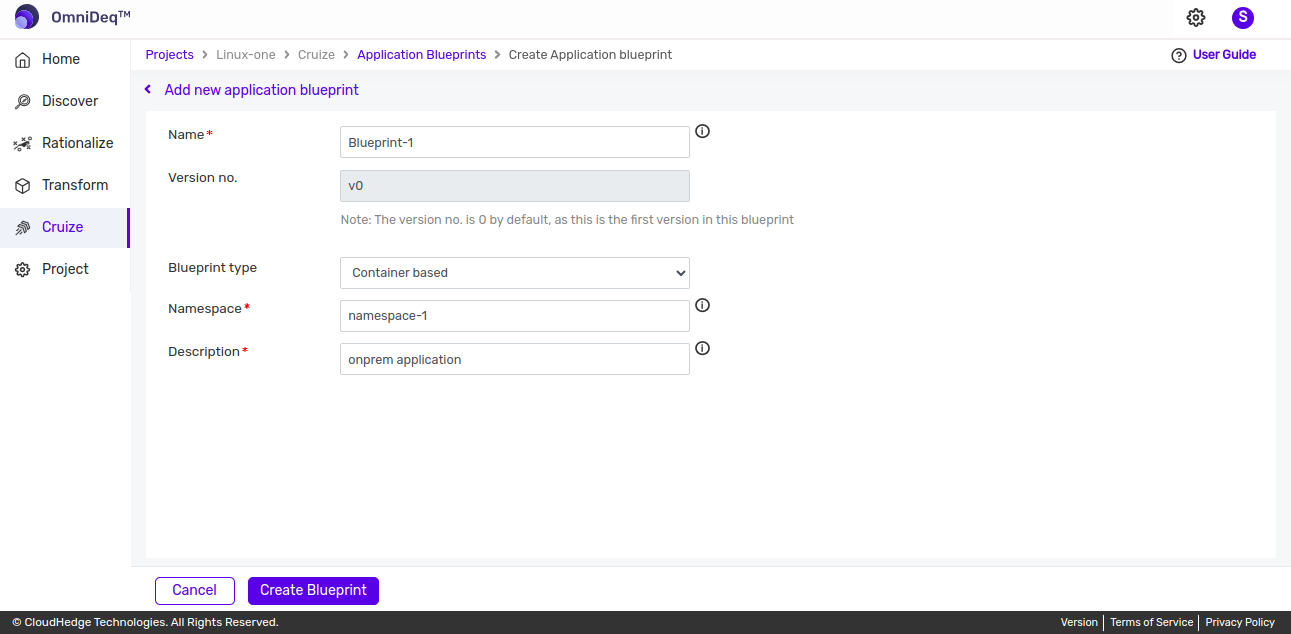
Add your application blueprint by entering the following details:
Field Description Name Enter the blueprint name Version no. Version number will be 0 by default for new blueprint creation. For creating a blueprint from an existing blueprint, the version number will be incremental. Blueprint type Select the blueprint type Namespace Enter the namespace Description Enter a description for the blueprint
Field Requirements
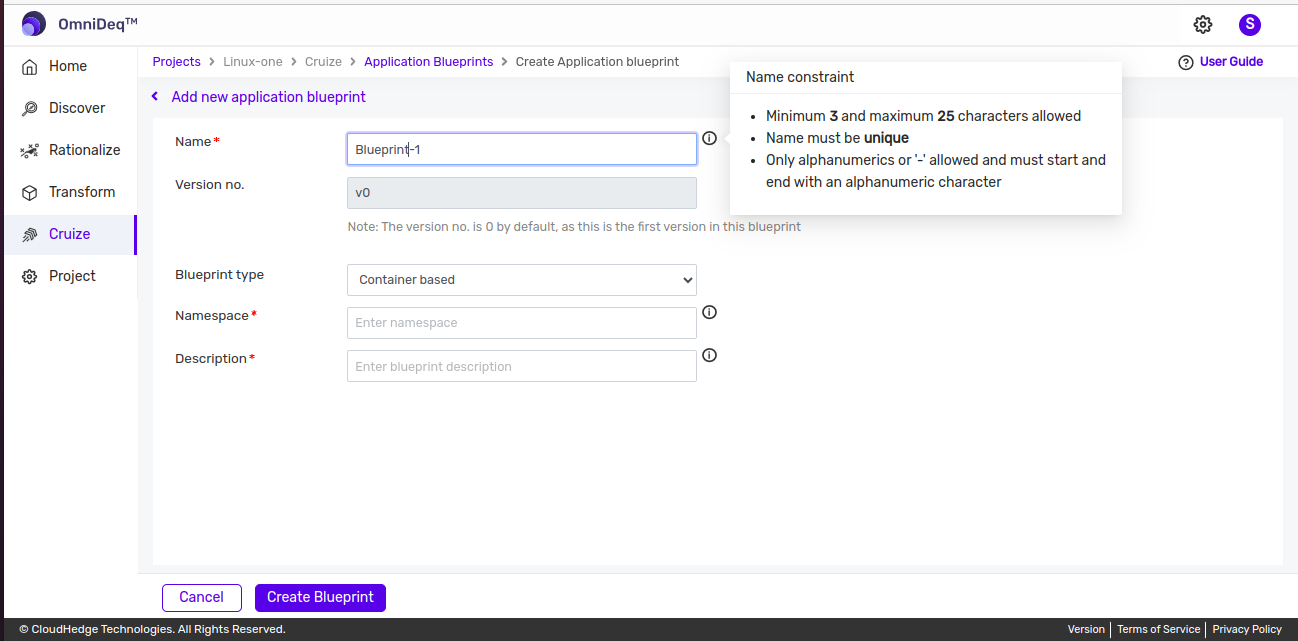
Name
- Only alphanumeric characters or hyphens (-) are allowed
- Must start and end with an alphanumeric character
- Maximum 25 characters allowed
- Name must be unique
Namespace
- Only lowercase alphanumeric characters or hyphens (-) are allowed
- Must start and end with an alphanumeric character
- Maximum 63 characters allowed

Description
- Any characters except < and > are allowed
- Maximum 64 characters allowed
-
After providing all the details, click the Create Blueprint button to add your blueprint.
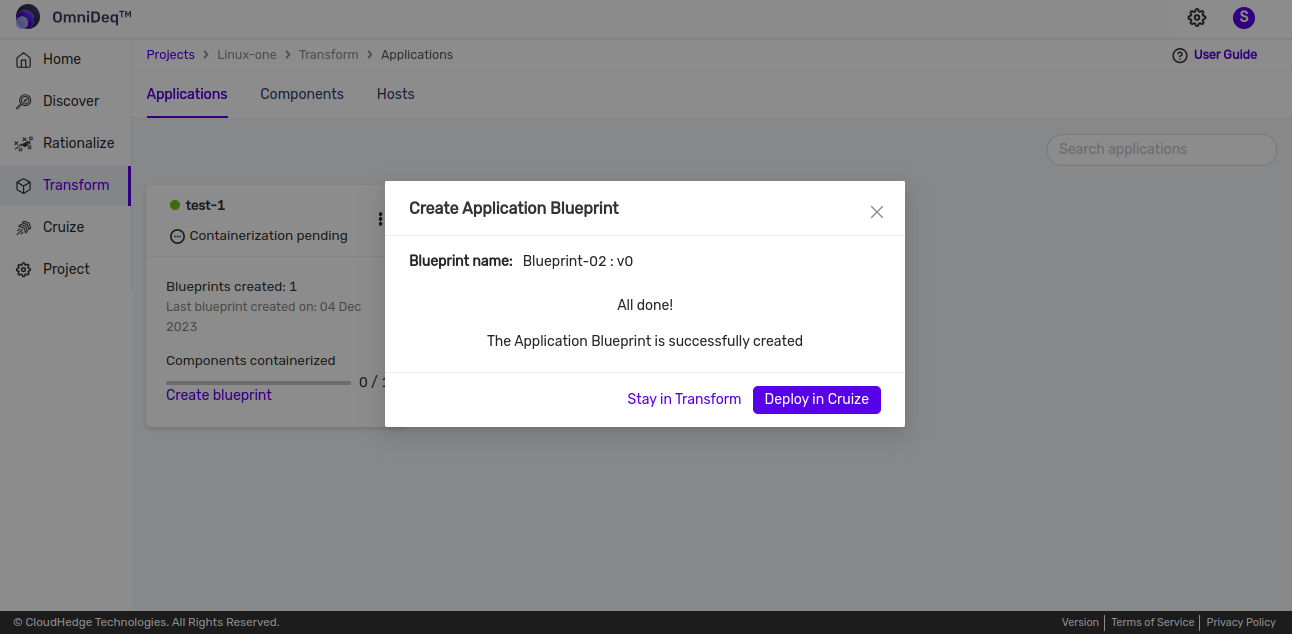
From Transform Profile
Once an application blueprint is created on the Transform screen, you will be asked if you want to navigate and Deploy the application in Cruize as shown in the image below.
To learn more about creating an application blueprint via Transform, click here.
The CHAI™ Transform option intelligently creates deployments and containers, and identifies configurations such as: - Service ports - Replicas - Config maps - Environment variables - CPU allocation - Memory allocation
These configurations are automatically populated in the workload resource definitions.