Host Alias
Accessing Host Alias
-
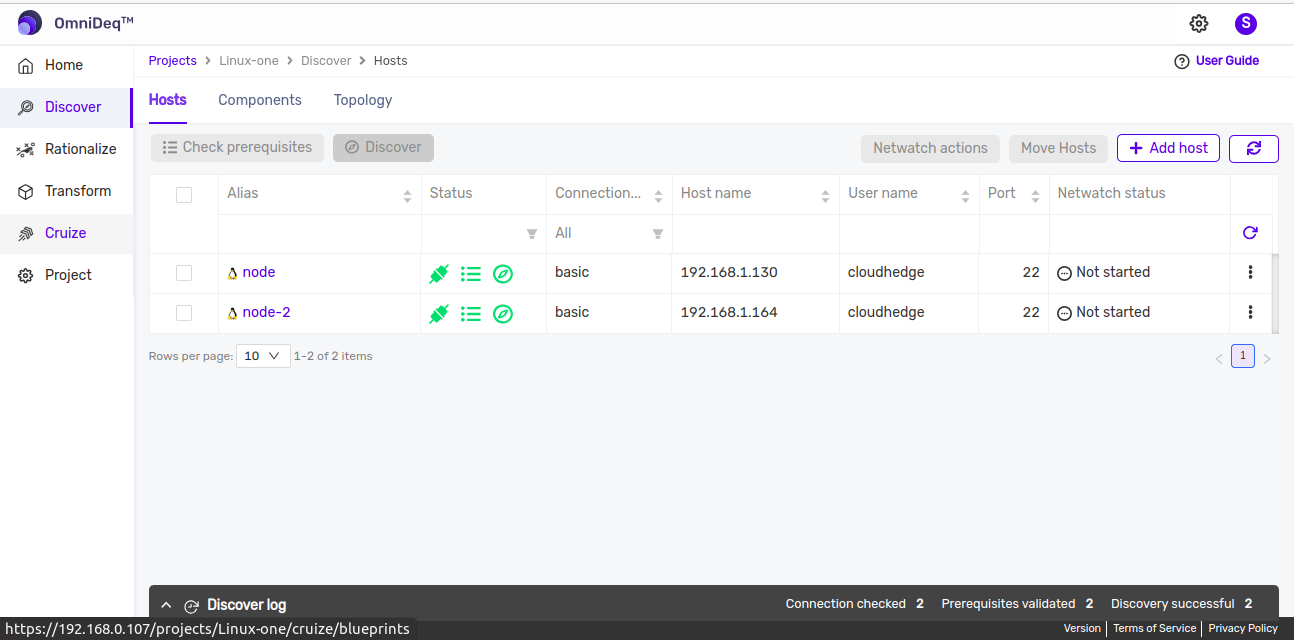
After logging into CHAI™, click on the project where you want to add host aliases, then click Cruize.
-
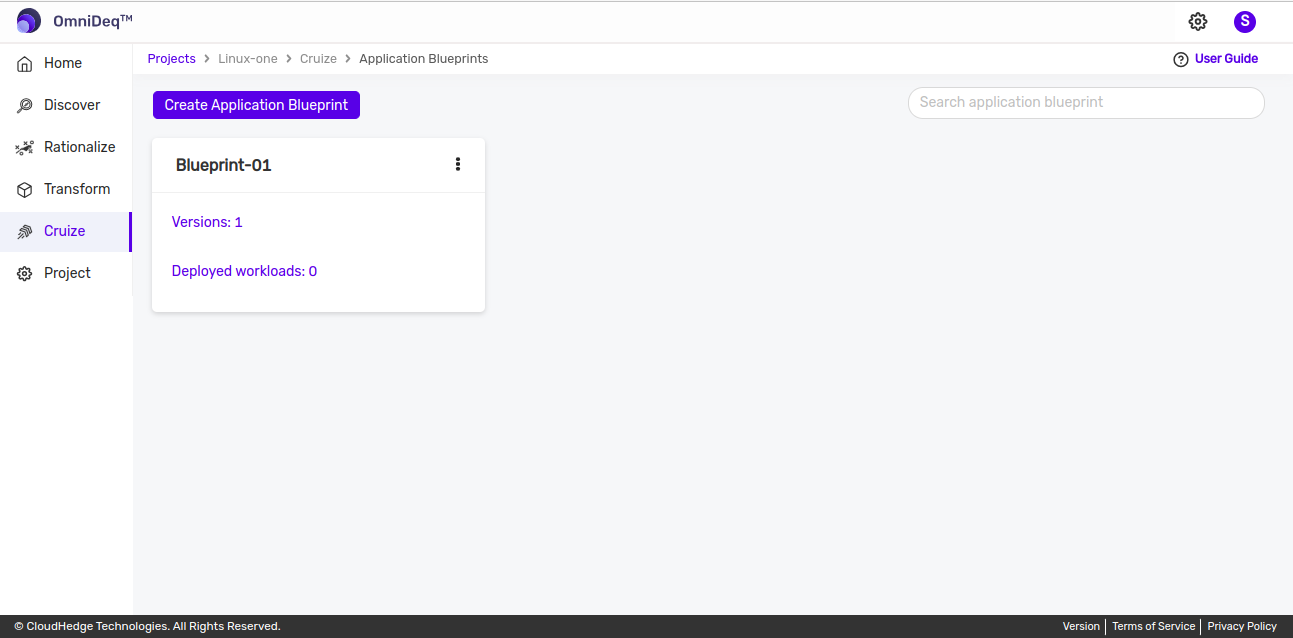
Click on the blueprint version count on the blueprint card. After clicking the count, the blueprint versions page will be displayed, which contains a list of blueprint versions.
-
Click on the View configurations kebab menu option or click on the blueprint version name to view blueprint configurations.
-
Go to the Deployments tab and click Edit deployment definition from the Action column of any deployment.
-
The deployment definition page will open. Now go to the Host Alias tab as shown in the image below.
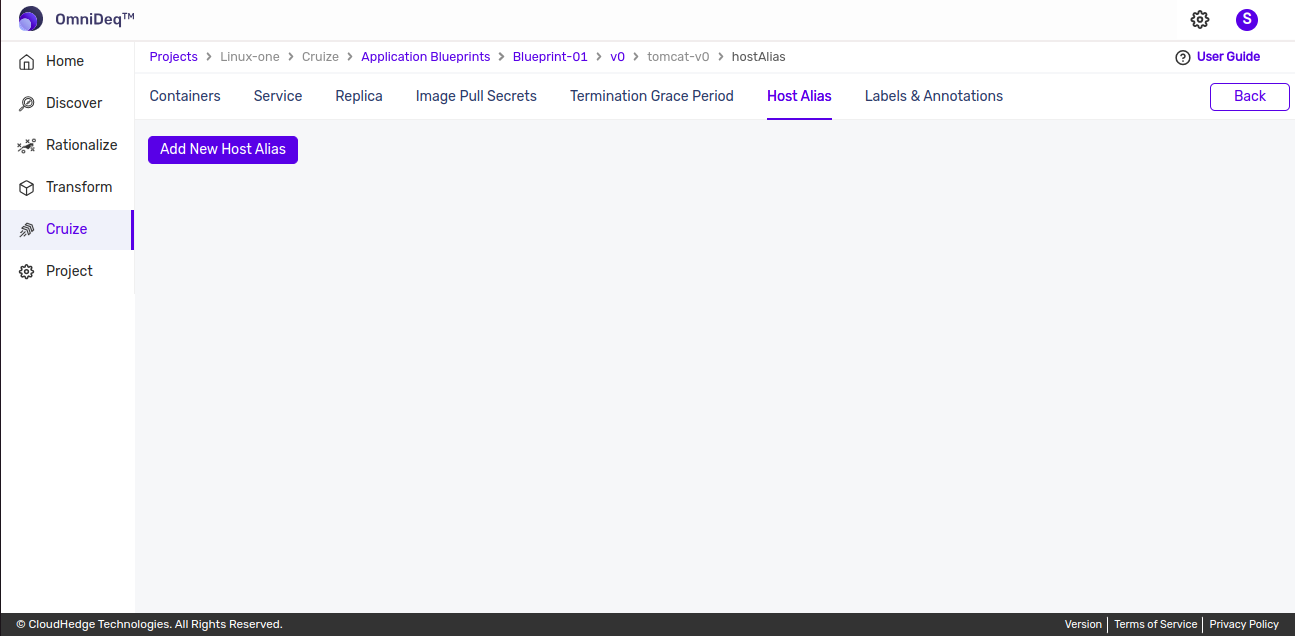
Adding a New Host Alias
-
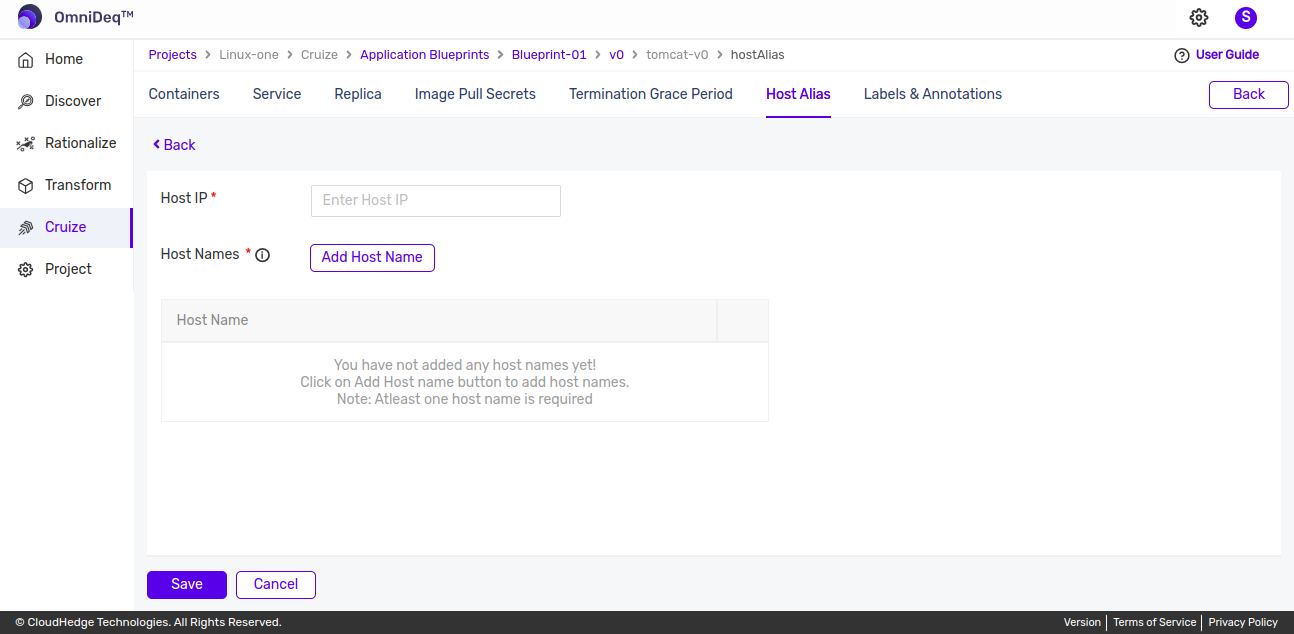
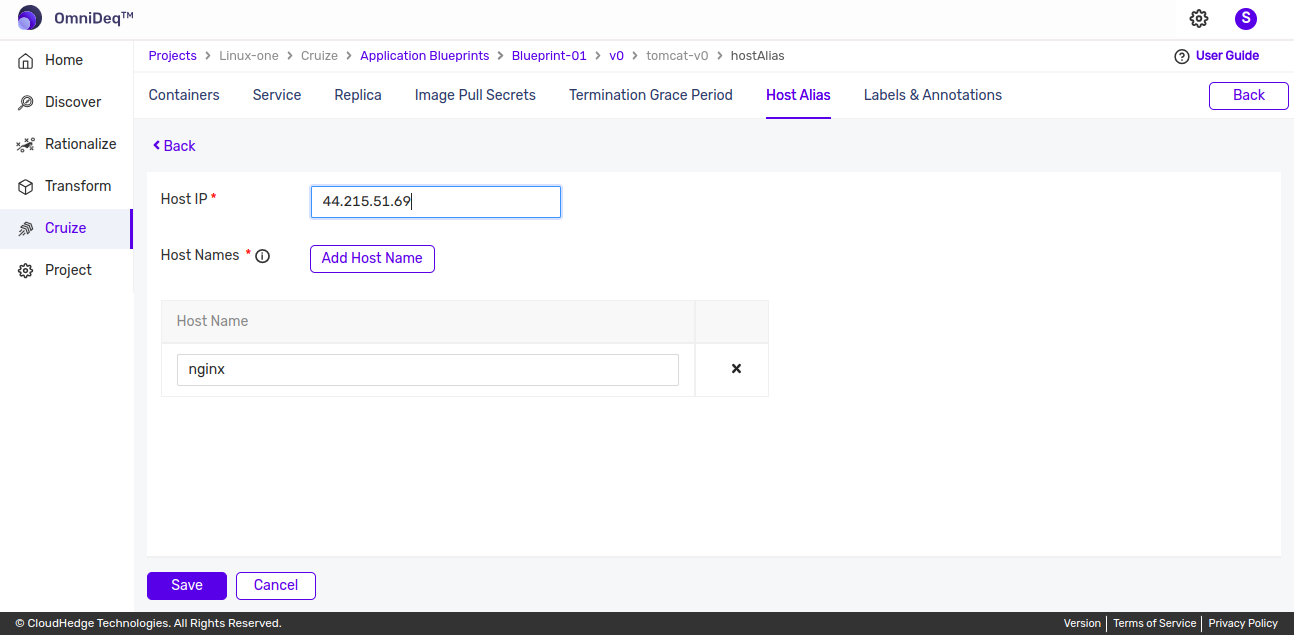
Click the Add New Host Alias button. After clicking, the following form will be displayed as shown in the image below.
-
Add a host alias by entering the following details:
Field Description Host IP Enter the host IP Host Names Add multiple hosts here
Host Names
- Click Add Host Name to add multiple hosts as shown in the image below.
Note: At least one host name is required.
-
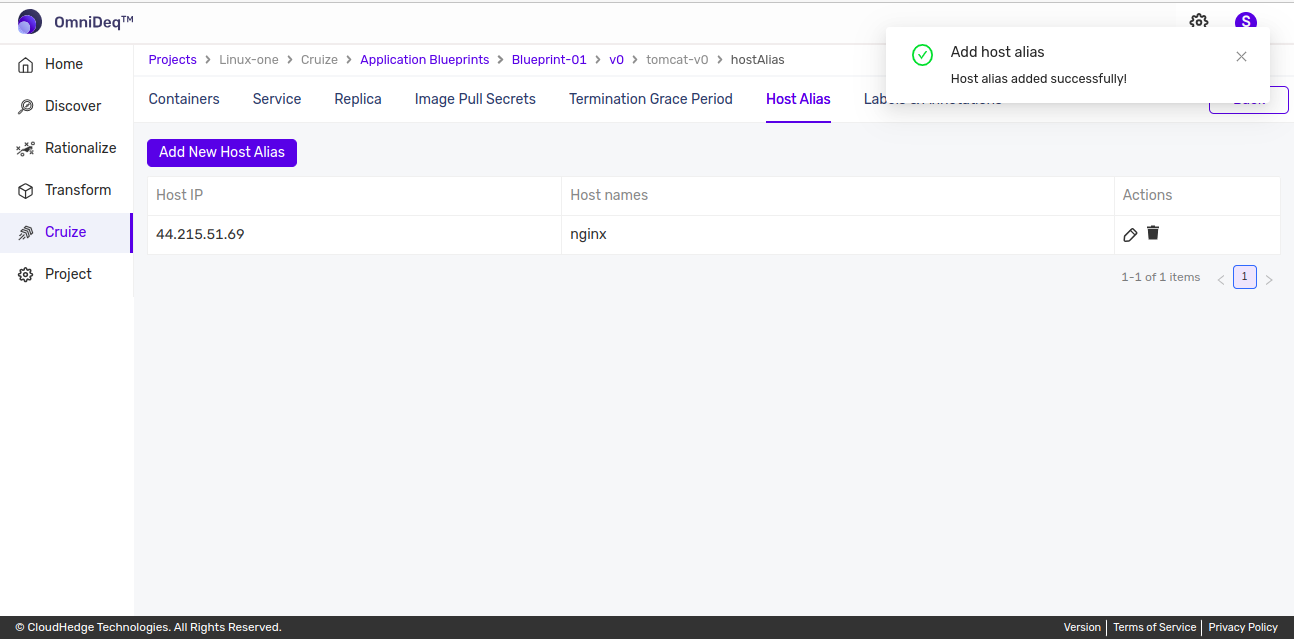
Provide all details and click the Save button.
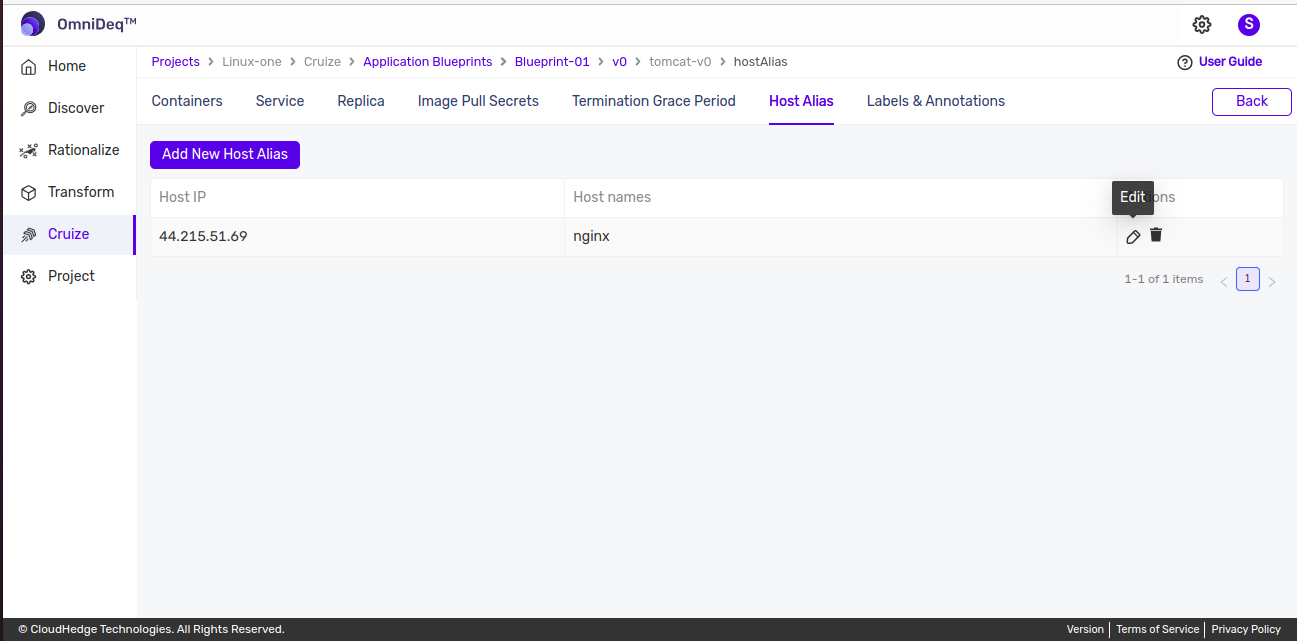
Edit Host Alias
To edit host alias data:
-
Click the Edit icon from the actions column in the host alias table as shown in the image below.
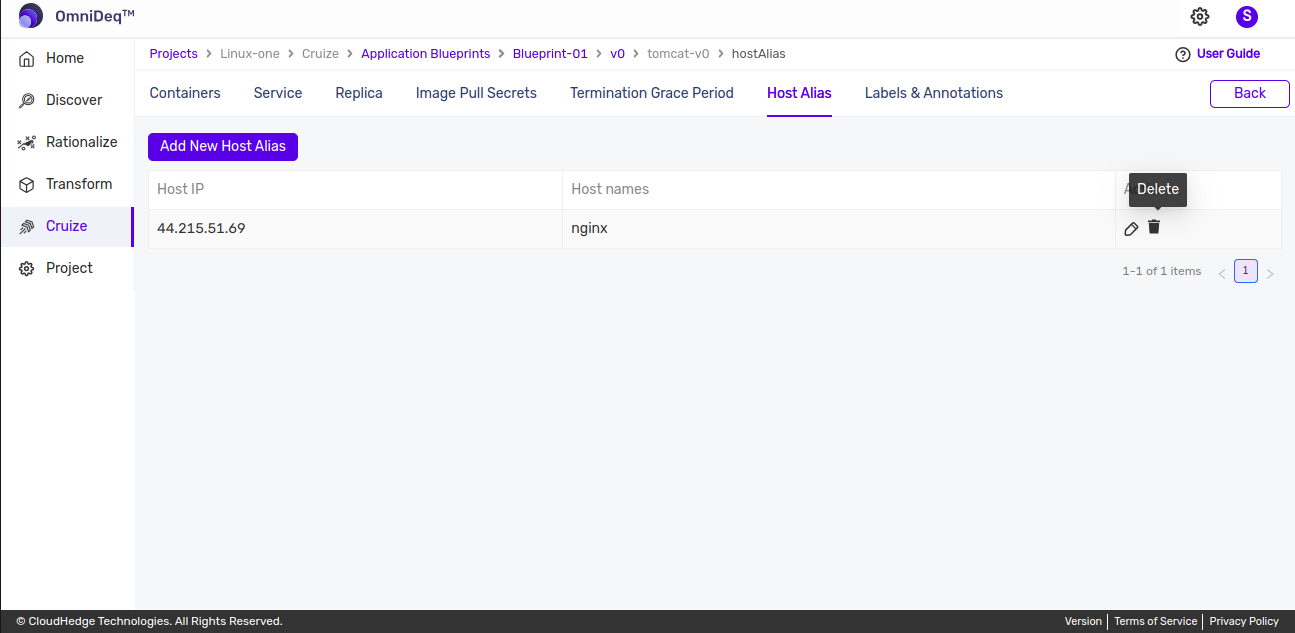
Delete Host Alias
To delete a host alias:
-
Click the Delete icon from the actions column in the host alias table as shown in the image below.
Important Note:
The IP addresses detected from the host are populated in IP Alias as is. These include both private and public IP addresses. Please choose (retain, remove, or add new) based on your Kubernetes cluster configuration.